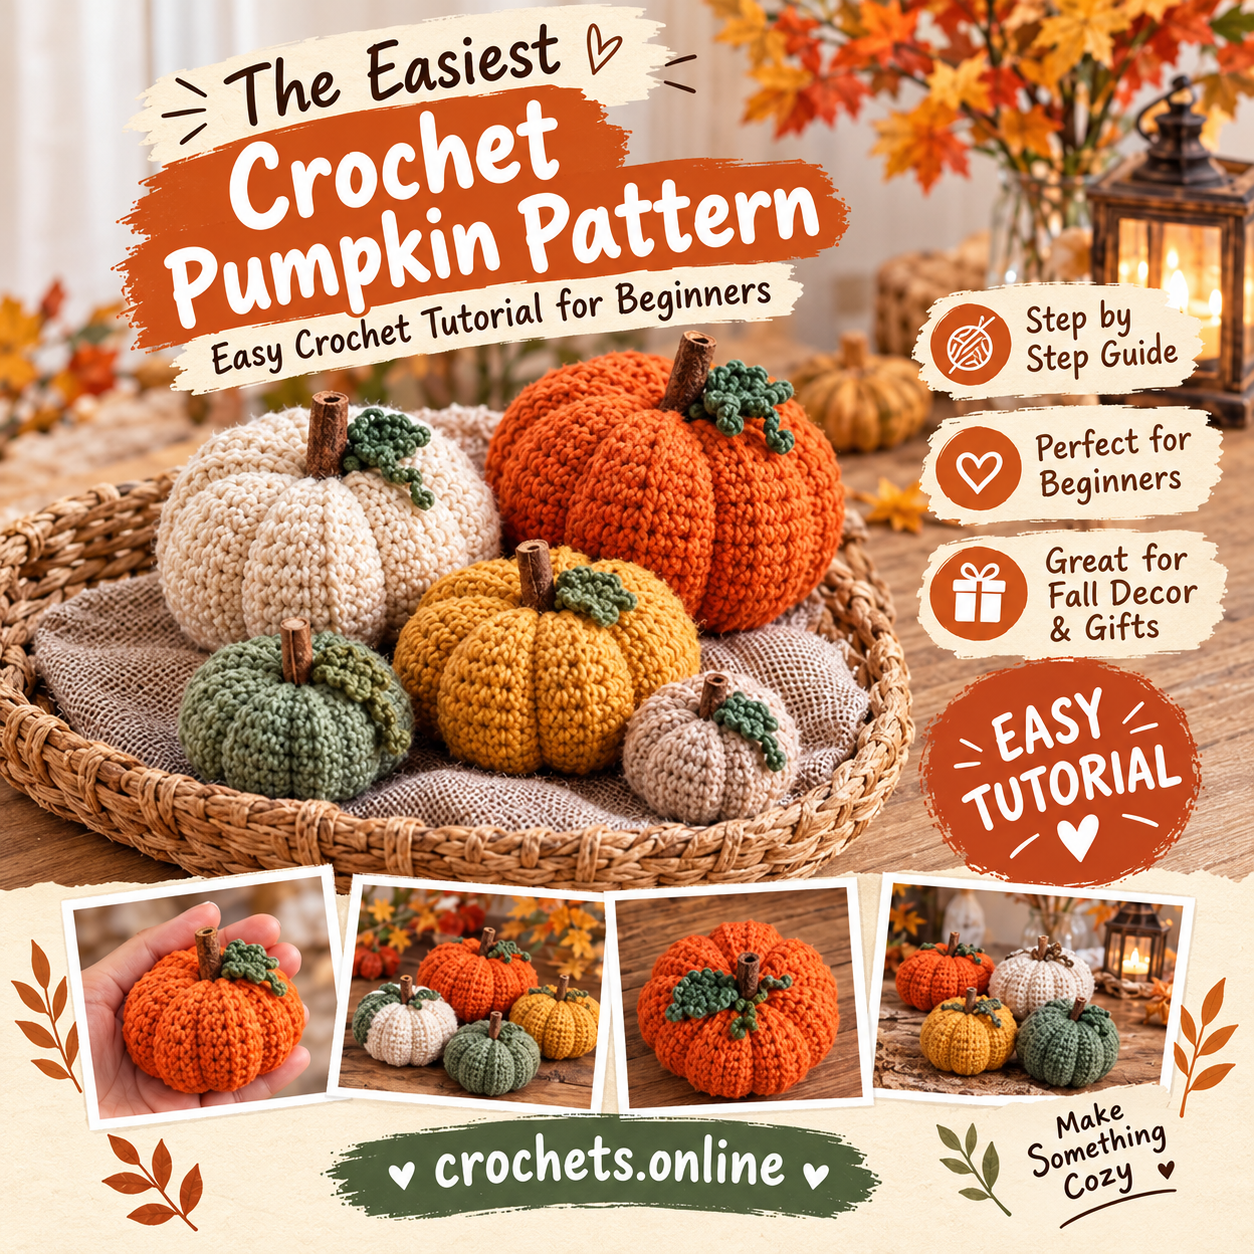

This simple pumpkin is made from one ribbed body piece topped with a small stem. It’s a quick, beginner-friendly project perfect for adding a cozy fall touch to your home.
What You Need
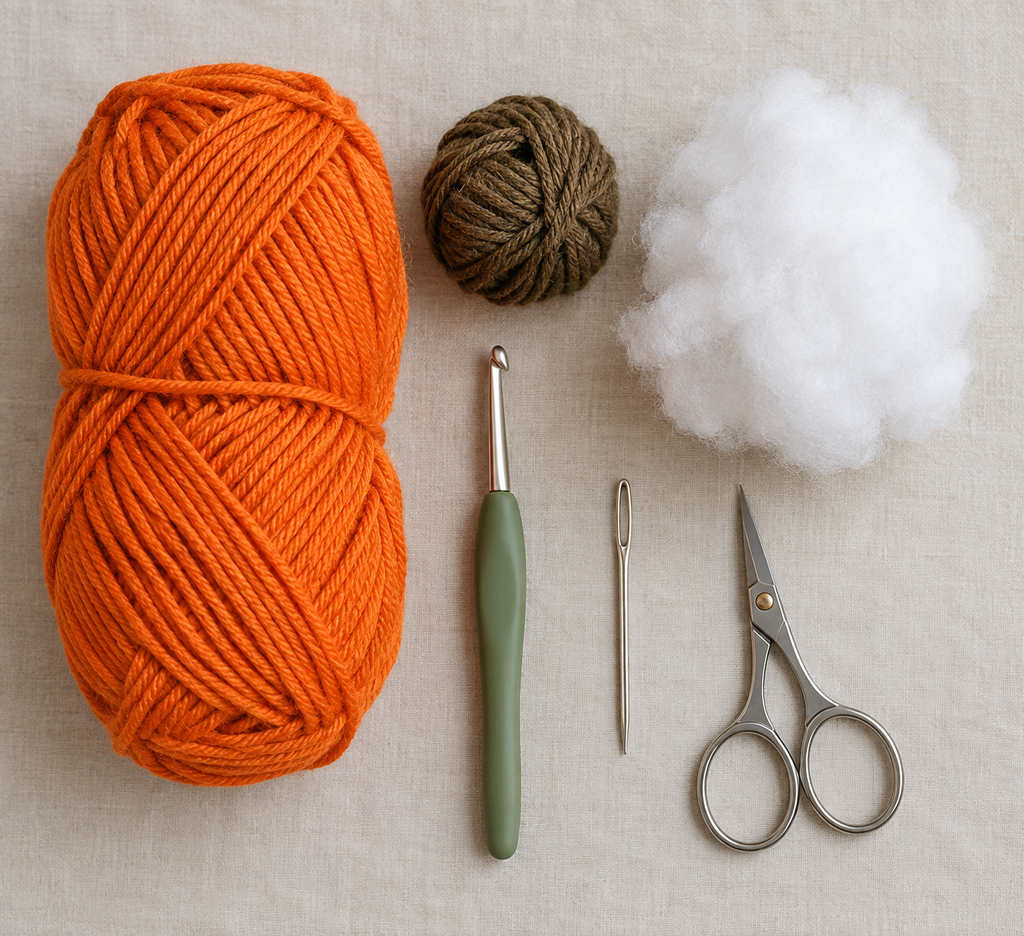
- Worsted weight orange yarn (for the pumpkin body)
- Small amount of brown or green yarn (for the stem)
- Crochet hook (Suggested: 4–5 mm, matched to your yarn)
- Stuffing (polyester fiberfill)
- Yarn needle (for sewing pieces and weaving in ends)
- Stitch marker
- Scissors
How to Make It
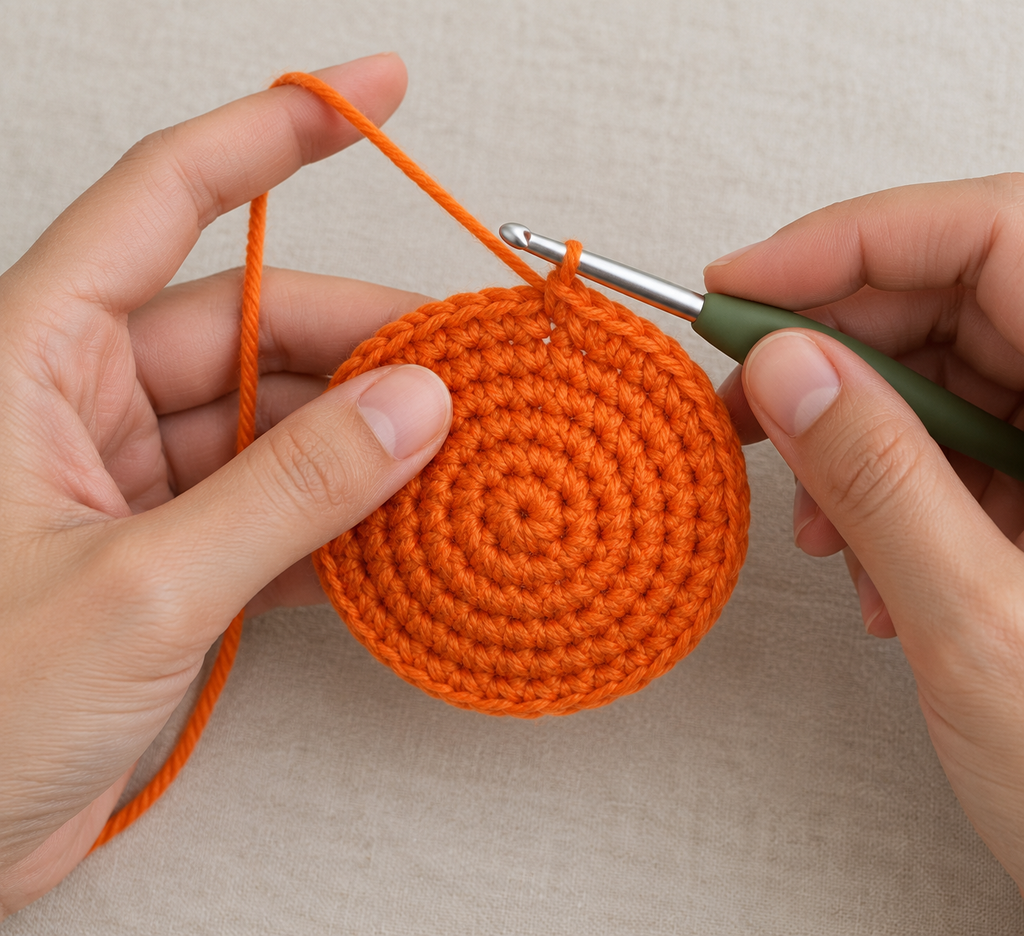
Step 1: Make the Pumpkin Body
Start with a magic ring in orange yarn and work single crochet in a spiral, increasing evenly each round until the piece reaches your desired pumpkin width (Suggested: about 6–7 rounds increasing). This forms the wide, rounded top of the pumpkin.
Step 2: Work Straight Rounds
Once you reach your widest point, work several rounds without increasing. This adds height to the pumpkin so it looks round and full rather than flat, like a real pumpkin shape.
Step 3: Decrease and Stuff
Begin decreasing evenly each round to bring the shape back inward toward the bottom. Add stuffing as you go so the pumpkin holds a firm, rounded shape all the way through. Continue decreasing until only a small opening remains, then add any final stuffing needed.
Step 4: Close the Bottom
Close the remaining opening at the bottom with a few stitches using the yarn needle, so the pumpkin has a smooth, closed base it can sit on. Fasten off and weave in the end.
Step 5: Add Ribbed Lines (Optional)
To create the classic ridged pumpkin look, thread a length of orange yarn onto the yarn needle and sew a line from the top center of the pumpkin down to the bottom center, pulling gently to create a slight indent. Repeat this several times evenly around the pumpkin (Suggested: 5–6 lines) to form the ribbed sections.
Step 6: Make the Stem
Using brown or green yarn, start with a small magic ring, work one increase round, then crochet a few straight rounds to form a short tube shape. Stuff it lightly, or leave it unstuffed for a softer, floppier stem.
Finishing
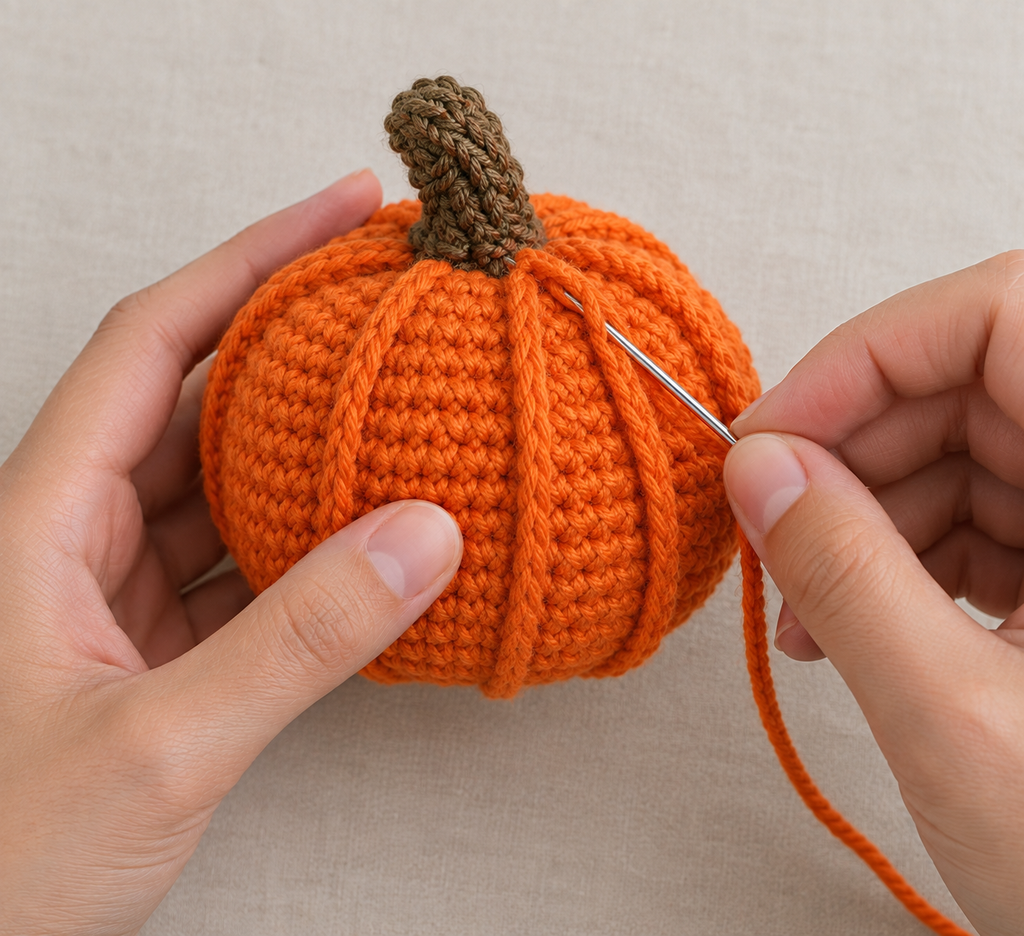
- Sew the stem onto the top center of the pumpkin, right where the ribbed lines meet, so it sits upright.
- Weave in all remaining loose ends with the yarn needle.
- Gently press and shape the pumpkin body so the ribbed lines look even and the base sits flat.
Helpful Tips
- Pull the ribbing stitches snug but not too tight — over-pulling can distort the round shape of the pumpkin.
- Stuff firmly and evenly as you decrease, since a lightly stuffed pumpkin can look lopsided once the ribbing is added.
- Use a slightly darker or contrasting green for the stem to make it stand out clearly against the orange body.
Final Result
A soft, ribbed little pumpkin with a simple stem on top — a cozy, easy fall decoration to display around your home.

 By
By