
This modern cardigan is made from simple rectangular panels for the back, two fronts, and two sleeves, joined together into an open-front style. It’s a beginner-friendly project using straight rows of double crochet throughout.
What You Need
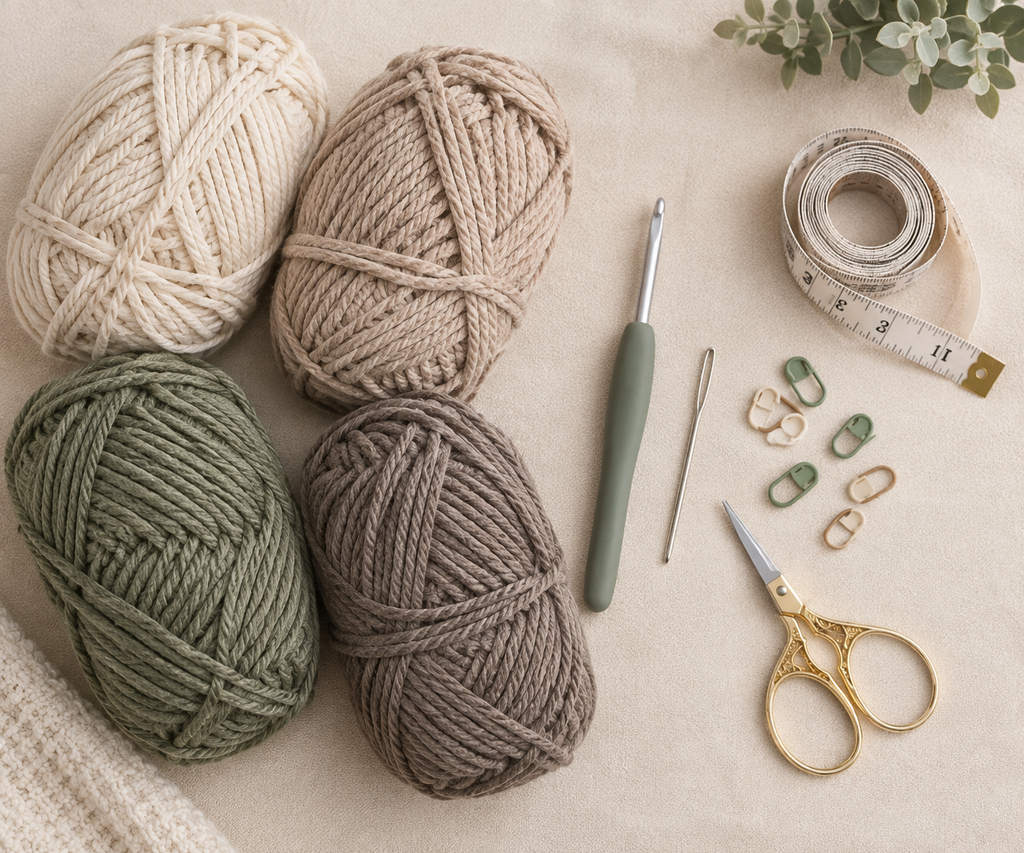
- Worsted or chunky weight yarn (in your chosen color)
- Crochet hook (Suggested: 5–6 mm, matched to your yarn)
- Yarn needle (for joining seams and weaving in ends)
- Measuring tape
- Stitch markers
- Scissors
How to Make It
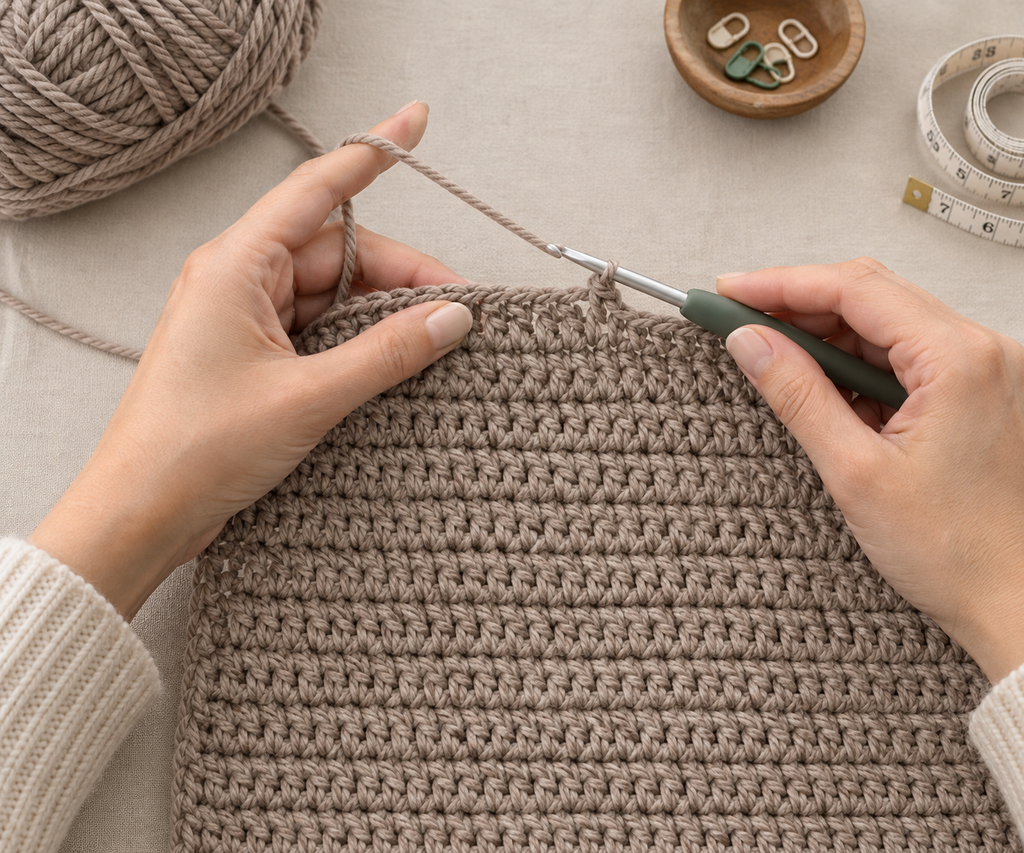
Step 1: Make the Back Panel
Chain a length of stitches to match your full back width plus a bit of ease (Suggested: measure around your chest, divide by two, and add an inch or two). Work rows of double crochet back and forth, turning at the end of each row, until the panel reaches from your waist up to your shoulder height.
Step 2: Make the Two Front Panels
Chain a length of stitches for each front panel equal to about half the width of the back panel (Suggested: measure from your side seam to the center front of your body). Work rows of double crochet the same way as the back panel until each front panel reaches the same height as the back.
Step 3: Join the Shoulders
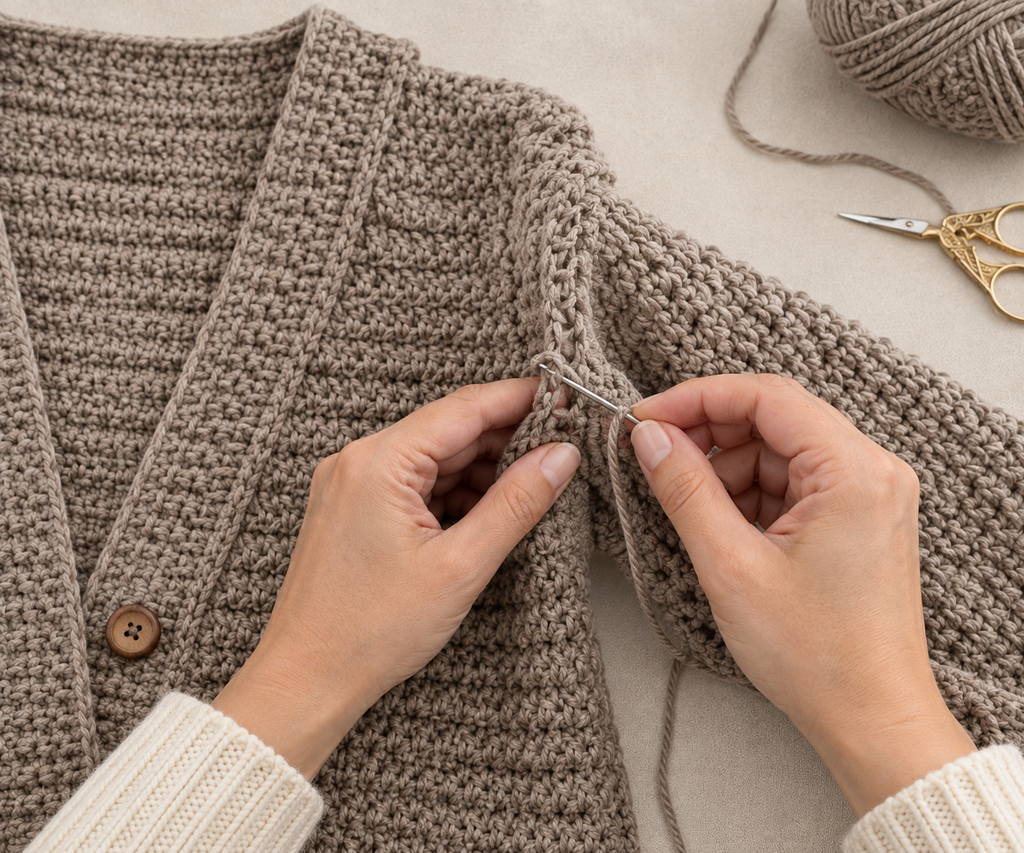
Lay the back panel and the two front panels out with the shoulder edges lined up, and sew or single crochet the shoulder seams together, leaving the center front open like a cardigan and leaving gaps on the sides for the armholes.
Step 4: Make the Sleeves
Chain a length of stitches to match your upper arm measurement plus ease (Suggested: measure around your upper arm and add an inch or two). Work this chain into a tube by joining the first and last stitch with a slip stitch, then continue working rounds of double crochet upward, gradually decreasing in width if you want a slightly tapered sleeve, until the sleeve reaches your desired length.
Step 5: Attach the Sleeves
With the body pieces joined at the shoulders, position each sleeve into the armhole opening left between the front and back panels, and sew or single crochet it in place all the way around.
Step 6: Join the Side and Sleeve Seams
Sew or single crochet down the side seams of the body from the underarm to the waist hem, then continue down the underarm seam of each sleeve to close the tube shape fully.
Finishing
- Work one or two rounds of single crochet around the entire outer edge of the cardigan, including both front edges and the bottom hem, to create a clean, finished border that won’t curl.
- Work the same type of border around each sleeve cuff for a matching finish.
- Weave in all remaining loose ends with the yarn needle.
- Try the cardigan on and lightly steam or block it if any panels look uneven, following the care instructions for your yarn.
Helpful Tips
- Measure your body and compare it to the growing panels often, especially before joining the shoulders, so you can adjust the width or length while it’s still easy to fix.
- Keep your row count identical between the two front panels and consistent with the back panel height, so the shoulders line up evenly when you join them.
- Choose a drapey yarn with good stitch definition for a modern look, since chunkier, looser stitches tend to give cardigans a more relaxed, contemporary silhouette.
Final Result
A relaxed, open-front cardigan made from simple joined panels — a modern, wearable piece that’s approachable even for a first garment project.

 By
By