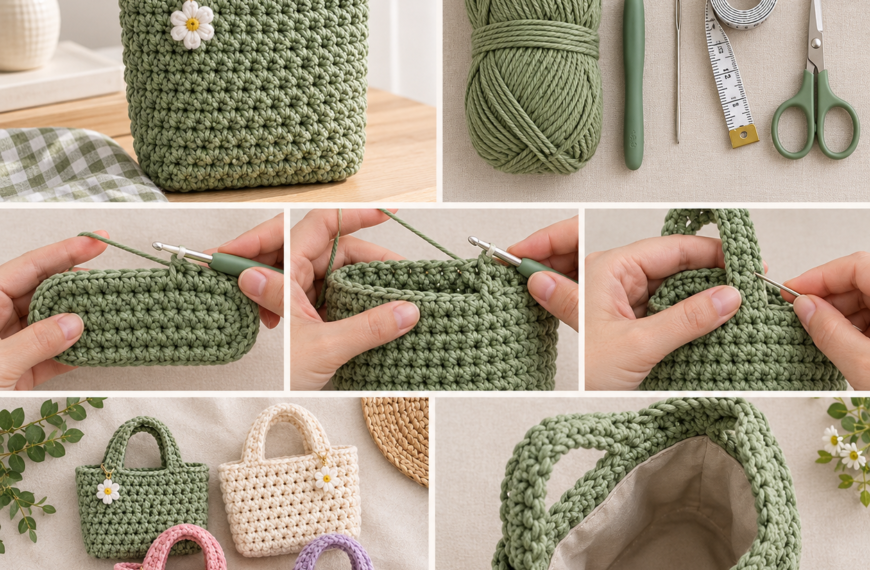
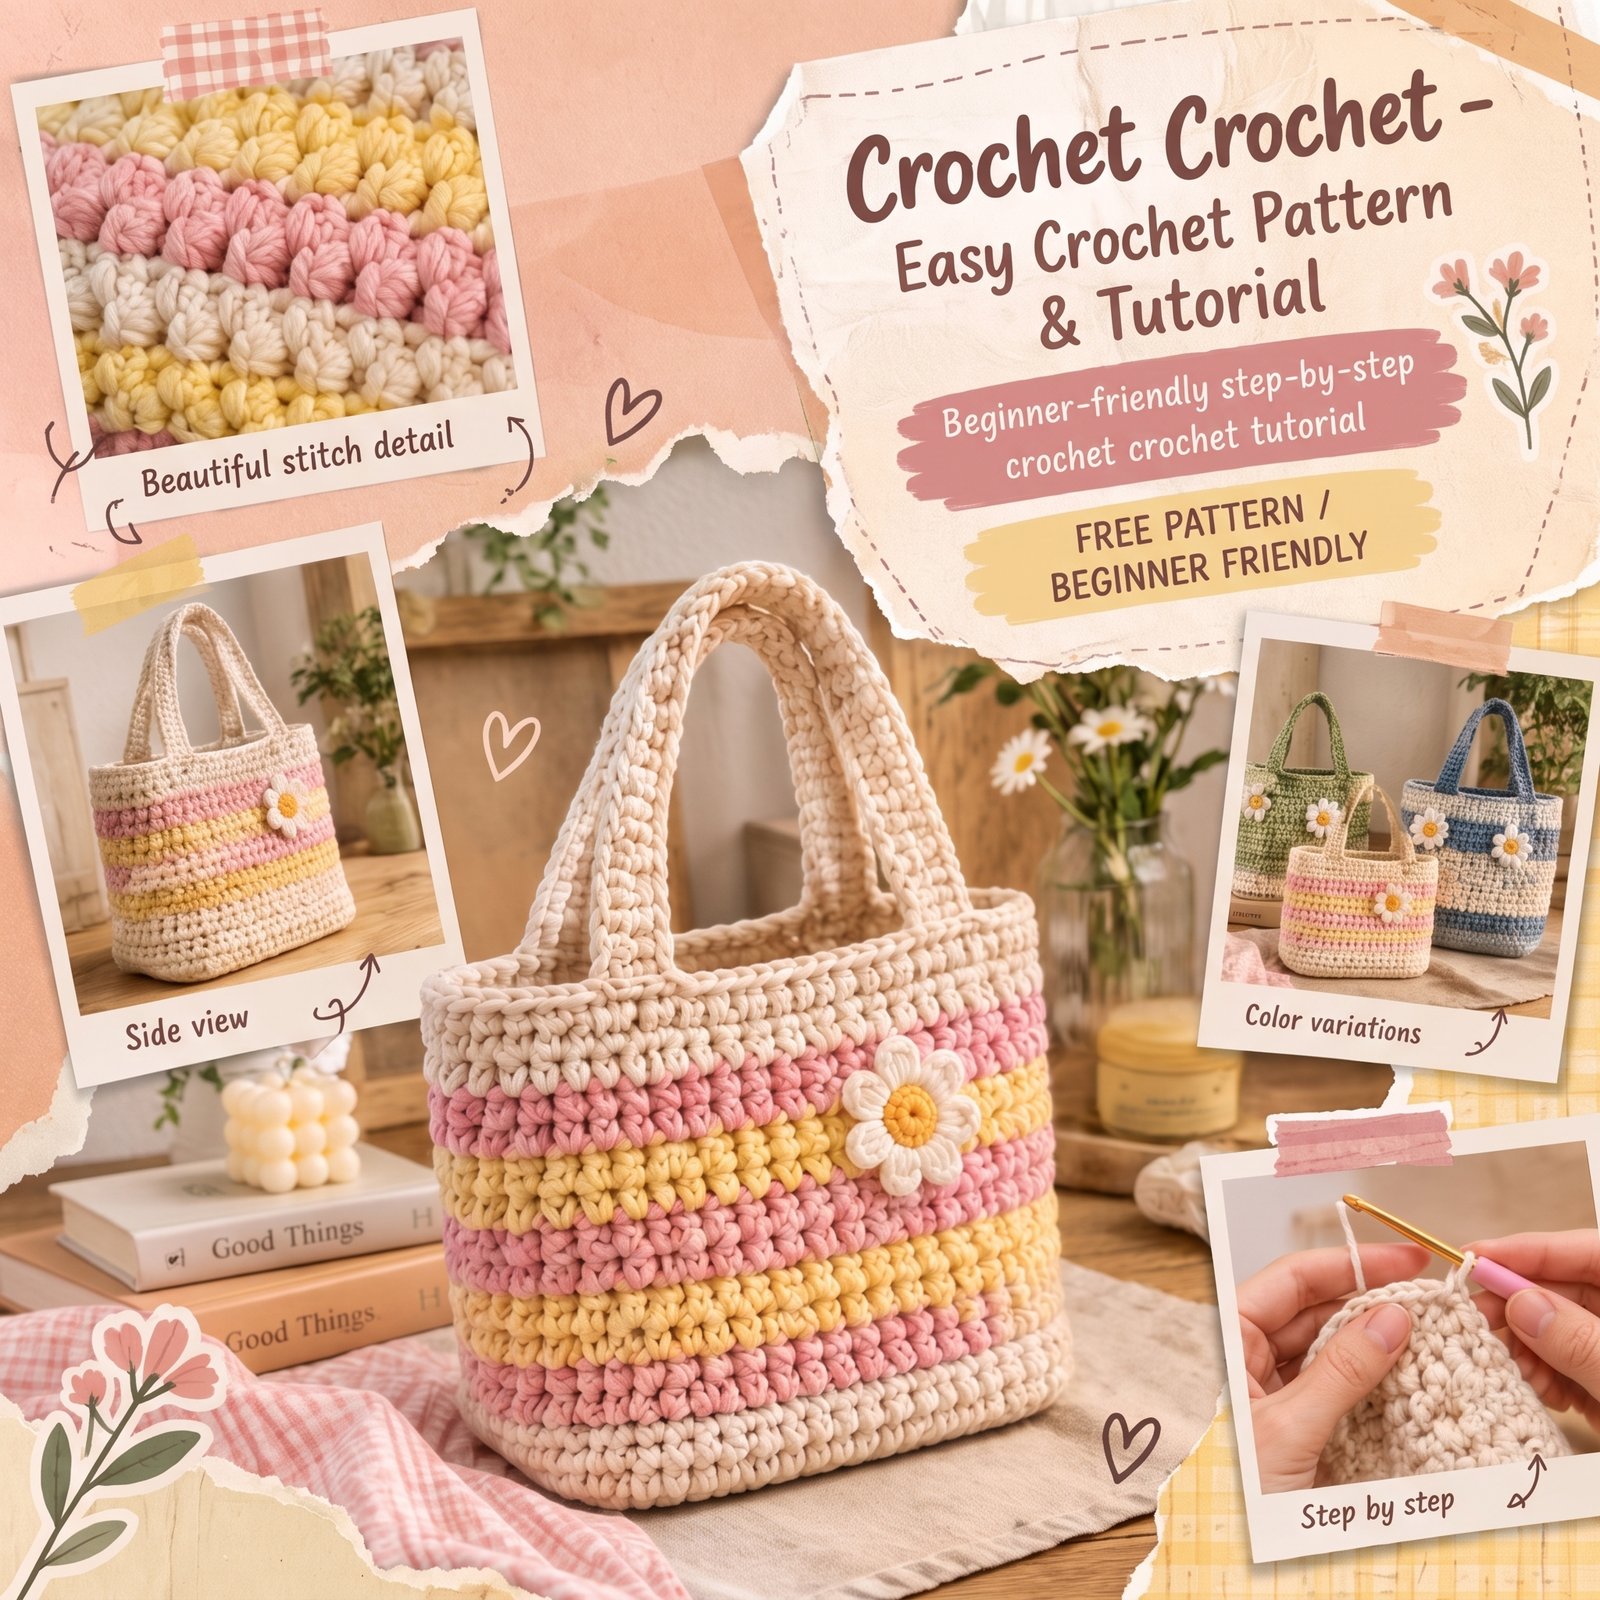

In this tutorial, you will crochet a sturdy tote bag using only basic single crochet stitches. You will start with an oval base, work upward to form the bag, and finish with two flat handles. It’s a simple project that’s great for a first bag.
What You Need
- Medium-weight cotton yarn (Approximate: 250–300 g, depending on your bag size)
- Crochet hook (Suggested: 5 mm; use a size that makes a firm, tight fabric)
- Stitch marker
- Scissors
- Yarn needle (tapestry needle)
- Measuring tape
How to Make It
Note: All stitch counts and sizes below are Suggested, not an official pattern. Adjust them to make your bag bigger or smaller.
Step 1: Start the Base
Make a slip knot and chain 31 (Suggested). Insert your hook into the 2nd chain from the hook, and work 1 single crochet (sc). Work 1 sc in each chain across until you reach the last chain.
In that last chain, work 3 sc so the work turns around the end. Now rotate your work and continue along the other side of the foundation chain, working 1 sc into each loop. When you reach the first stitch, work 2 sc in the last stitch and join or place your stitch marker.
Result: A small, flat oval of single crochet with a chain “spine” running through the middle.
Step 2: Grow the Base
Work in continuous rounds without joining. Place a stitch marker in the first stitch of each round and move it up as you go.
In each round, work 1 sc in every stitch along the long sides. At each rounded end, work 2 sc in each stitch across the curve (about 3 stitches per end). This adds width so the base lies flat.
Repeat until the base is about 25 cm long and 10 cm wide (Suggested), which is roughly 5–7 rounds.
Result: A flat, firm oval that doesn’t curl or ruffle. If the edges ruffle, you have too many increases. If it cups upward, you need more.
Step 3: Turn the Base into the Bag Wall
For the next round, work 1 sc in the back loop only of each stitch, with no increases. To find the back loop, look at the top of the stitch. You’ll see a “V”, and the back loop is the strand farthest from you.
Result: A visible ridge around the base. This ridge creates a clean corner and lets the sides stand up.
Step 4: Build the Body
Now work 1 sc in both loops of every stitch around, with no increases. Keep the marker moving up each round.
Keep going until the bag is about 25–30 cm tall (Suggested) or the height you like. Pull each stitch snugly so the fabric stays firm and holds its shape.
Result: An upright, sturdy tote with straight sides and a clearly defined base.
Step 5: Make the Top Edge
Work 1 more round of sc, then 1 slip stitch round by inserting the hook into each stitch and pulling the yarn through both the stitch and the loop on the hook. This gives the rim a neat, flat finish.
Result: A smooth, slightly firmer top edge that won’t stretch out.
Step 6: Crochet the Handles
Make two identical handles. Chain 60 (Suggested; adjust for your preferred handle length). Work 1 sc in the 2nd chain from the hook and in each chain across (59 sc). Chain 1, turn, and work 1 sc in each stitch across.
Repeat for 3–4 rows total (Suggested), until the strap is about 2–3 cm wide.
Result: A flat, sturdy strap. Leave a long tail of about 30 cm at the end for sewing.
Finishing
- Fasten off the bag by cutting the yarn, pulling the tail through the loop, and tightening.
- Attach the handles: Pin each strap end on the inside of the bag, about 8–10 cm from each side of the center, so both sides match. Sew each end firmly with your yarn needle, going through both the strap and the bag several times for strength.
- Weave in all ends by threading them through the stitches on the inside for a few centimeters, then trimming.
- Shape the bag by gently pressing the base flat and pushing the corners into place.
Helpful Tips
- Use a stitch marker every round. In continuous rounds, it’s easy to lose the first stitch, which throws off your counts and shape.
- Crochet tightly. A tight stitch (or a slightly smaller hook) makes a firm bag that won’t sag when it holds items.
- Reinforce the handle joins. Sew each handle end at least two or three times, since this is the part that carries the most weight.
Final Result
You now have a sturdy handmade tote with an oval base and comfortable flat handles. It’s ready to use for shopping, books, or everyday carrying.

 By
By