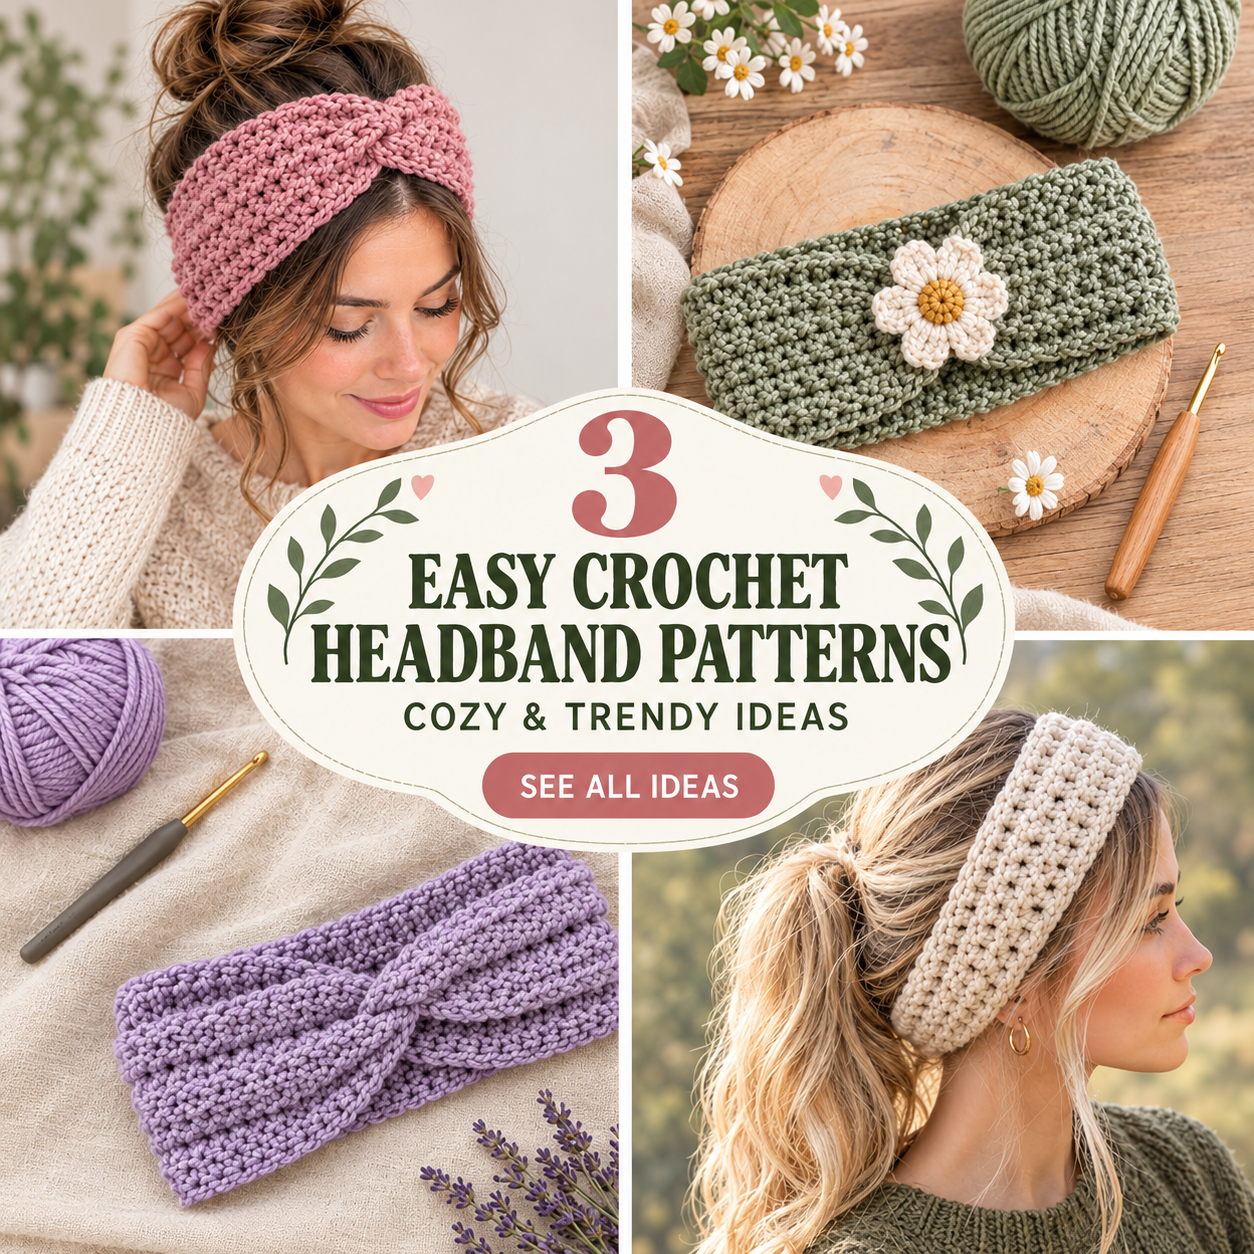

This classic headband features a simple twist detail at the front for a polished look. It’s an easy, beginner-friendly project using just one stitch throughout.
What You Need
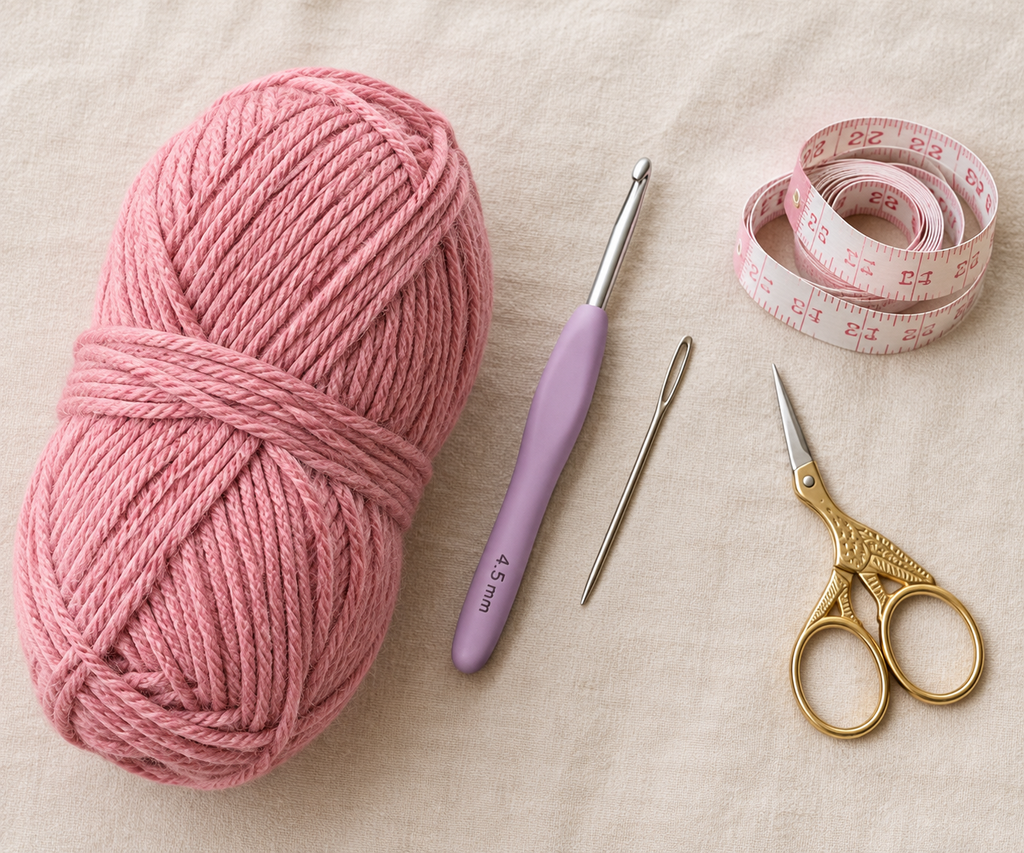
- Worsted weight yarn (in your chosen color)
- Crochet hook (Suggested: 4–5 mm, matched to your yarn)
- Yarn needle (for sewing the twist and weaving in ends)
- Measuring tape
- Stitch marker
- Scissors
How to Make It
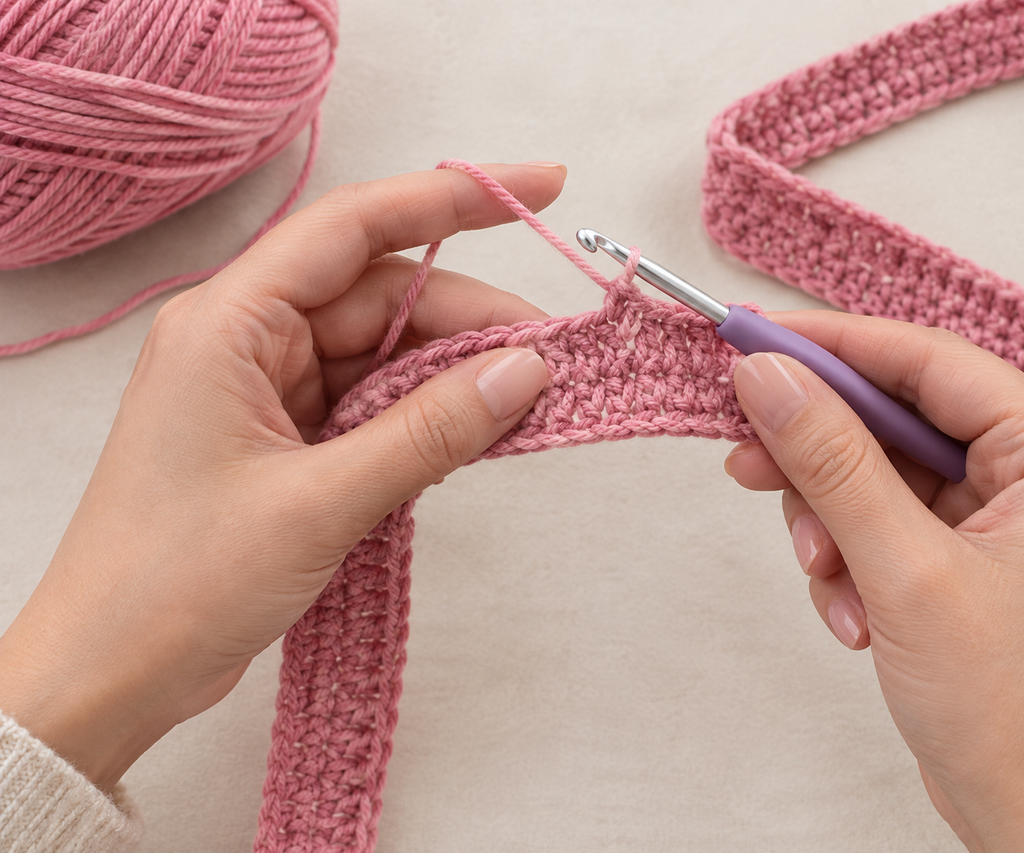
Step 1: Make the Band
Chain a short length of stitches (Suggested: enough to match the width you want the headband to be, usually a few inches). Work back down the chain in half double crochet to complete your first row, then turn and continue working rows back and forth in the same stitch, keeping the width consistent throughout.
Step 2: Build the Band to Length
Continue working row after row until the band is long enough to wrap around your head with enough overlap to create the twist (Suggested: measure around your head and add a few extra inches for the twist and overlap). Half double crochet gives the band a bit of stretch, which helps it fit comfortably.
Step 3: Create the Twist
Once the band is the right length, bring the two short ends of the strip together and twist one end over the other once, similar to twisting a ribbon, so a small loop forms in the middle of the twist. Hold the twist in place with your fingers or a stitch marker while you prepare to join the ends.
Step 4: Join the Ends
With the twist held in place, line up the two short ends of the band and join them together using slip stitches or by sewing them with the yarn needle, making sure the twist stays centered and doesn’t come undone as you stitch.
Finishing
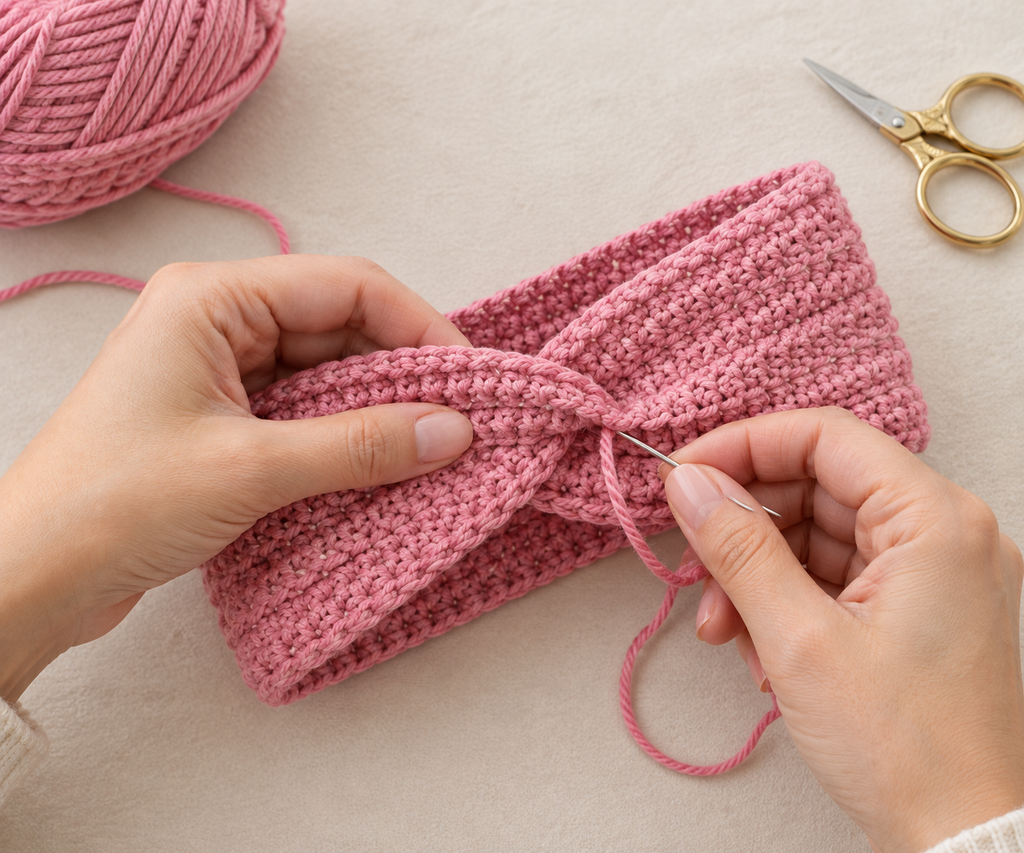
- Check that the joined seam is secure and the twist sits flat against the band without flipping or coming loose.
- Weave in all remaining loose ends with the yarn needle, tucking them inside the twist area where they won’t show.
- Try the headband on to check the fit, adjusting the stitching slightly if it feels too loose or tight.
Helpful Tips
- Use half double crochet or another stitch with some give, since a stiff, non-stretchy band can feel tight or uncomfortable to wear.
- Hold the twist firmly in place with a stitch marker before sewing, since twists can shift or flip while you’re trying to join the ends.
- Make the band slightly longer than you think you need, since joining the ends with a twist uses up a bit of extra length compared to a flat seam.
Final Result
A soft, stretchy headband with a neat twisted detail at the front — a simple, polished accessory that’s quick to make.

 By
By