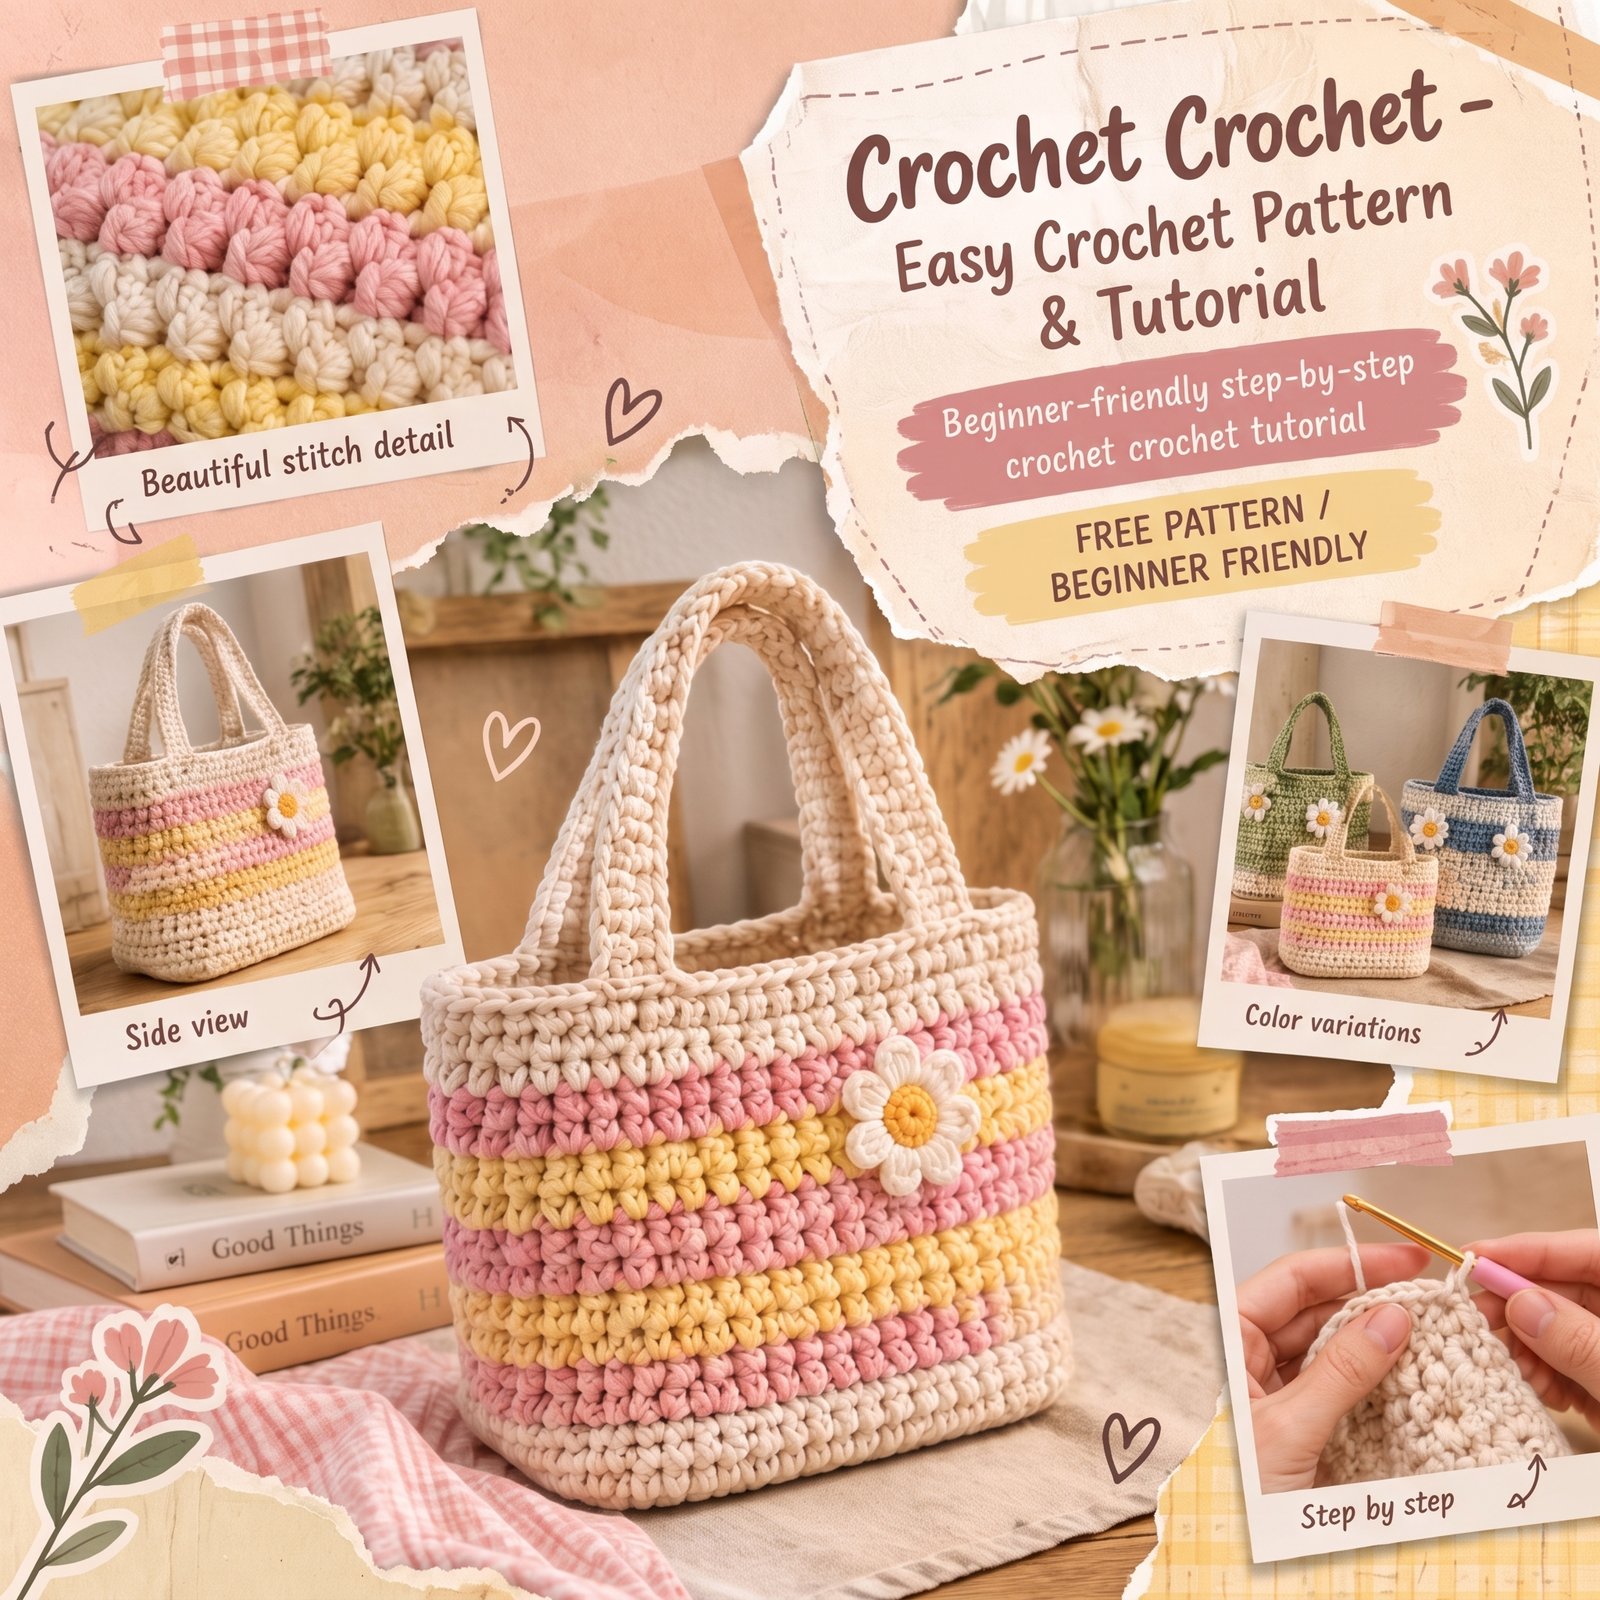
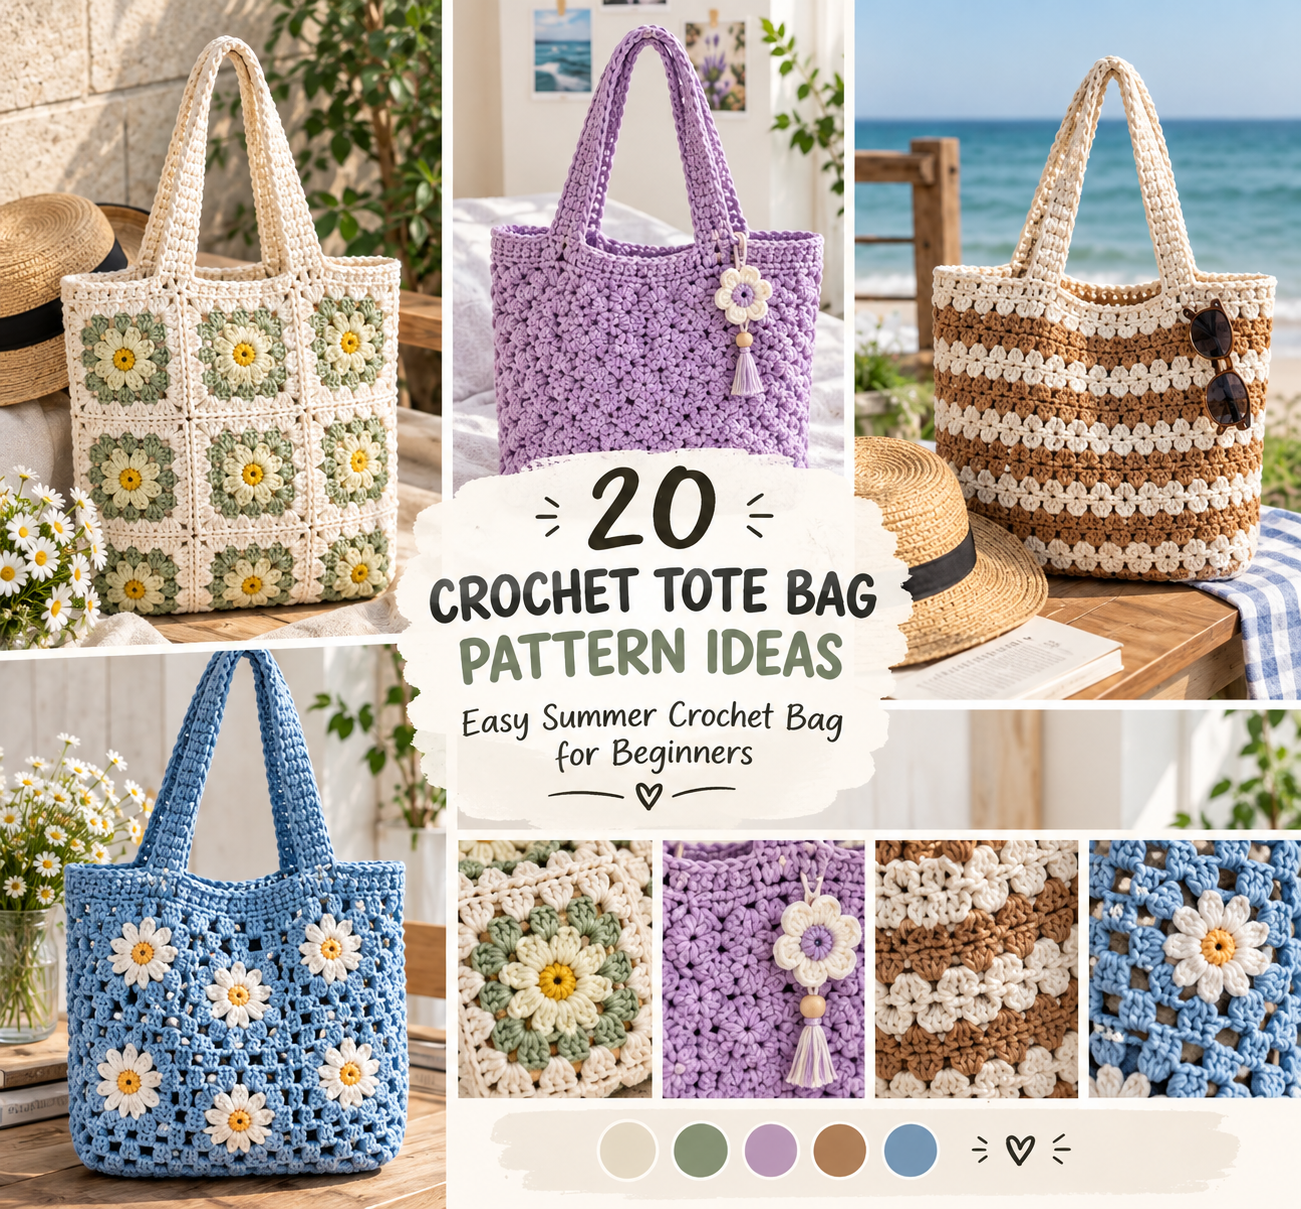

This stylish summer tote bag is made from a flat base, tall sides worked upward, and two long handles for carrying over the shoulder. It’s an easy, beginner-friendly project using basic increasing and straight rounds.
What You Need
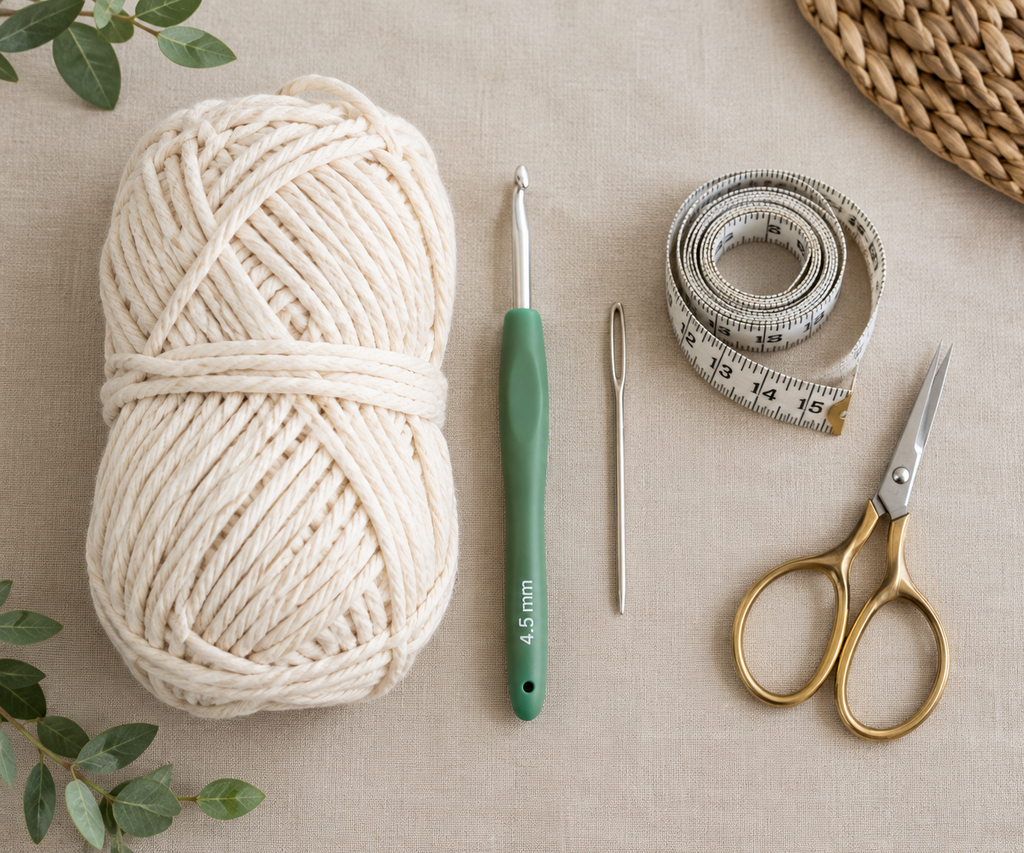
- Sturdy cotton or cotton-blend yarn (in your chosen color)
- Crochet hook (Suggested: 4–5 mm, matched to your yarn for a firm fabric)
- Yarn needle (for weaving in ends)
- Measuring tape
- Stitch marker
- Scissors
How to Make It
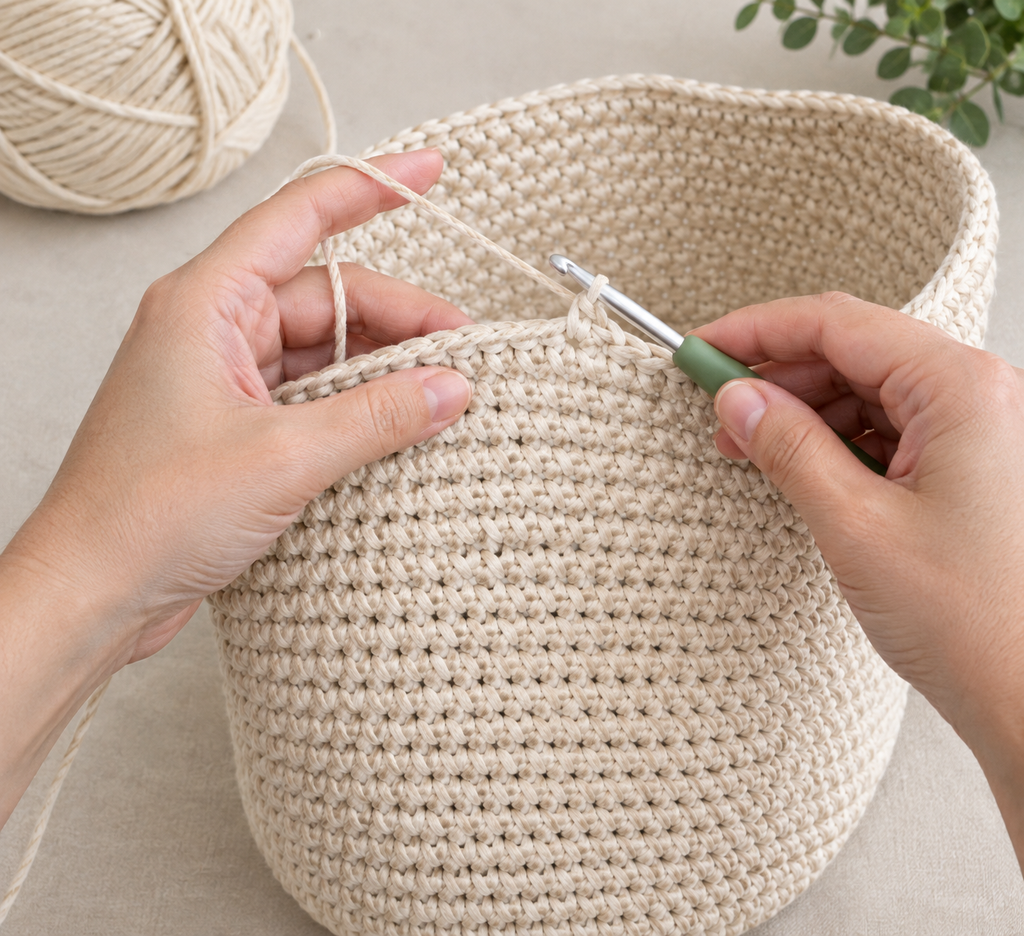
Step 1: Make the Base
Chain a length of stitches and work single crochet around it in an oval shape, increasing evenly at both rounded ends. Continue increasing round after round until the base reaches your desired bag width (Suggested: measure it against a bag you already own or want to match in size).
Step 2: Start the Sides
Once the base is the right size, stop increasing and work one round of single crochet into the back loops only of each stitch. This creates a clear fold line and helps the sides stand upright instead of flaring outward from the base.
Step 3: Build the Sides Upward
Continue working straight rounds of single crochet, or an open mesh-style stitch for a lighter summer look, with no increases, going around and around until the bag reaches your desired height (Suggested: check the height against a tote bag you like, keeping in mind a full-size tote is usually taller than a small pouch).
Step 4: Finish the Top Edge
Work one or two rounds of single crochet around the top opening without increasing, keeping the stitches even so the edge lies flat and doesn’t flare or curl.
Step 5: Make the Handles
Chain a long length of stitches for each handle (Suggested: long enough to comfortably fit over your shoulder, checked by holding the chain up to your body). Work single crochet or double crochet back along the chain on both sides to create a sturdy, wider strap shape. Repeat to make a second matching handle.
Finishing
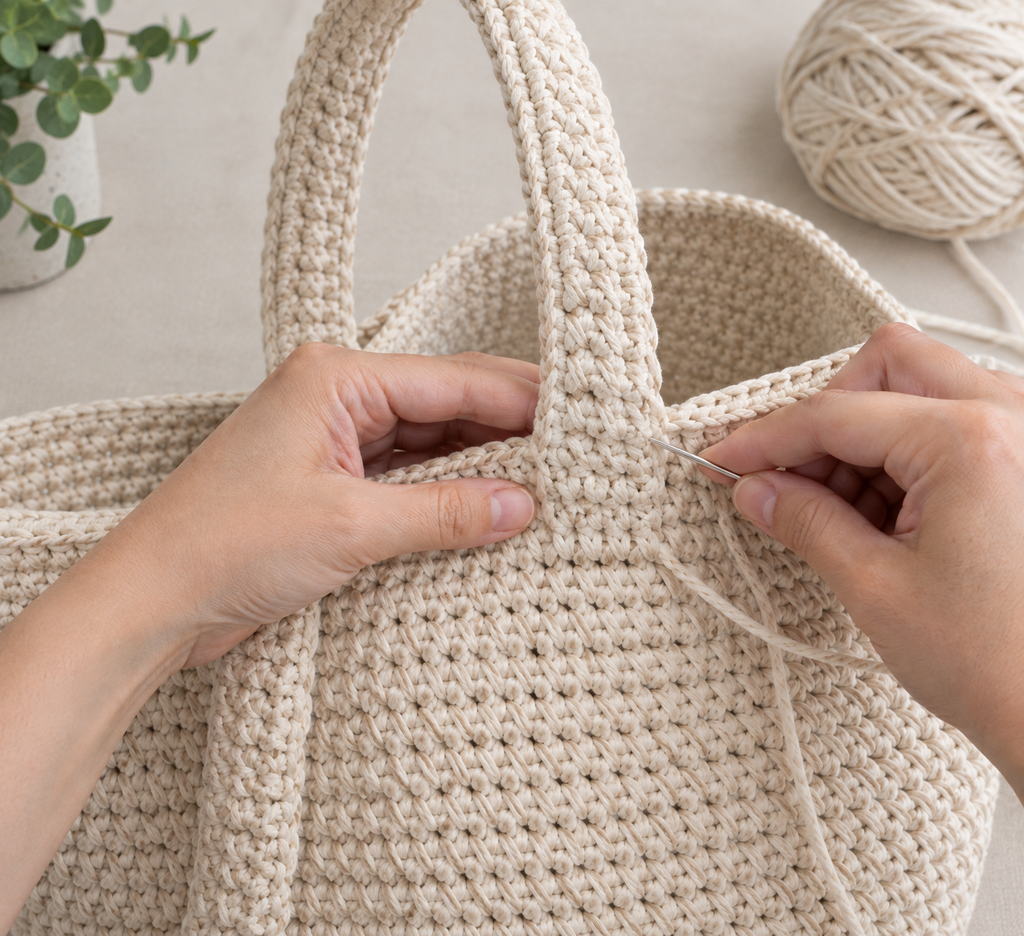
- Position the two handles evenly on opposite sides of the top edge of the bag, spacing them so they sit comfortably over the shoulder, and sew each end securely in place with several stitches.
- Weave in all remaining loose ends with the yarn needle.
- Gently reshape the bag by pressing the base and sides flat, so it sits evenly and the handles hang straight when carried.
Helpful Tips
- Use a sturdy, less stretchy yarn like cotton so the bag holds its shape well when loaded with everyday items.
- Work into the back loops only when starting the sides, since this small detail creates a much neater, more defined fold between the base and the sides.
- Reinforce each handle end with a few extra stitches where it attaches to the bag, since handles take the most strain when the tote is full and being carried.
Final Result
A roomy, sturdy tote bag with a flat base and two matching shoulder handles — a simple, stylish handmade bag perfect for summer outings.

 By
By