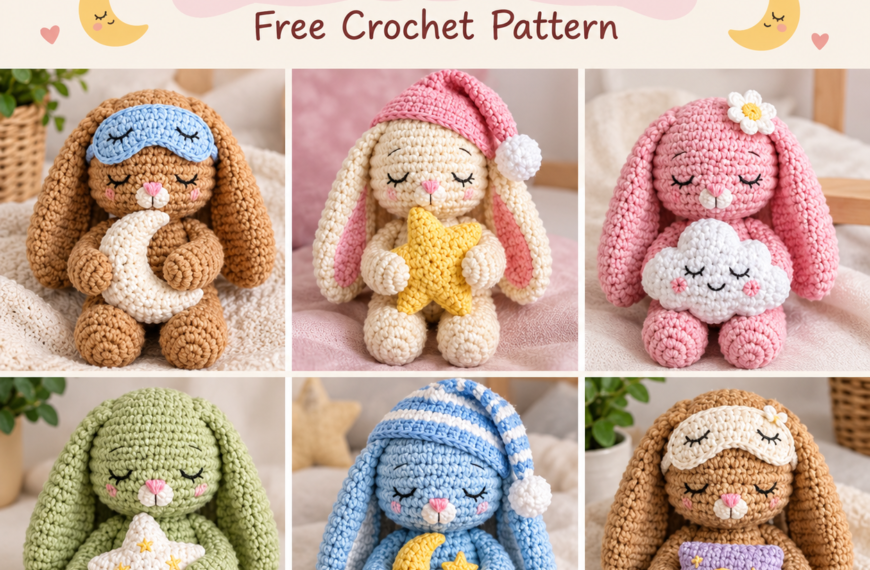
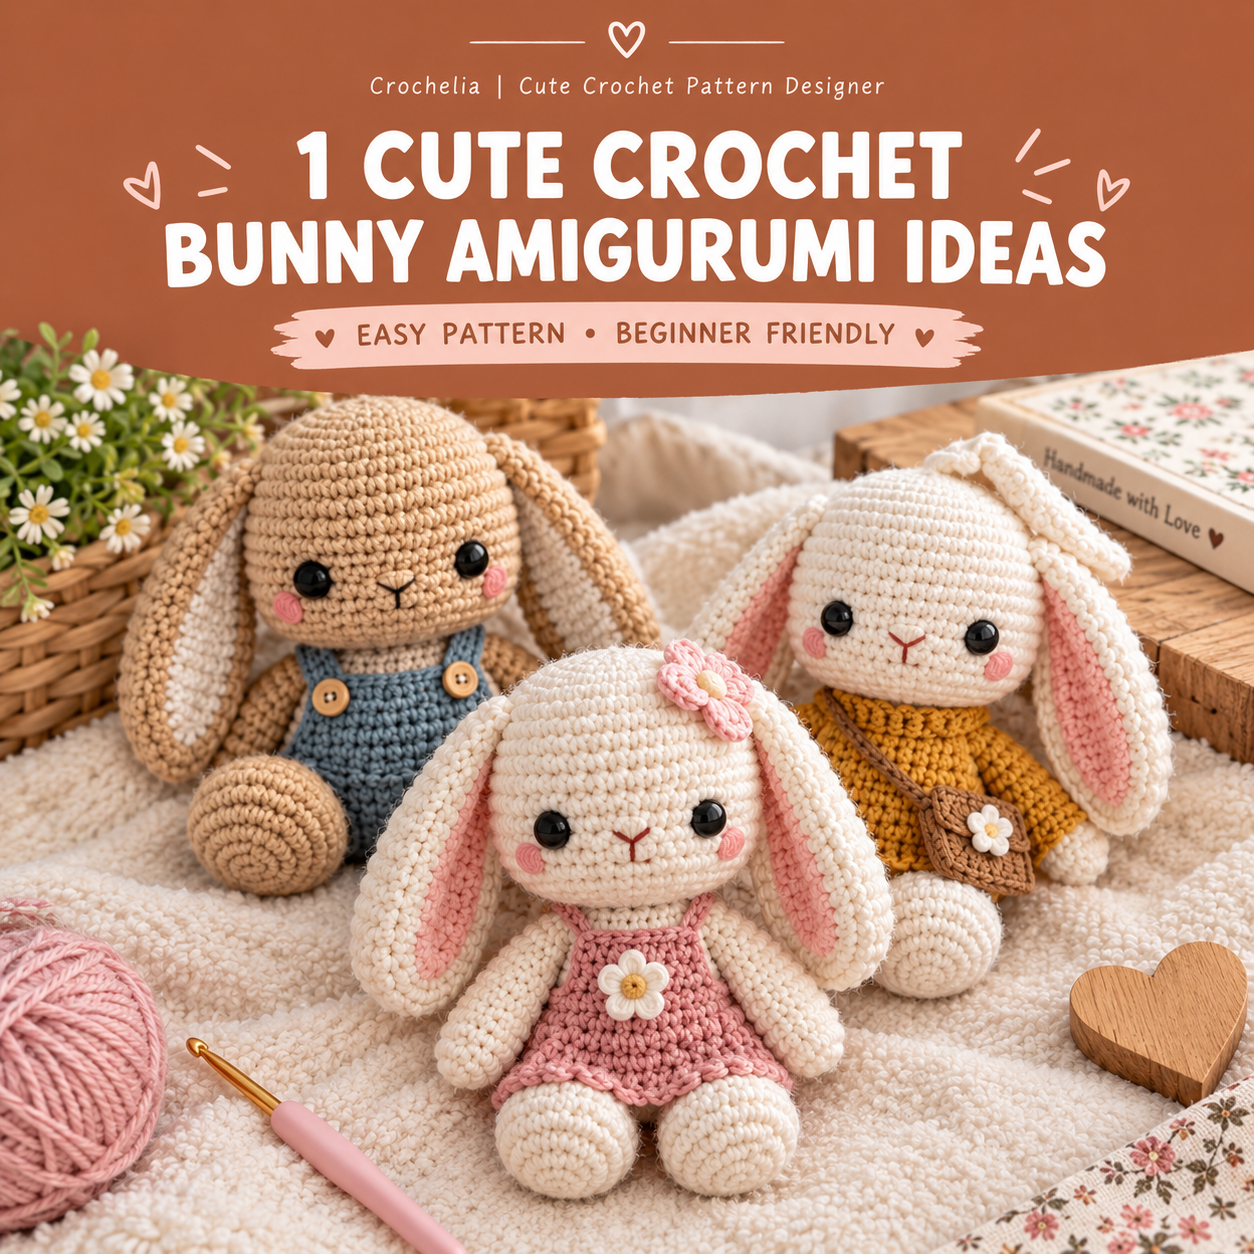

This cute bunny amigurumi is made from a few simple rounded pieces joined together, with long ears for extra charm. It’s an easy, beginner-friendly project using basic amigurumi shaping.
What You Need
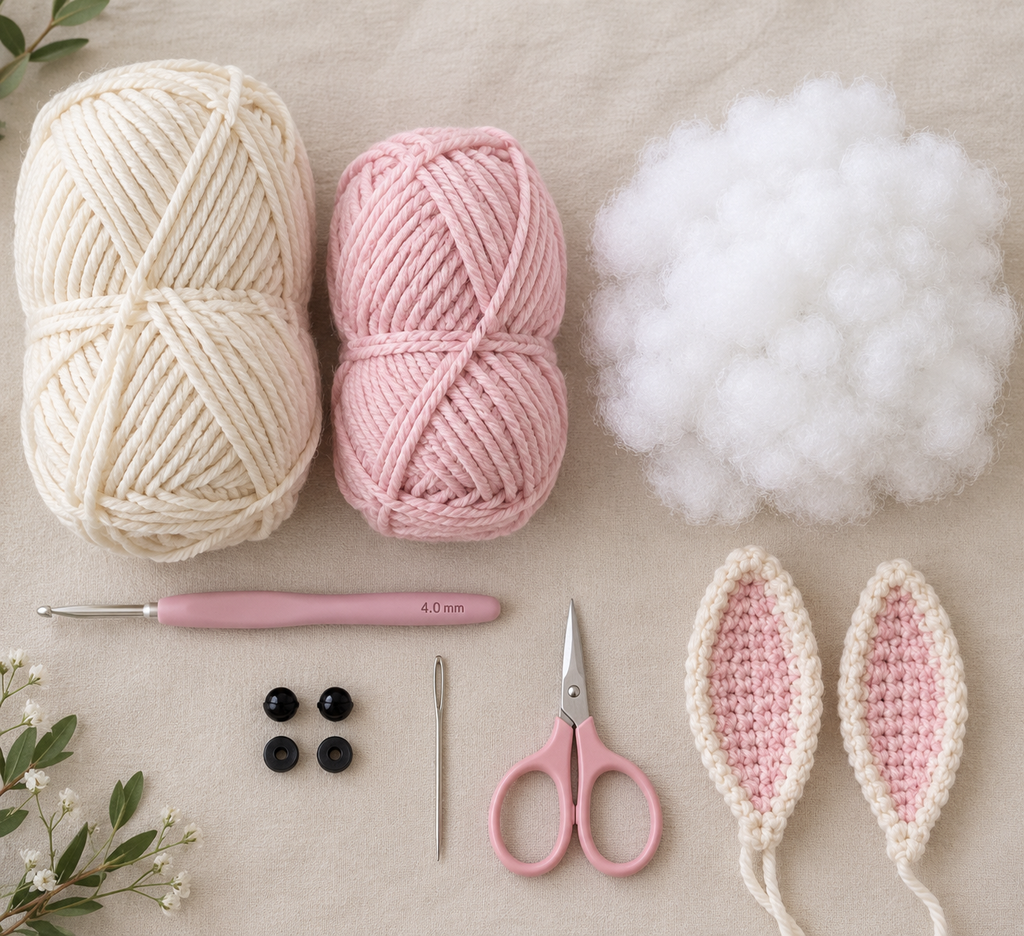
- Worsted weight yarn (main color for the body, plus a contrast color for the inner ears and cheeks, optional)
- Crochet hook (Suggested: 3.5–4 mm, matched to your yarn)
- Stuffing (polyester fiberfill)
- Yarn needle (for sewing pieces and weaving in ends)
- Small black beads or safety eyes (or embroider the eyes)
- Pink yarn or thread for the nose (optional)
- Stitch marker
- Scissors
How to Make It
Step 1: Make the Head
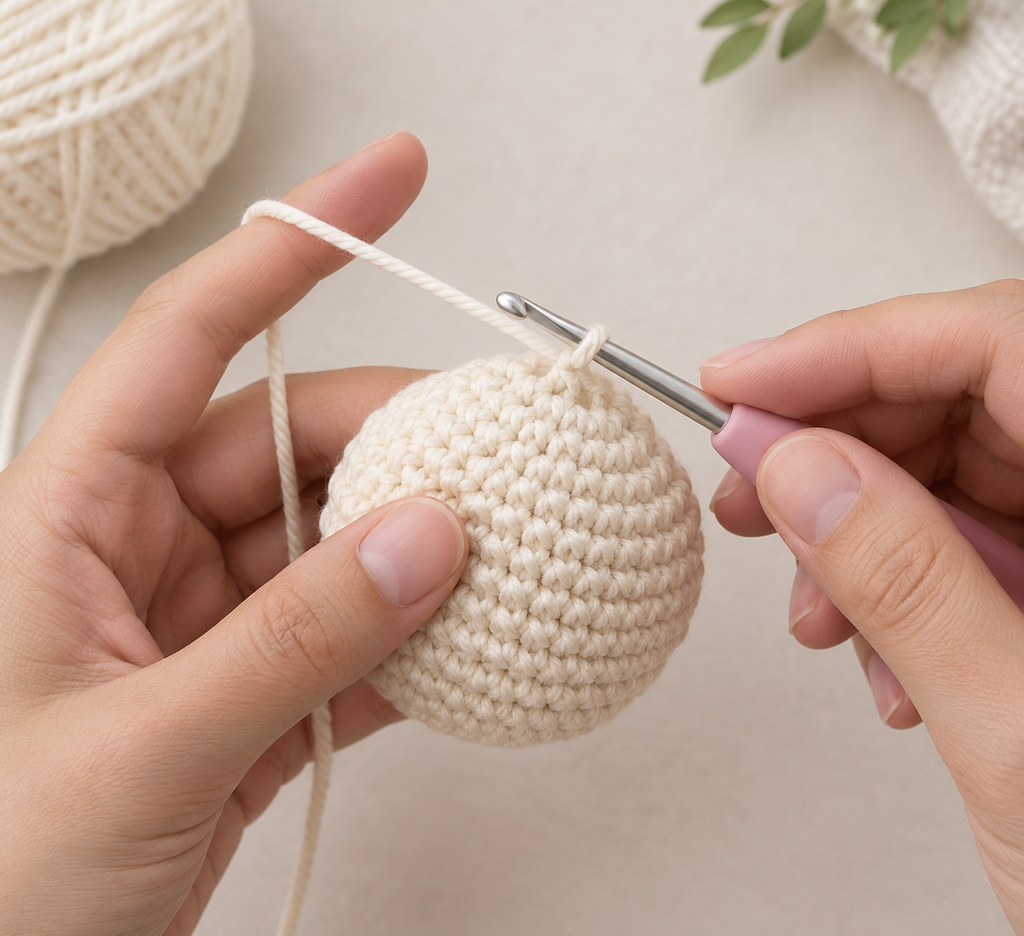
Start with a magic ring and work single crochet in a spiral, increasing evenly each round until the head reaches your desired width (Suggested: about 6–7 rounds increasing). Work a few straight rounds with no increases, then decrease gradually toward the end. Stuff firmly as you close the last rounds so the head holds a round shape.
Step 2: Make the Body
Using the same technique as the head, crochet a slightly larger or similarly sized ball shape: increase rounds first, then straight rounds, then decrease rounds at the top. Stuff firmly before closing so the body feels soft but holds its shape well.
Step 3: Make the Ears (Make 2)
Chain a length of stitches for the ear (Suggested: enough for a long, narrow shape), then work single crochet back along the chain on both sides to create a flat, oval ear shape. Keep the ears unstuffed or only very lightly stuffed so they stay soft and can be shaped later. If using a contrast color for the inner ear, work a small strip of contrast-color stitches down the center before switching back to the main color.
Step 4: Make the Arms (Make 2)
Crochet two small tube shapes: start with a magic ring, increase for one round, then work several straight rounds to the desired arm length. Leave these lightly stuffed or unstuffed near the top so they lie flat when sewn to the body.
Step 5: Make the Legs (Make 2)
Crochet two slightly larger tube or oval shapes the same way as the arms, with a few increase rounds to widen the foot area, then straight rounds up the leg. Stuff lightly so the legs stay soft but keep enough shape to help the bunny sit upright.
Finishing
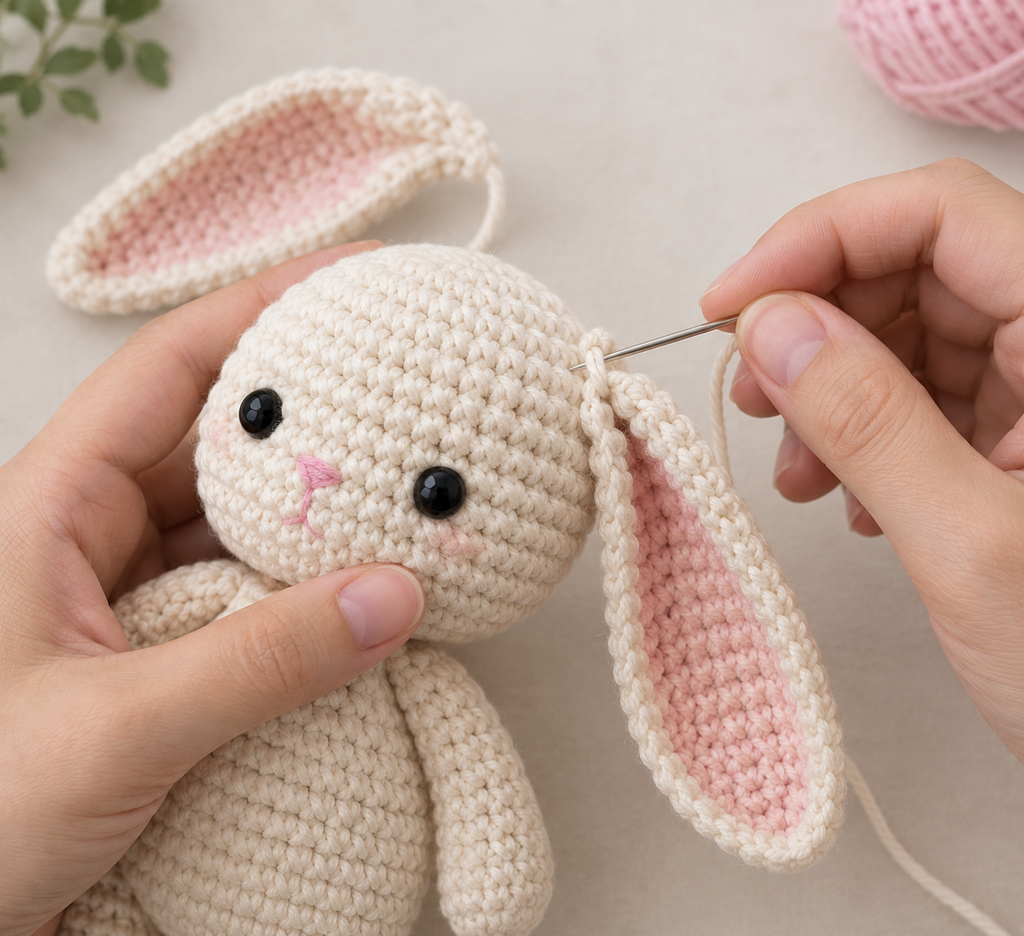
- Sew the head onto the top of the body, keeping it centered and upright.
- Attach the two ears to the top of the head, angling them slightly outward or letting them fold over, depending on the look you want.
- Sew the arms to the upper sides of the body and the legs to the bottom front, positioning them so the bunny can sit.
- Attach the eyes to the head, add a small embroidered or sewn-on nose, and stitch small pink cheeks if desired.
- Weave in all remaining loose ends with the yarn needle.
Helpful Tips
- Stuff the head and body firmly, but keep the ears soft — this contrast makes the bunny feel plush while the ears stay flexible and floppy.
- Pin the ears and limbs in place with removable stitch markers before sewing, so you can adjust the position and check both sides match.
- Work in a well-lit area when adding the face details — small placement changes make a big difference in the bunny’s expression.
Final Result
A soft, round little bunny with long floppy ears and a sweet face — a simple, huggable amigurumi perfect for gifting or display.

 By
By