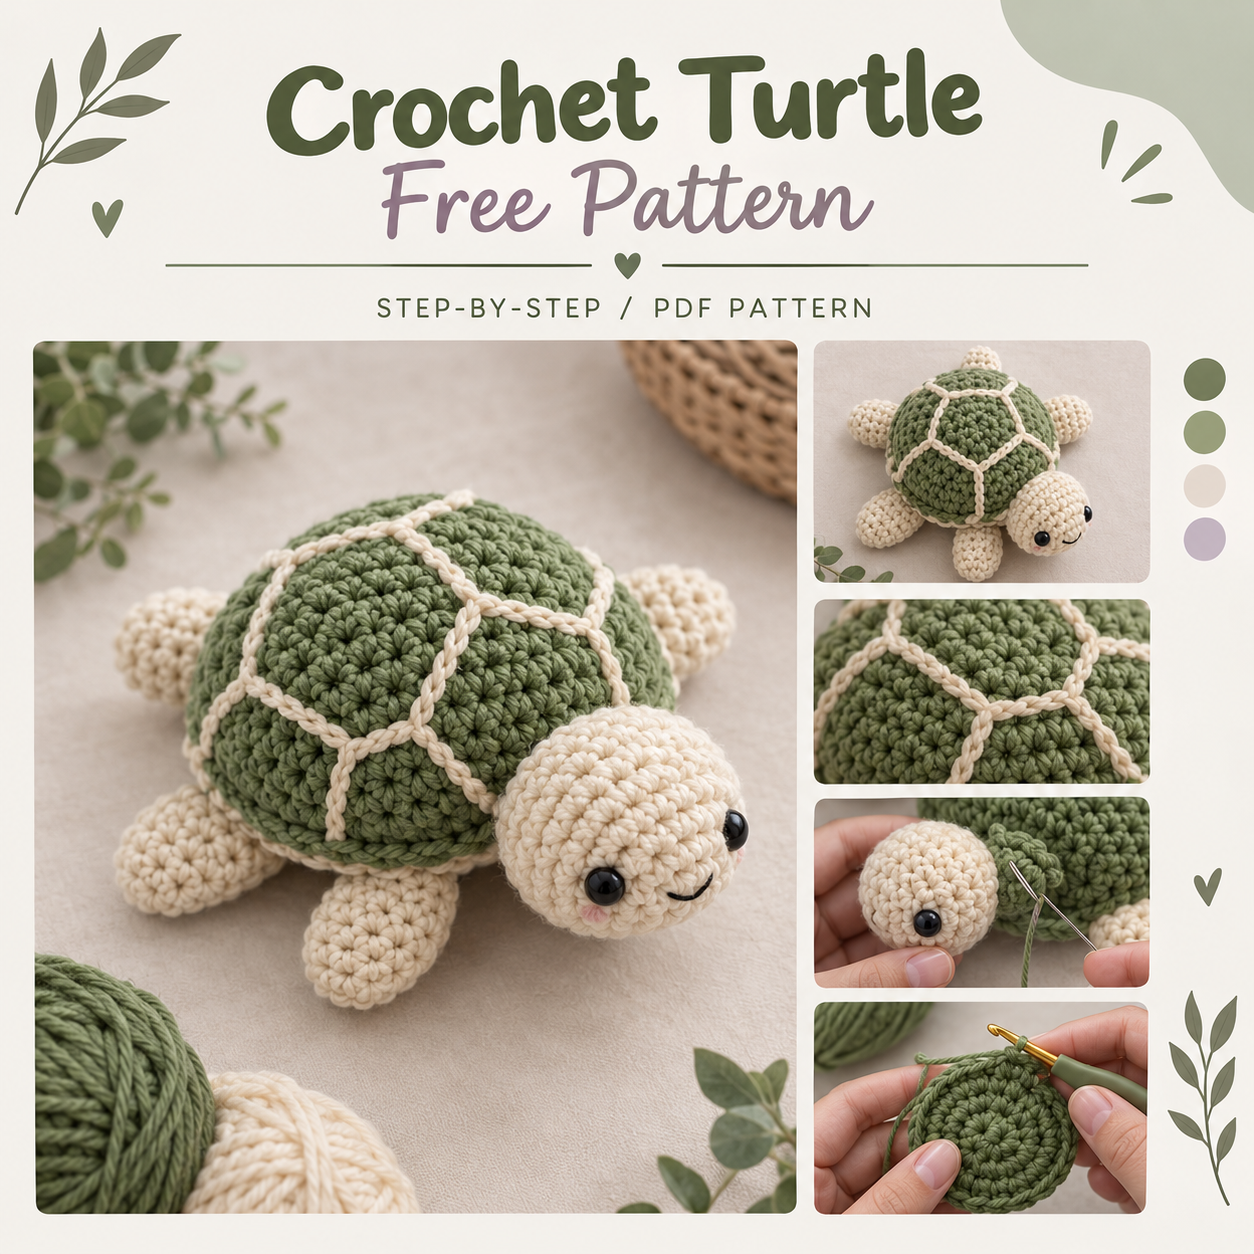

This adorable turtle plushie is made from a few simple crocheted pieces joined together. It’s a great project for beginners who know the basic stitches and want to practice making a simple amigurumi toy.
What You Need
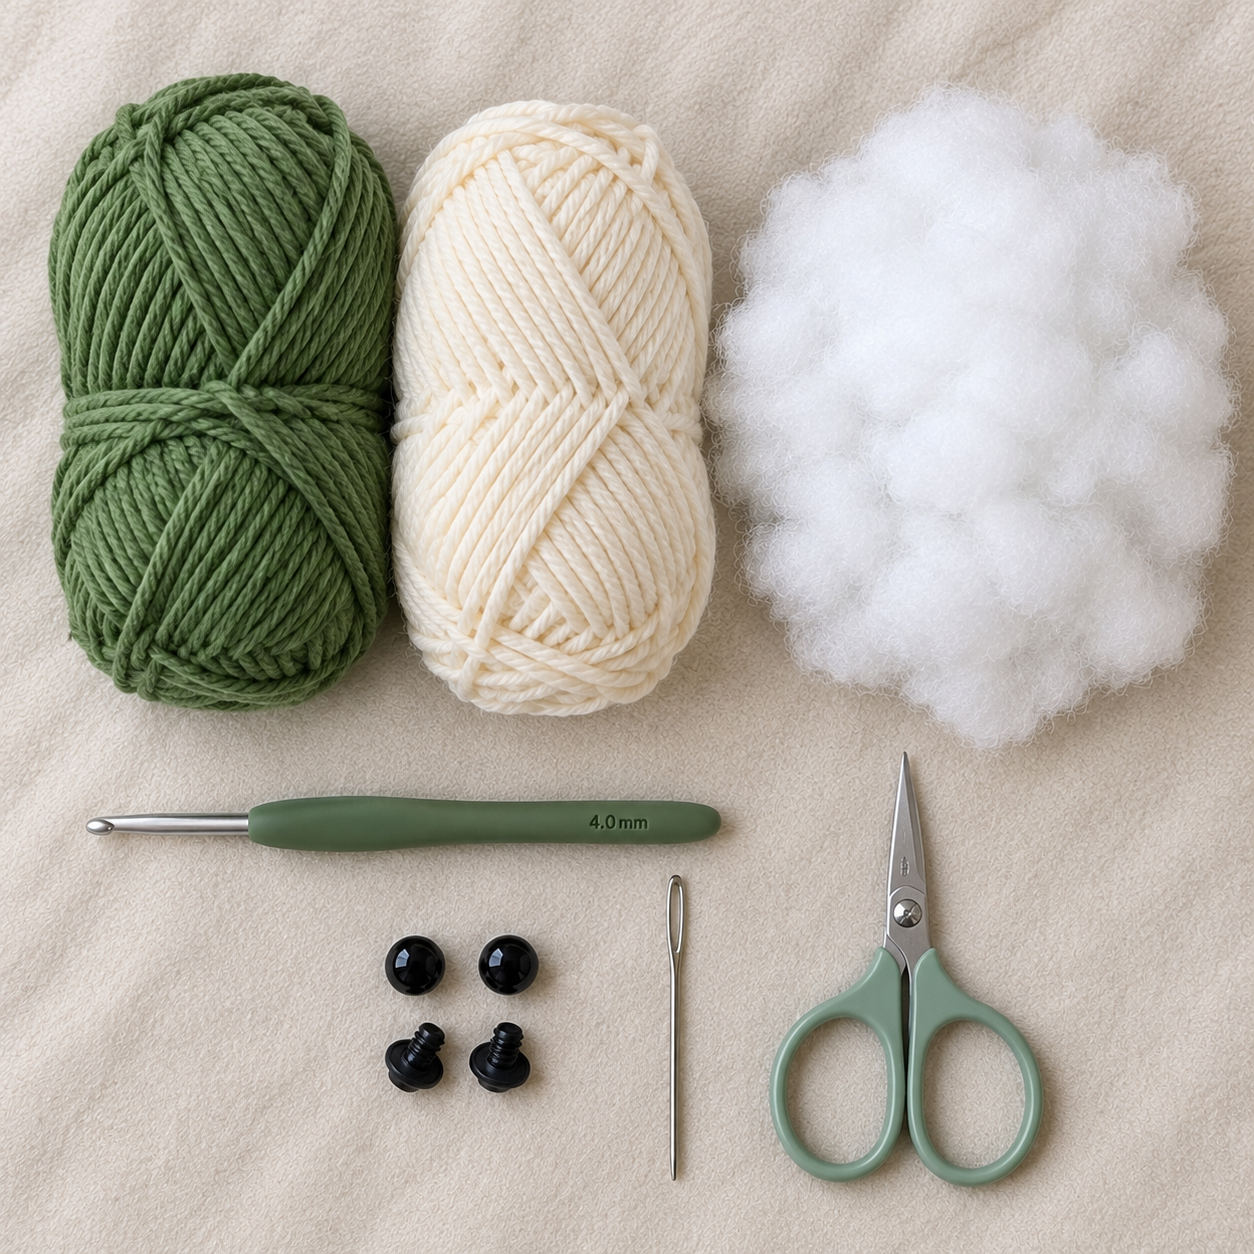
- Worsted weight yarn (green for the shell and body, and a contrast color for the belly/spots — optional)
- Crochet hook (Suggested: 3.5–4 mm, matched to your yarn)
- Stuffing (polyester fiberfill)
- Yarn needle (for sewing pieces together and weaving in ends)
- Small black beads or safety eyes (or embroider the eyes with black yarn)
- Stitch marker
- Scissors
How to Make It
Step 1: Make the Shell
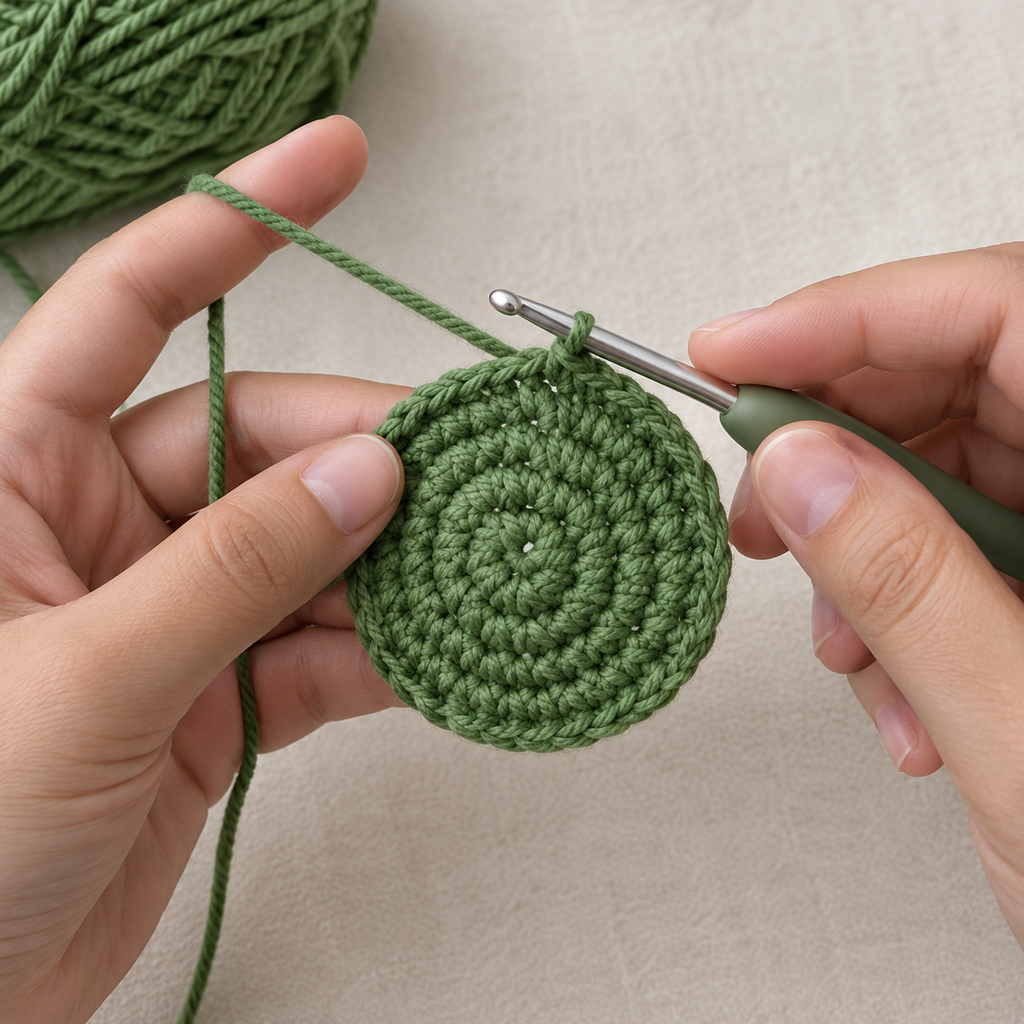
Crochet a flat circle in single crochet, starting with a magic ring and increasing evenly each round. Keep increasing in a spiral until the circle reaches your desired shell size (Suggested: about 8–10 rounds for a small plushie). This forms the top of the turtle’s shell.
Step 2: Make the Body/Base
Crochet a second, slightly smaller circle the same way as the shell. This will be the flat underside of the turtle that the legs and head attach to.
Step 3: Shape the Shell
With the shell piece, work a few rounds without increasing (straight rounds) after your last increase round. This adds height and gives the shell its slightly domed, rounded look instead of staying flat.
Step 4: Make the Head
Start a small ball shape: begin with a magic ring, increase for a couple of rounds to widen it, then work several straight rounds, and finally decrease evenly to close it back down. Stuff it firmly before closing the last few stitches so it holds its round shape.
Step 5: Make the Legs (Make 4)
Crochet four small stubby pieces the same way as the head but smaller: a few increase rounds, one or two straight rounds, then close off. Leave a long yarn tail on each one for sewing them onto the body later. Stuff each leg lightly so it stays soft and flexible.
Step 6: Make the Tail
Crochet a tiny tapered piece: start with a small magic ring, work a couple of straight rounds, then decrease down to a point. This piece needs little to no stuffing since it’s small.
Finishing
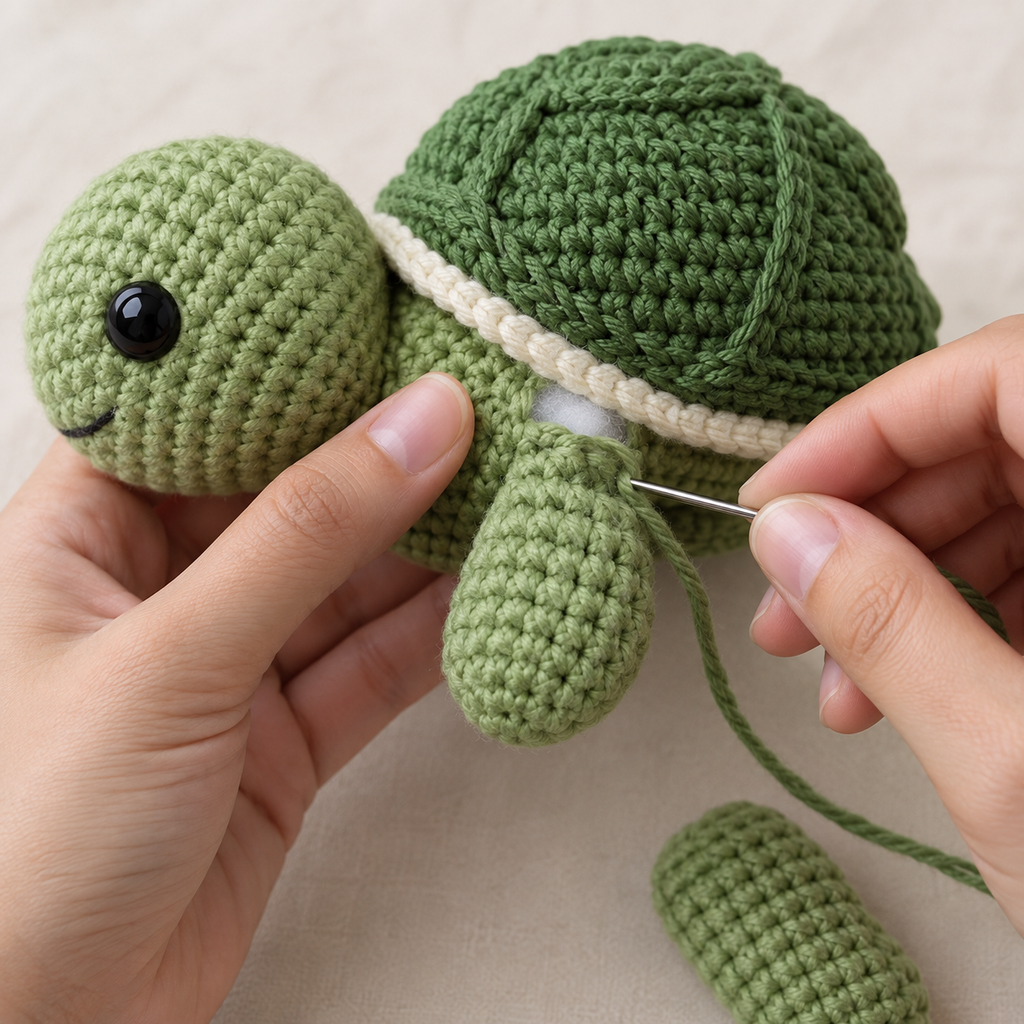
- Sew the head, four legs, and tail onto the body piece, spacing the legs evenly (two in front, two in back) and placing the head at the front and tail at the back.
- Stuff the shell piece lightly before joining it to the body so the turtle has a rounded, plush shape.
- Join the shell to the body piece by sewing or single-crocheting around the edge, leaving a small gap to add a bit more stuffing if needed, then close it fully.
- Attach the eyes to the head, or embroider them with black yarn.
- Weave in all remaining loose ends with the yarn needle.
- Optional: add small contrast-color stitches or spots on the shell for a decorative pattern.
Helpful Tips
- Stuff firmly but not overly tight — this keeps the turtle soft and huggable while still holding its shape.
- Use a stitch marker on every round of increases so you don’t lose track of where each round starts.
- Sew the legs on before fully closing the shell to the body — it’s much easier to position them evenly while you can still reach inside.
Final Result
A soft, round little turtle plushie with a domed shell, stubby legs, and a friendly face — perfect as a handmade gift or a cozy shelf companion.

 By
By