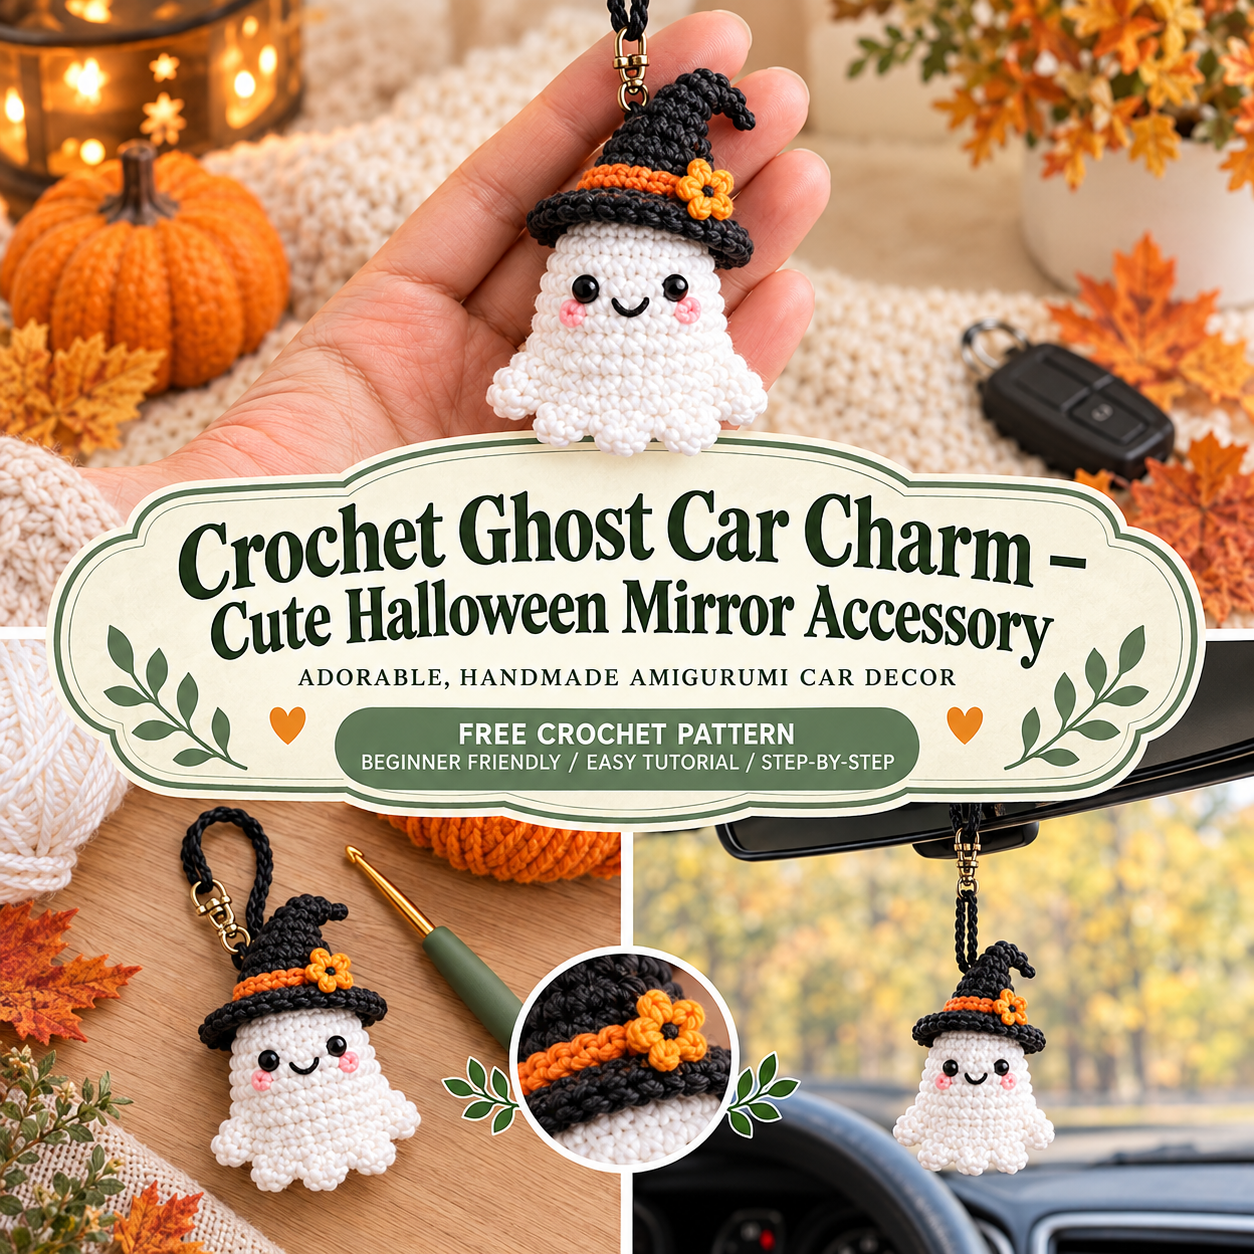

This cute ghost charm is made from one simple rounded body piece with a wavy bottom edge, finished with a face and a hanging loop. It’s a quick, beginner-friendly project perfect for decorating a car mirror for Halloween.
What You Need

- Worsted weight white or cream yarn (for the ghost body)
- Small amount of black yarn or embroidery thread (for the eyes and mouth)
- Crochet hook (Suggested: 3.5–4 mm, matched to your yarn)
- Small amount of stuffing (polyester fiberfill)
- Yarn needle (for sewing details and weaving in ends)
- Ribbon, cord, or a small chain for hanging on a car mirror
- Stitch marker
- Scissors
How to Make It
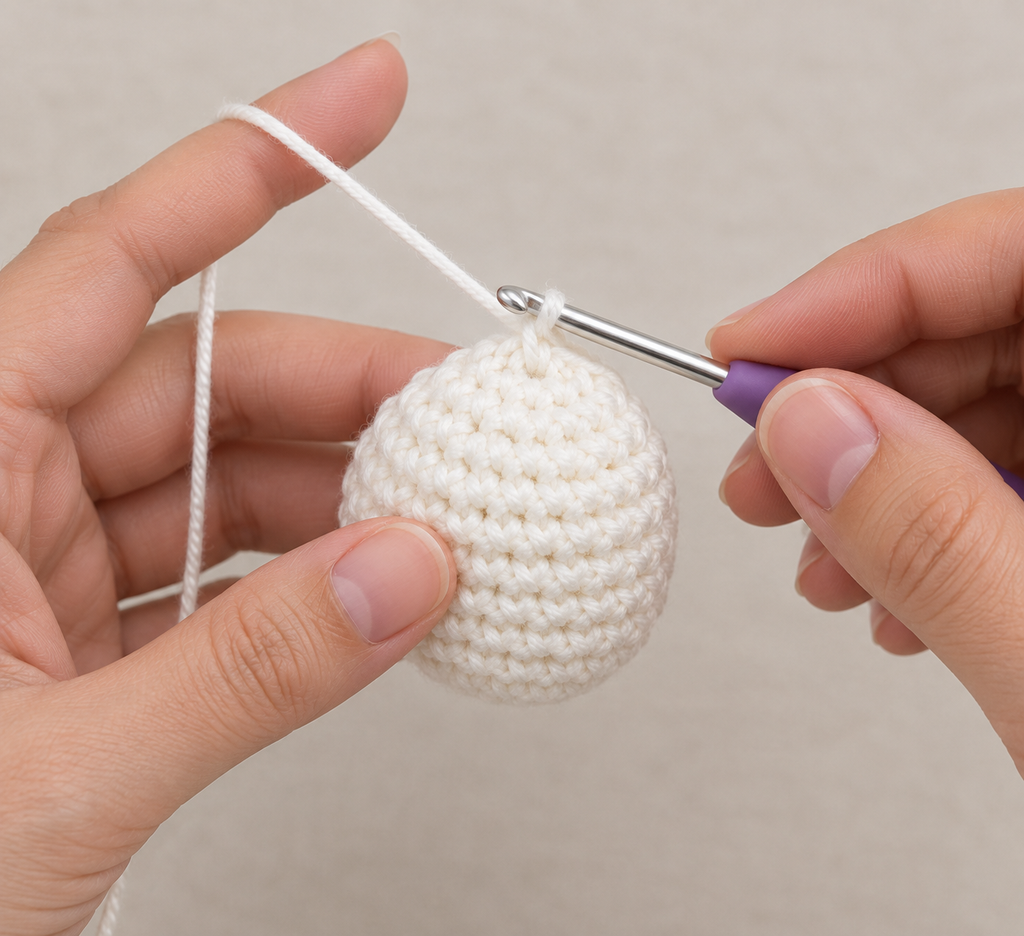
Step 1: Make the Top of the Ghost
Start with a magic ring in white yarn and work single crochet in a spiral, increasing evenly each round until the piece reaches your desired width for the ghost’s head area (Suggested: about 4–5 rounds increasing). This forms the rounded top of the ghost’s body.
Step 2: Build the Body
After your last increase round, work several straight rounds with no increases. This adds length to the body, giving the ghost its classic tall, rounded shape. Stuff lightly as you go so the shape holds but stays soft.
Step 3: Shape the Wavy Bottom Edge
On the final round, instead of closing the piece completely, work the stitches in small groups to create a scalloped or wavy edge: work a few stitches, then a small increase or a loose chain-and-slip-stitch loop, repeating this pattern all the way around (Suggested: 4–5 waves). This creates the classic “floating ghost tail” look at the bottom.
Step 4: Close and Secure the Bottom
Once the wavy edge is complete, add a bit more stuffing through the bottom opening if needed, then close any remaining gaps with a few stitches using the yarn needle. Fasten off and weave in the yarn tail.
Step 5: Add the Face
Using black yarn or embroidery thread, stitch two small round eyes and a simple open “oo” shaped mouth onto the front of the ghost’s head area. Keep the features simple and slightly rounded for a friendly expression.
Finishing
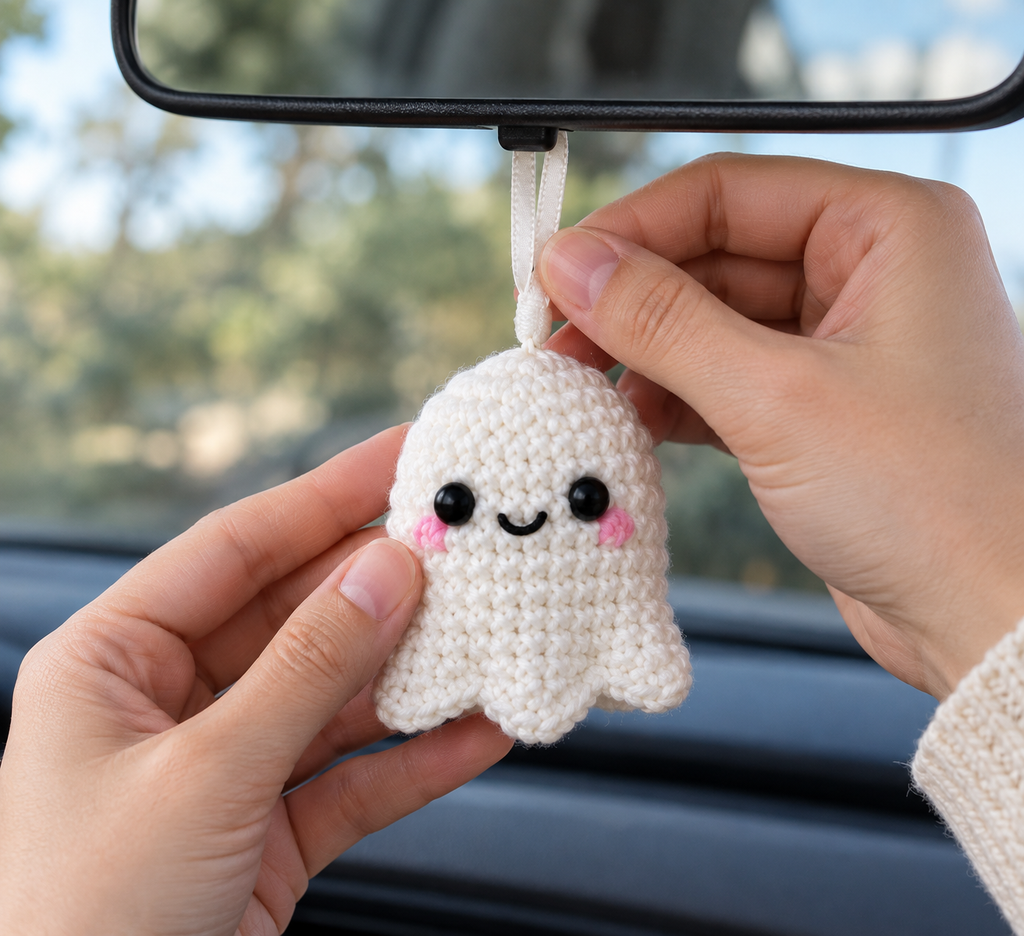
- Attach a loop of ribbon, cord, or a small chain to the top of the ghost’s head, sewing it securely so it can hang from a car mirror.
- Weave in any remaining loose ends with the yarn needle.
- Gently reshape the ghost by smoothing the stuffing so the body looks even and the wavy bottom edge lies naturally.
Helpful Tips
- Keep the stuffing light in the body so the ghost has some softness and drape, similar to how a real ghost accessory should move slightly while hanging from a mirror.
- Space the wavy bottom sections evenly by counting your stitches before starting each wave, so the scalloped edge looks balanced from every angle.
- Secure the hanging loop with several small stitches, not just one, since a mirror charm swings and gets pulled on while driving.
Final Result
A soft, friendly white ghost charm with a wavy bottom edge and a simple smiling face — a fun handmade Halloween accessory to hang from a car mirror.


 By
By