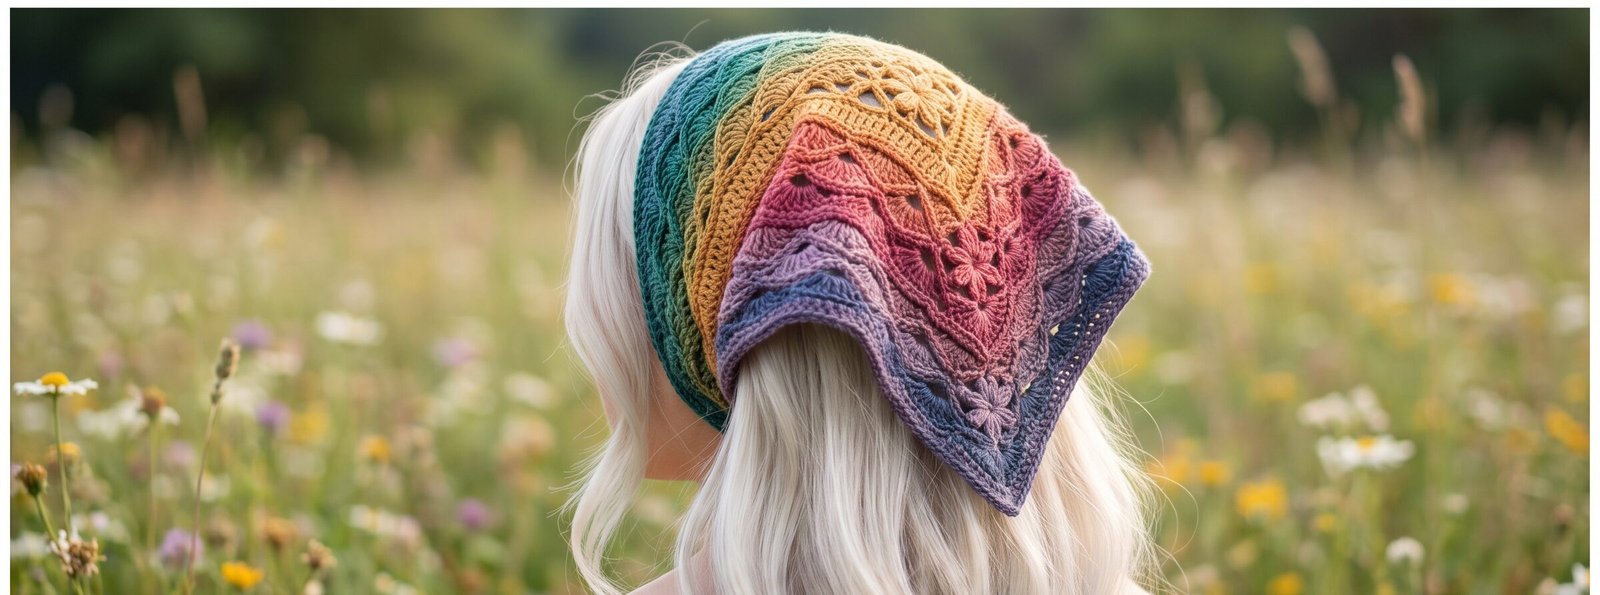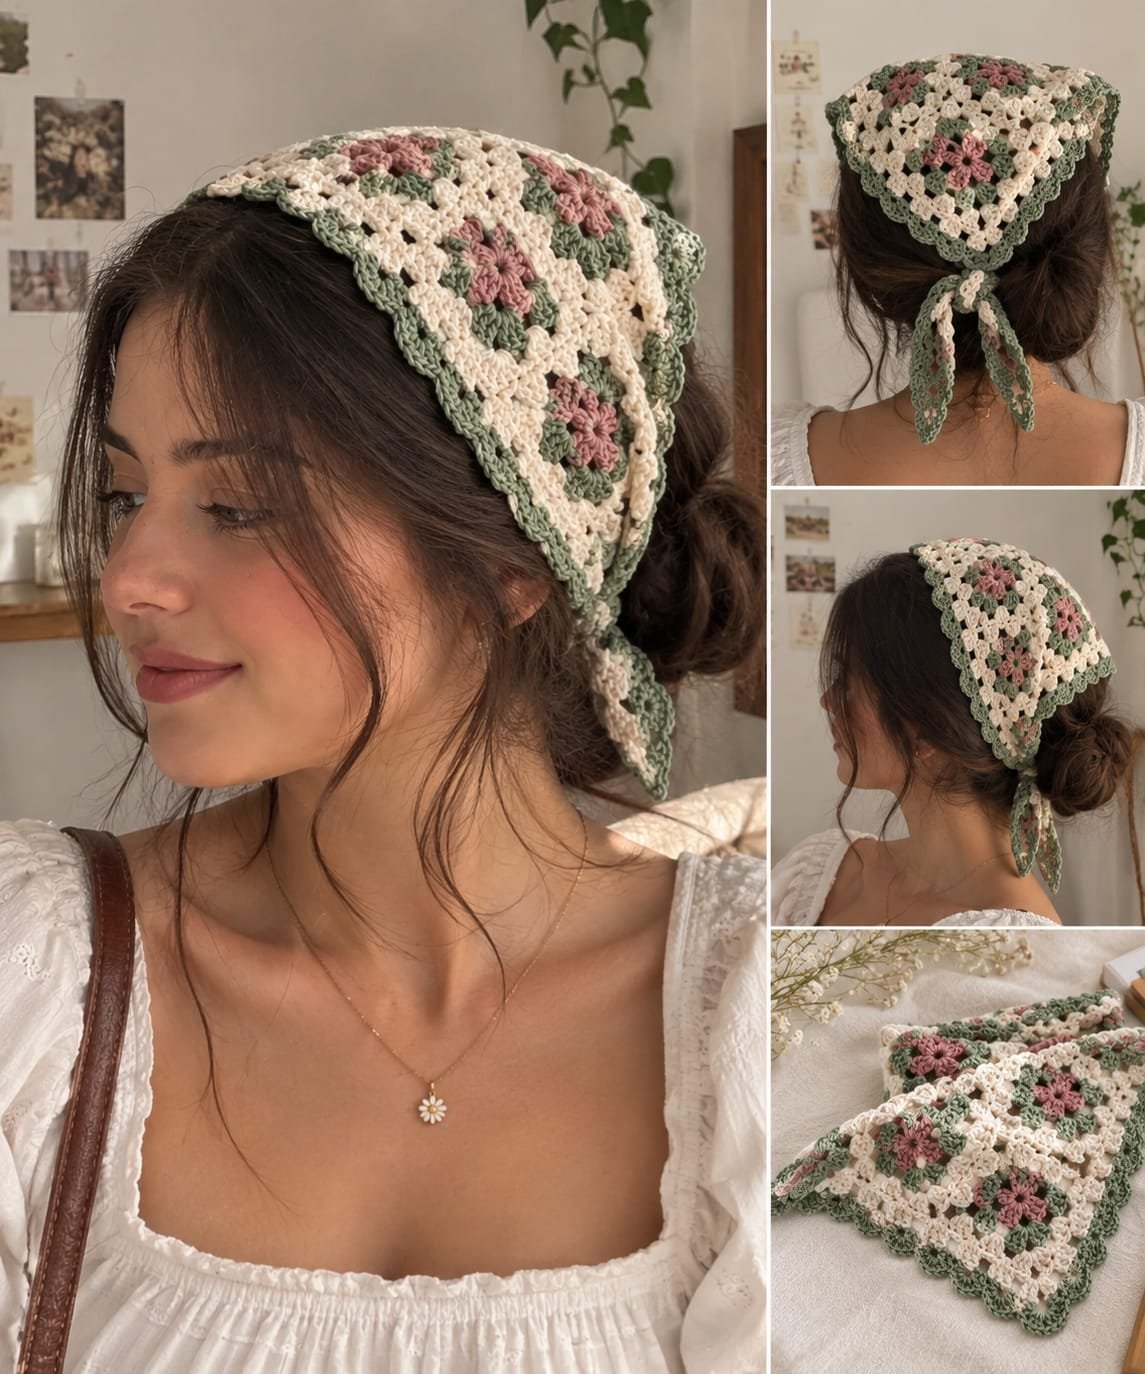
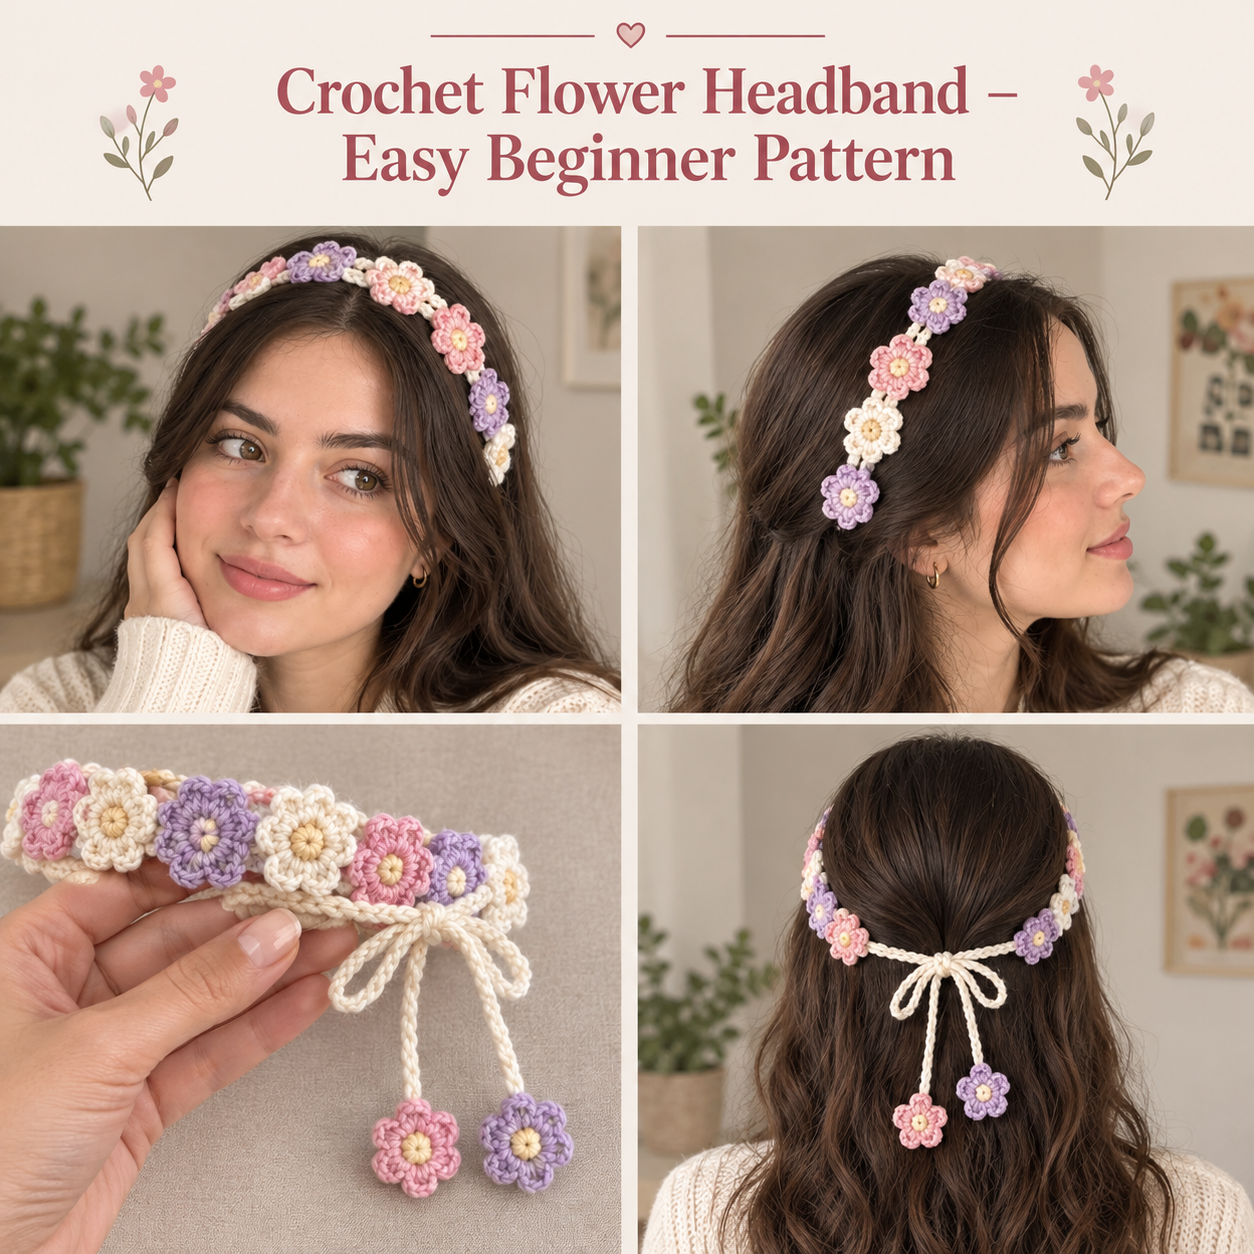

This pretty headband is made from one simple stretchy band topped with a layered crochet flower. It’s an easy, beginner-friendly project using basic stitches throughout.
What You Need
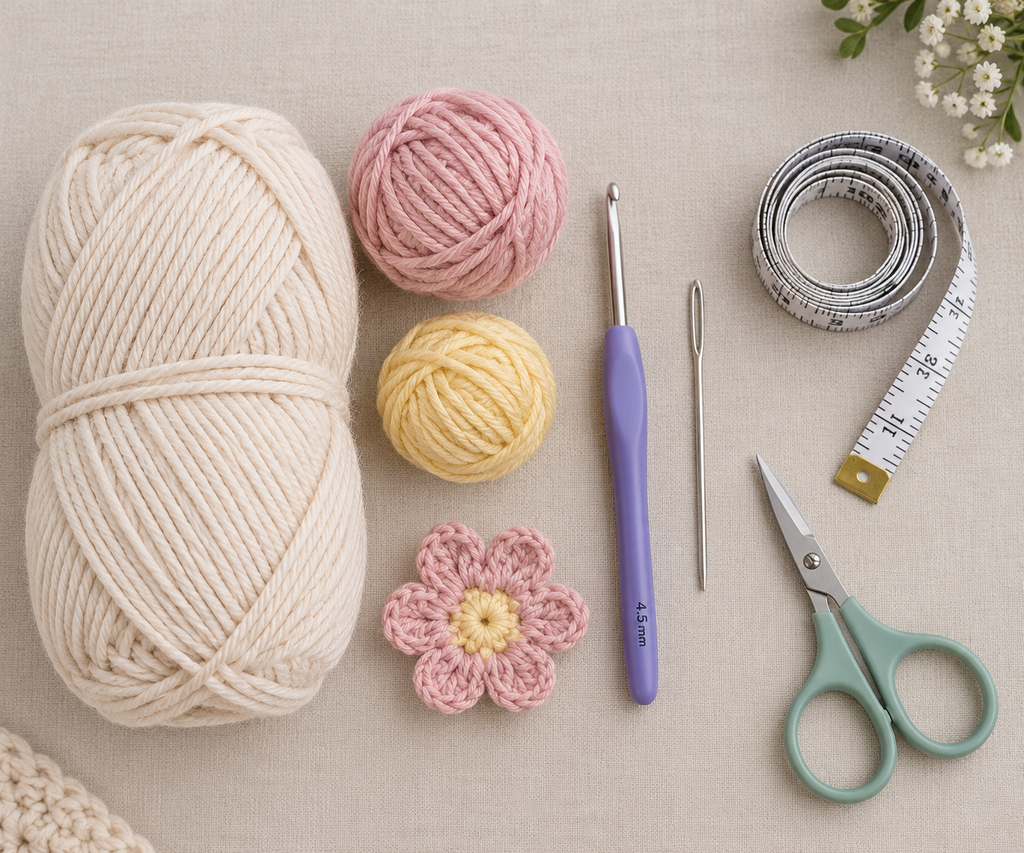
- Worsted weight yarn (main color for the band, plus a contrast color for the flower and a small amount of yellow for the center)
- Crochet hook (Suggested: 4–5 mm, matched to your yarn)
- Yarn needle (for sewing the flower on and weaving in ends)
- Measuring tape
- Stitch marker
- Scissors
How to Make It
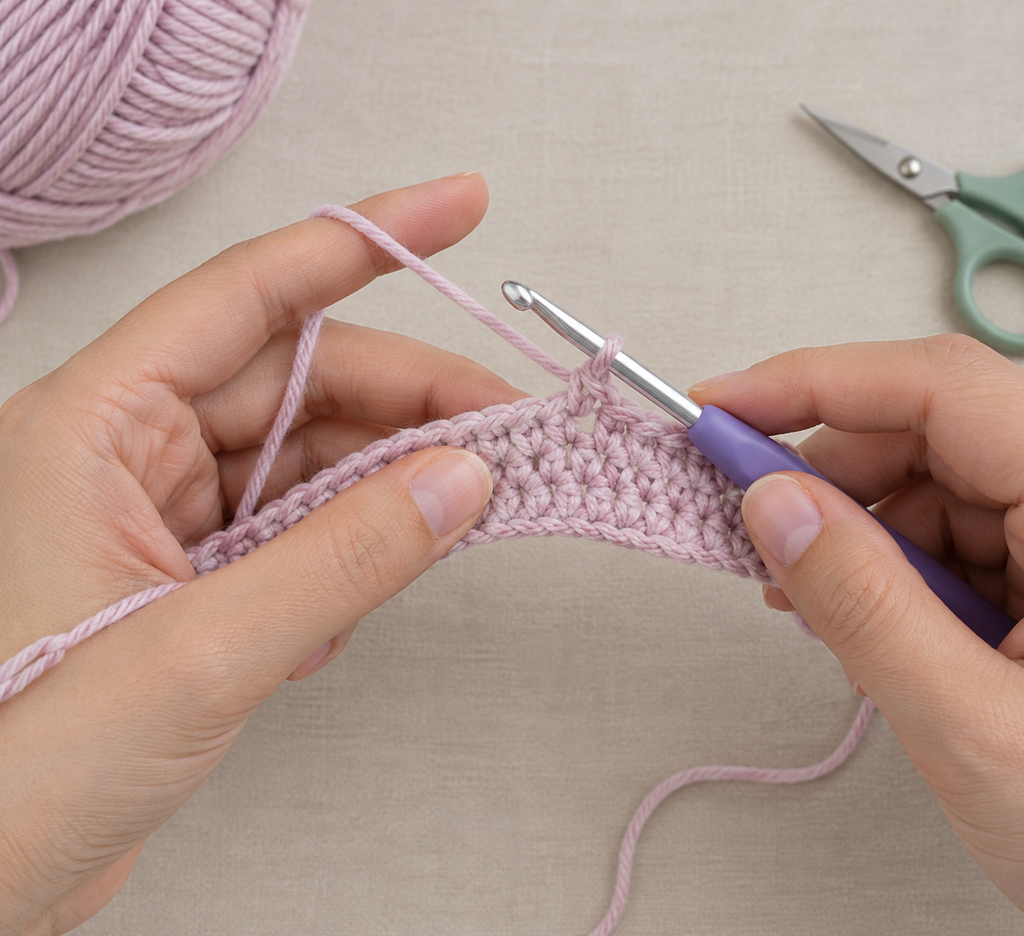
Step 1: Make the Headband
Chain a short length of stitches (Suggested: enough to match the width you want the band to be, usually just a few inches). Work back down the chain in single crochet or half double crochet to complete your first short row, then turn and continue working rows back and forth using the same stitch, keeping the width the same throughout.
Step 2: Build the Band to Length
Continue working row after row in the same stitch until the band is long enough to stretch comfortably around your head from ear to ear, with a bit of extra length for overlap or ties (Suggested: measure around your head and compare to the growing band as you work). If you want a stretchy fit, you can work the band in half double crochet, which has a bit more give than single crochet.
Step 3: Join or Add Ties
If making a stretchy pull-on headband, join the two short ends of the band together with slip stitches to form a loop, checking that it isn’t too tight before fully closing it. If you prefer a tie-back style instead, skip joining the ends and simply crochet a short chain at each end to use as ties.
Step 4: Make the Flower Base Ring
Start with a magic ring in your flower color and work a small number of single crochet stitches into it (Suggested: about 6–8 stitches), then pull the ring closed and join with a slip stitch to complete the round.
Step 5: Add the Flower Petals
Working into the stitches of the base ring, chain a few stitches, then work double crochet stitches back into the same stitch to form a petal shape. Slip stitch into the next stitch, then repeat this same chain-and-petal process all the way around the ring (Suggested: 5–6 petals) until you return to your starting point.
Step 6: Add the Flower Center
Using yellow yarn, work a tiny tight circle of single crochet stitches, or simply wrap and stitch a small yarn knot, and attach it to the very center of the flower where all the petals meet.
Finishing
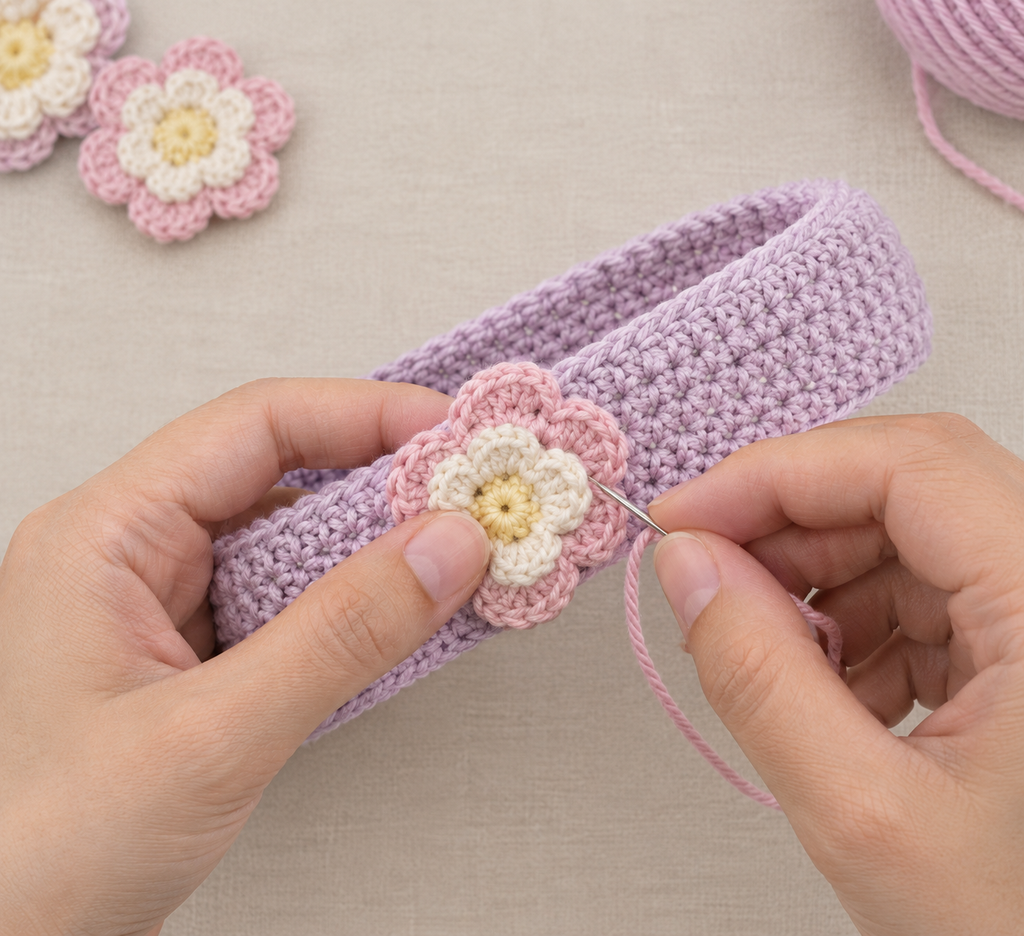
- Sew the finished flower onto one side of the headband, positioning it where you’d like it to sit when worn.
- Weave in all remaining loose ends with the yarn needle.
- Try the headband on to check the fit and flower placement, adjusting the stitching if needed before trimming any extra yarn.
Helpful Tips
- Use a stitch that has some stretch, like half double crochet, if you want the headband to pull on and off easily without needing a closure.
- Keep your petal stitches loose and even on the flower so it lies flat instead of curling or puckering in the center.
- Sew the flower on with several small stitches around its base, not just through the very center, so it stays securely attached with wear.
Final Result
A soft, stretchy headband topped with a cheerful layered flower — a simple, pretty accessory that’s quick to make and fun to wear.

 By
By