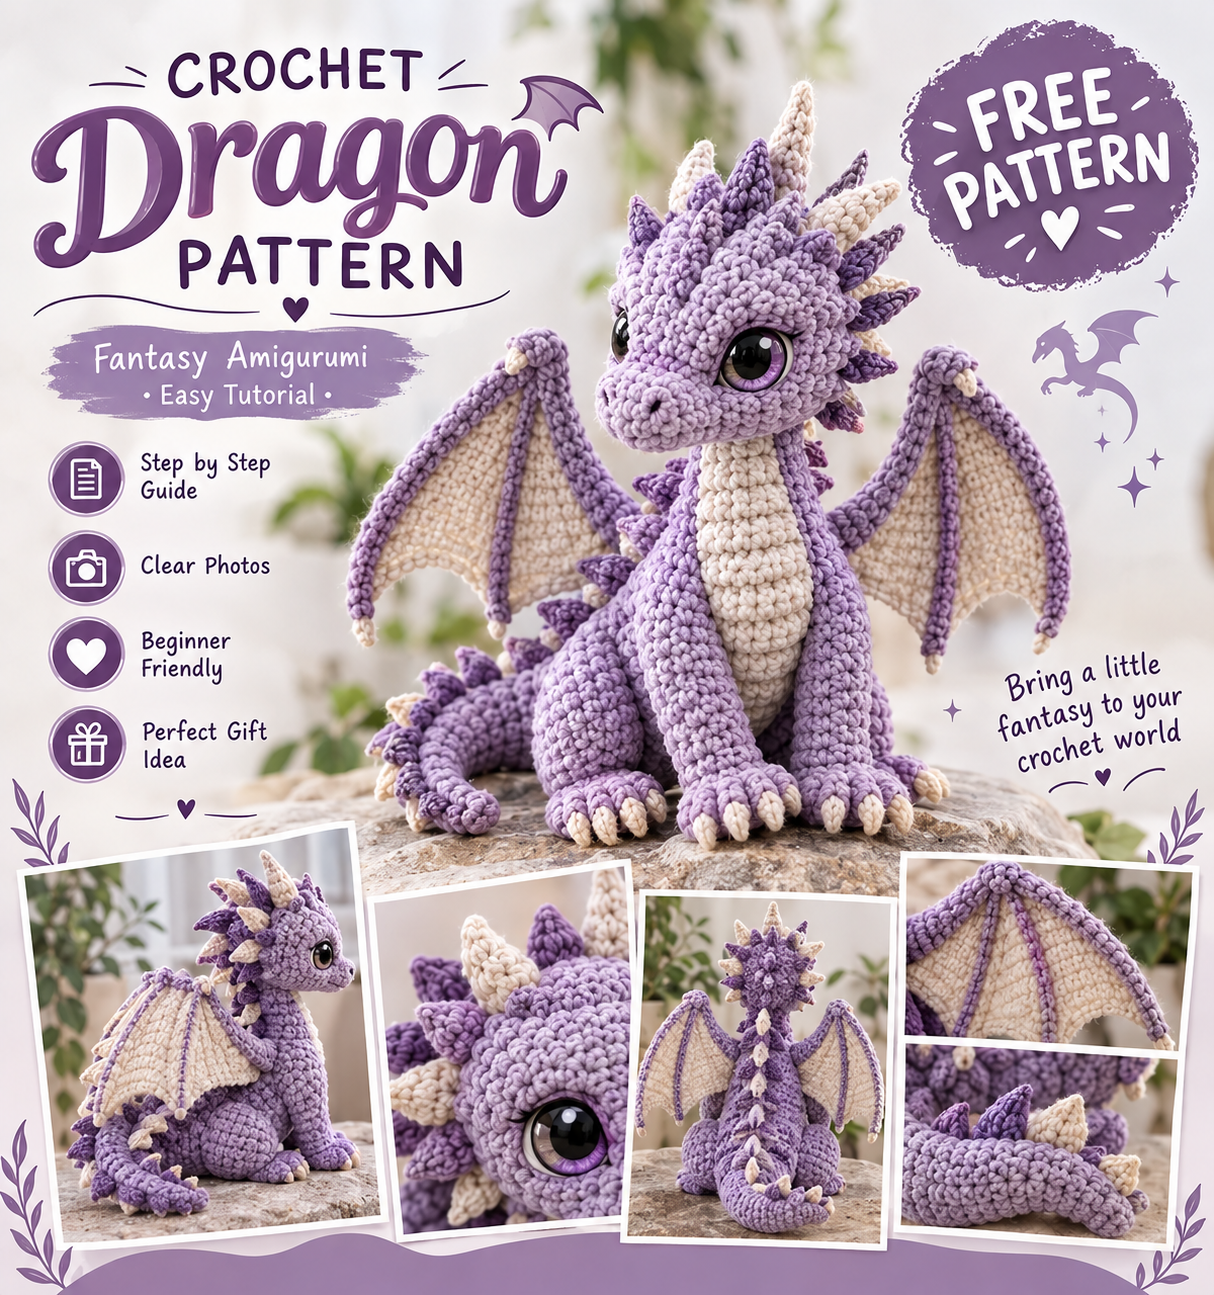

This cute dragon amigurumi is built from simple rounded pieces joined together, with small spikes and wings for character. It’s a fun beginner project that uses basic amigurumi shaping techniques.
What You Need
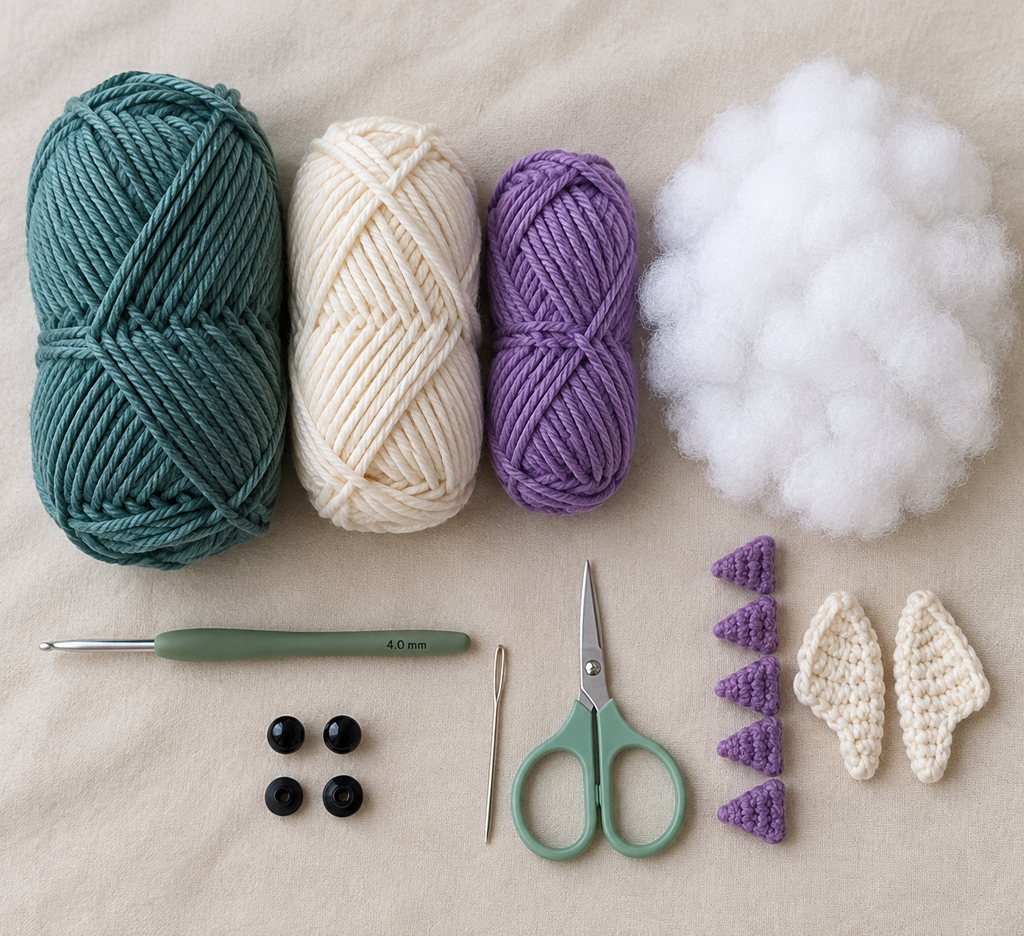
- Worsted weight yarn (main body color, plus a contrast color for the belly, spikes, and wings)
- Crochet hook (Suggested: 3.5–4 mm, matched to your yarn)
- Stuffing (polyester fiberfill)
- Yarn needle (for sewing pieces and weaving in ends)
- Small black beads or safety eyes (or embroider the eyes)
- Stitch marker
- Scissors
How to Make It
Step 1: Make the Body
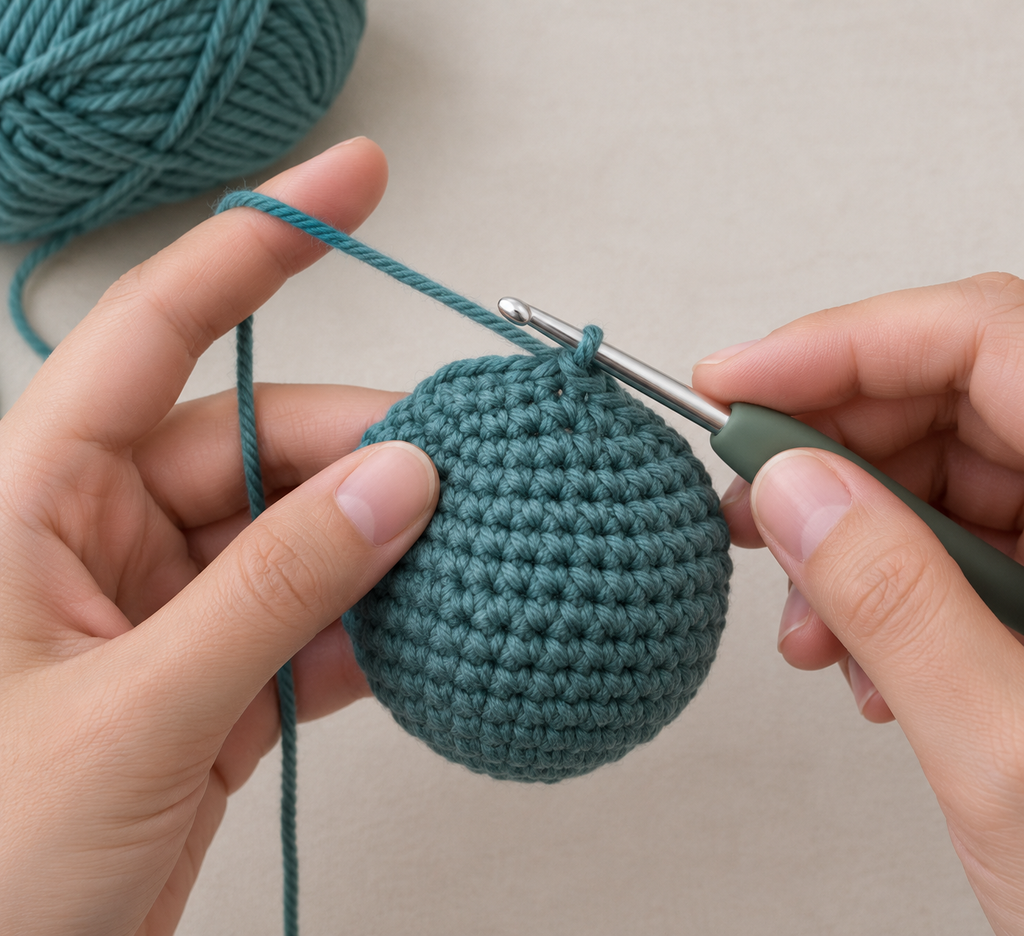
Start with a magic ring and work single crochet in a spiral, increasing evenly each round until the piece is wide enough for the dragon’s belly (Suggested: about 8–9 rounds increasing). Then work several straight rounds (no increases) to add height to the body. Finish by decreasing evenly over a few rounds and stuffing firmly before closing the top opening.
Step 2: Make the Head
Begin with a magic ring, increase for a couple of rounds to shape a round head, then work a few straight rounds. Decrease gradually toward the end to taper the shape slightly, giving a small rounded snout. Stuff firmly as you close the last rounds so the head holds its shape.
Step 3: Make the Legs (Make 4)
Crochet four short, slightly tapered pieces: a couple of increase rounds, one or two straight rounds, then close off, leaving a long tail of yarn on each for sewing. Stuff each leg lightly so they stay soft but hold their shape.
Step 4: Make the Tail
Start with a small magic ring and work several straight rounds to create a tube shape, gradually decreasing near the end so the tail tapers to a point. Add light stuffing only in the wider part near the body; the tip can stay unstuffed and flat.
Step 5: Make the Spikes
Crochet a row of small triangular or teardrop-shaped pieces (Suggested: 5–7 spikes) in the contrast color. Each spike is made by chaining a few stitches, then working back along the chain with single crochet, decreasing naturally toward the tip to form a point. These will be sewn along the dragon’s back.
Step 6: Make the Wings (Optional)
Crochet two flat, fan-like pieces using single crochet worked back and forth in rows, increasing at the edges to create a slightly curved wing shape. Leave these unstuffed so they lie flat against the body.
Finishing
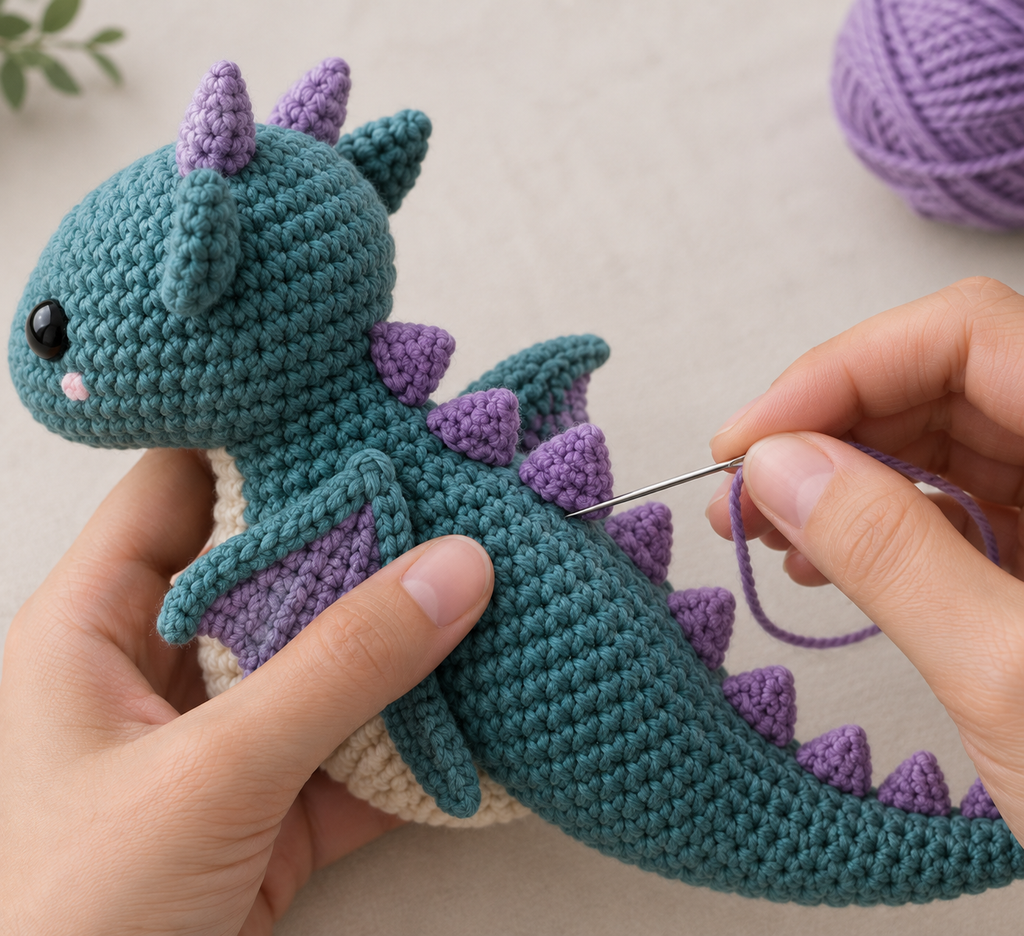
- Sew the head onto the front of the body, and attach the four legs evenly underneath (two front, two back) so the dragon can sit upright.
- Sew the tail to the back of the body, opposite the head.
- Attach the spikes in a single row along the top of the head, neck, and back, spacing them evenly from smallest near the head to largest near the tail if desired.
- If using wings, sew one to each side of the body, just behind the head.
- Attach the eyes or embroider them onto the head, and add a small embroidered mouth if desired.
- Weave in all loose ends with the yarn needle.
Helpful Tips
- Stuff the body and head firmly before closing them completely — this keeps the dragon’s shape from looking lumpy or saggy.
- Pin the spikes in place with removable stitch markers before sewing, so you can check the spacing looks even from both sides.
- Use a contrast color consistently for the belly, spikes, and wings to make the dragon’s features stand out clearly.
Final Result
A cute, chubby little dragon with a rounded body, tapered tail, and a row of spikes down its back — a fun and friendly amigurumi to display or gift.

 By
By