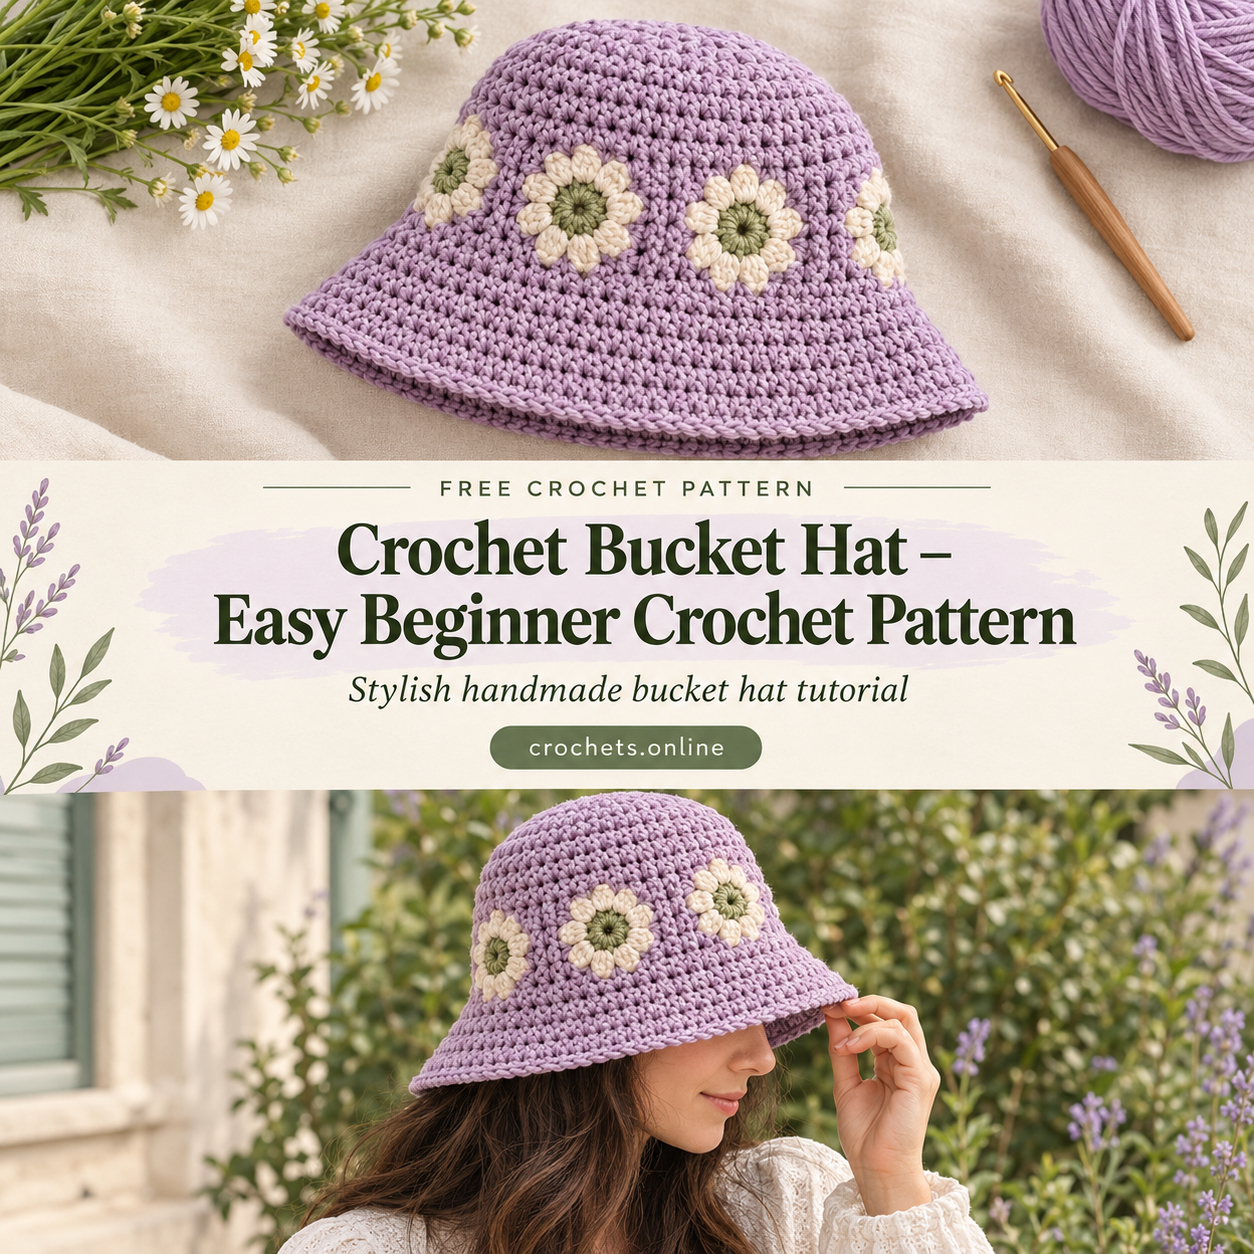

This classic bucket hat is made from a flat circular crown, straight sides, and a flared brim. It’s an easy, beginner-friendly project using just basic increasing and straight rounds.
What You Need
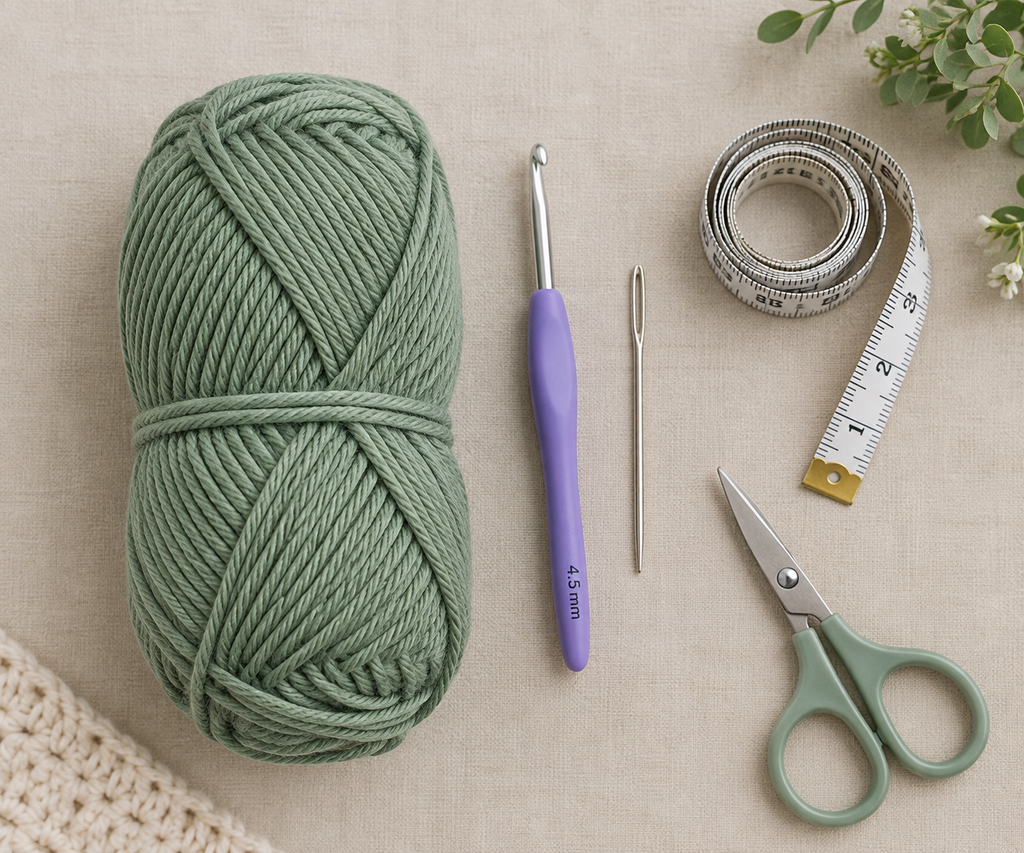
- Worsted weight yarn (in your chosen color, or two colors for a contrast brim)
- Crochet hook (Suggested: 4–5 mm, matched to your yarn for a firm fabric)
- Yarn needle (for weaving in ends)
- Measuring tape
- Stitch marker
- Scissors
How to Make It
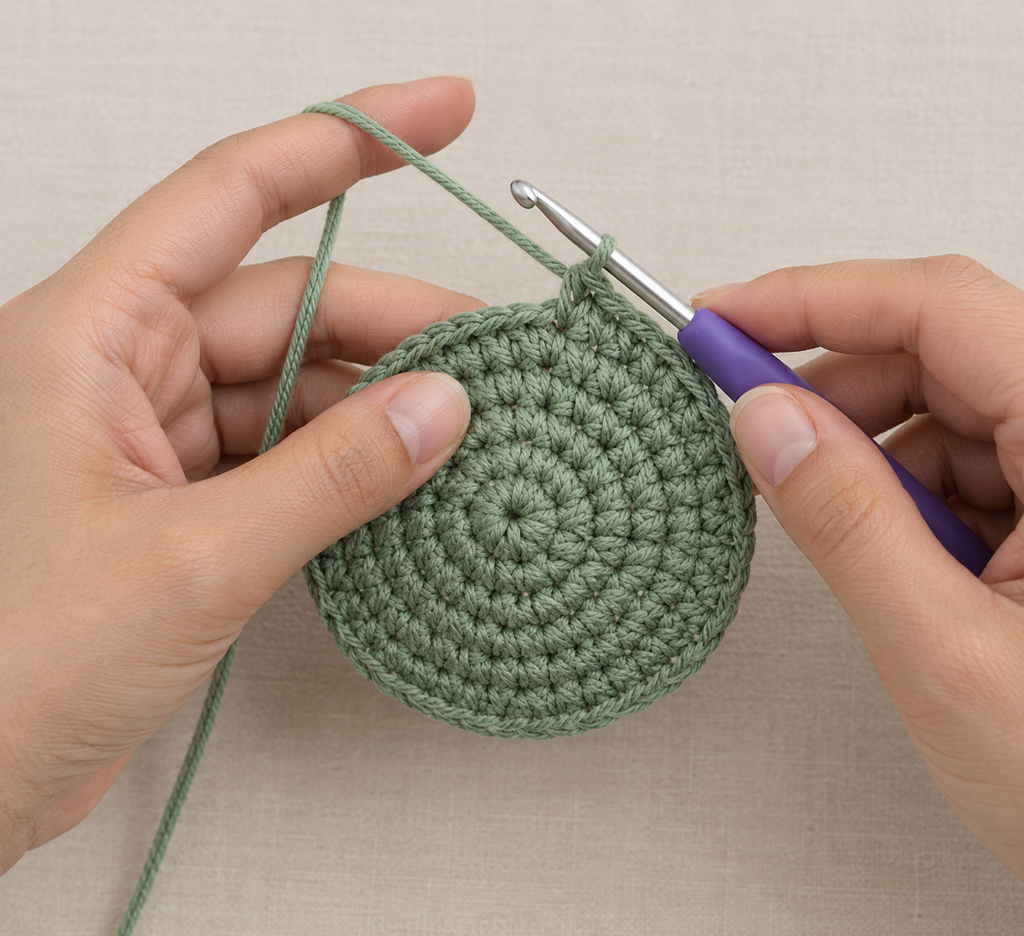
Step 1: Start the Crown
Start with a magic ring and work single crochet in a spiral, increasing evenly each round. Keep increasing round after round until the flat circle matches the width of the top of your head (Suggested: measure it by laying the circle flat against the crown of your head or a hat you already own).
Step 2: Work the Sides Straight
Once the crown circle is the right width, stop increasing and work several rounds of single crochet with no increases. This turns the flat circle upward into the sides of the hat, forming the part that sits around your head. Continue until the sides reach your desired hat height (Suggested: measure from the top of your head down to where you want the hat to end).
Step 3: Check the Fit
Try the hat on at this point if possible. The sides should sit snugly around your head without feeling tight. If it feels loose, you can go down a hook size on your next project; if it feels tight, you can go up a hook size.
Step 4: Begin the Brim
To start the brim, work one round of single crochet without increasing, then begin adding evenly spaced increases in the next round. This starts flaring the fabric outward instead of straight down, similar to how you started the crown but happening around the outside of the hat.
Step 5: Flare Out the Brim
Continue working rounds with evenly spaced increases, adding a few more increases in each round than you did in the sides, so the brim flares outward more with each round. Keep going until the brim reaches your desired width (Suggested: check against a bucket hat you already own, aiming for a brim that stands out a few inches from the sides).
Finishing
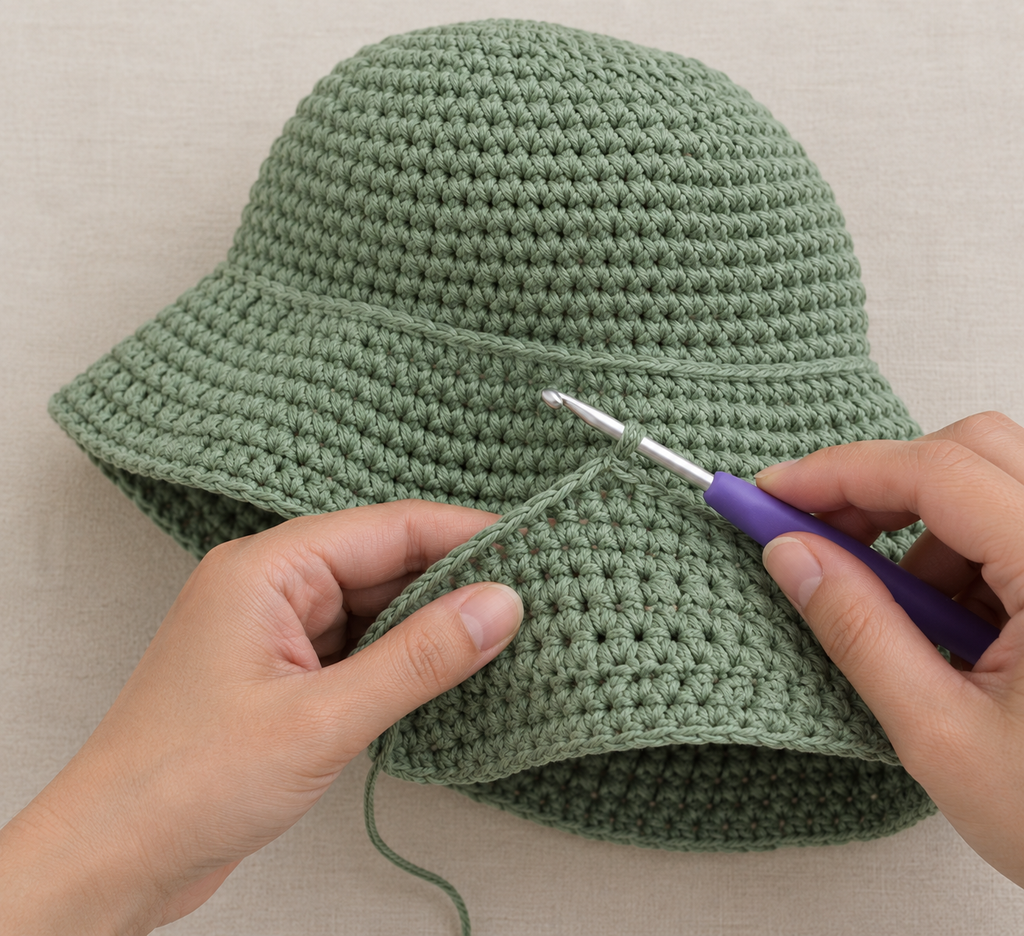
- Once the brim is the width you want, work one final round of single crochet with no increases to create a clean, flat edge.
- Fasten off and weave in all loose ends with the yarn needle.
- Lightly steam or block the hat if the brim looks uneven, following the care instructions for your yarn, so it holds its shape and lies flat.
Helpful Tips
- Use a stitch marker at the start of every round so you always know exactly where each new round begins, especially important when counting increases.
- Try the hat on as you go, especially at the top of the sides and again once you start the brim, so you can adjust the height or width before it’s too late to fix easily.
- Choose a firmer, less stretchy yarn for the brim so it holds its flared shape instead of flopping down.
Final Result
A simple, sturdy bucket hat with a snug crown and a flared brim — a fun, wearable accessory perfect for sunny days.

 By
By