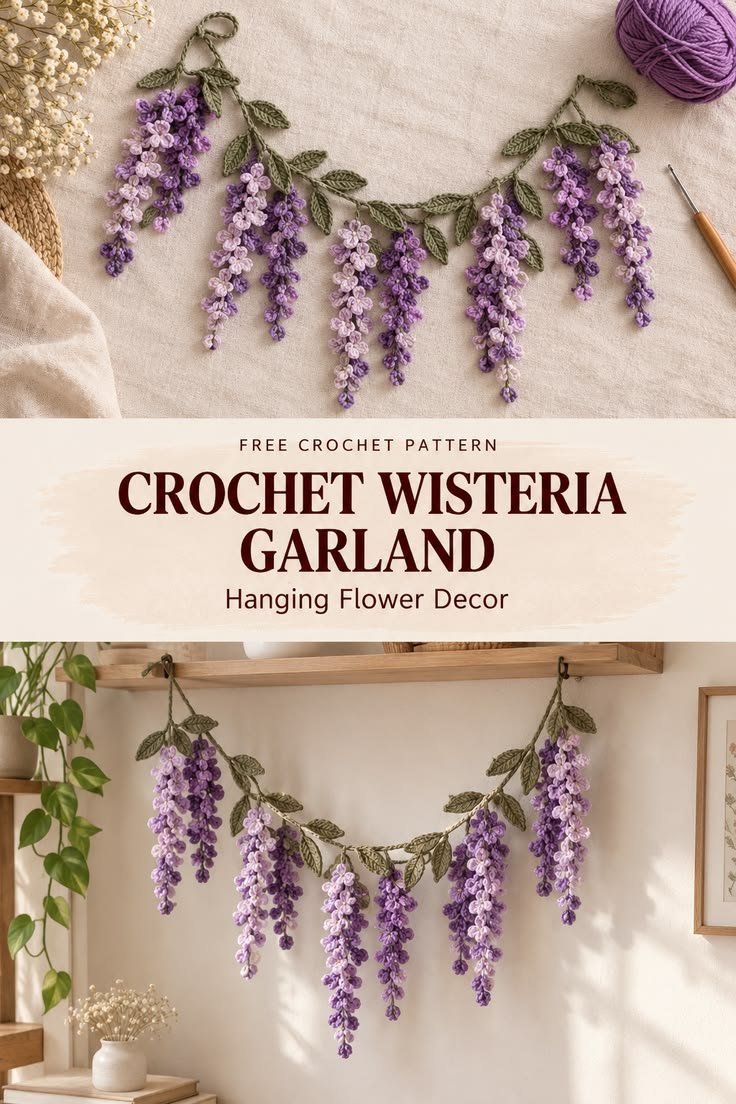

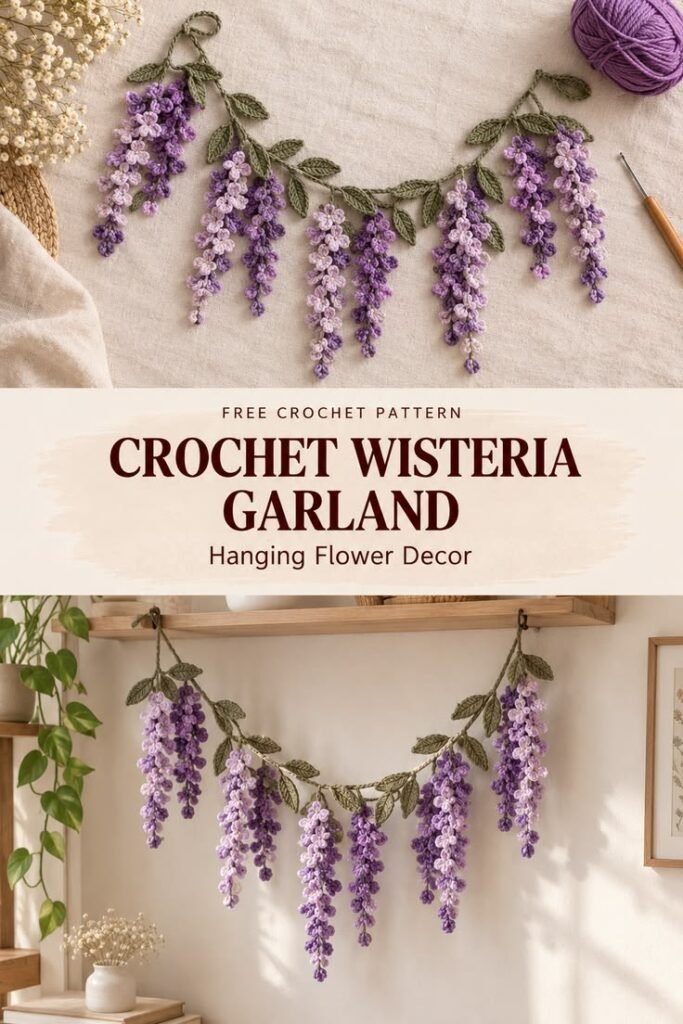
Real wisteria blooms for a few short weeks. This crochet wisteria garland blooms all year. Each hanging strand is worked in one continuous piece — no sewing, no assembling tiny flowers — from a simple foundation chain and loops of growing sizes. As you work, the strand curls on itself into a soft spiral, and that spiral is exactly what makes it read as a cascading wisteria cluster: full and flowery at the top, trailing to a delicate point at the bottom.
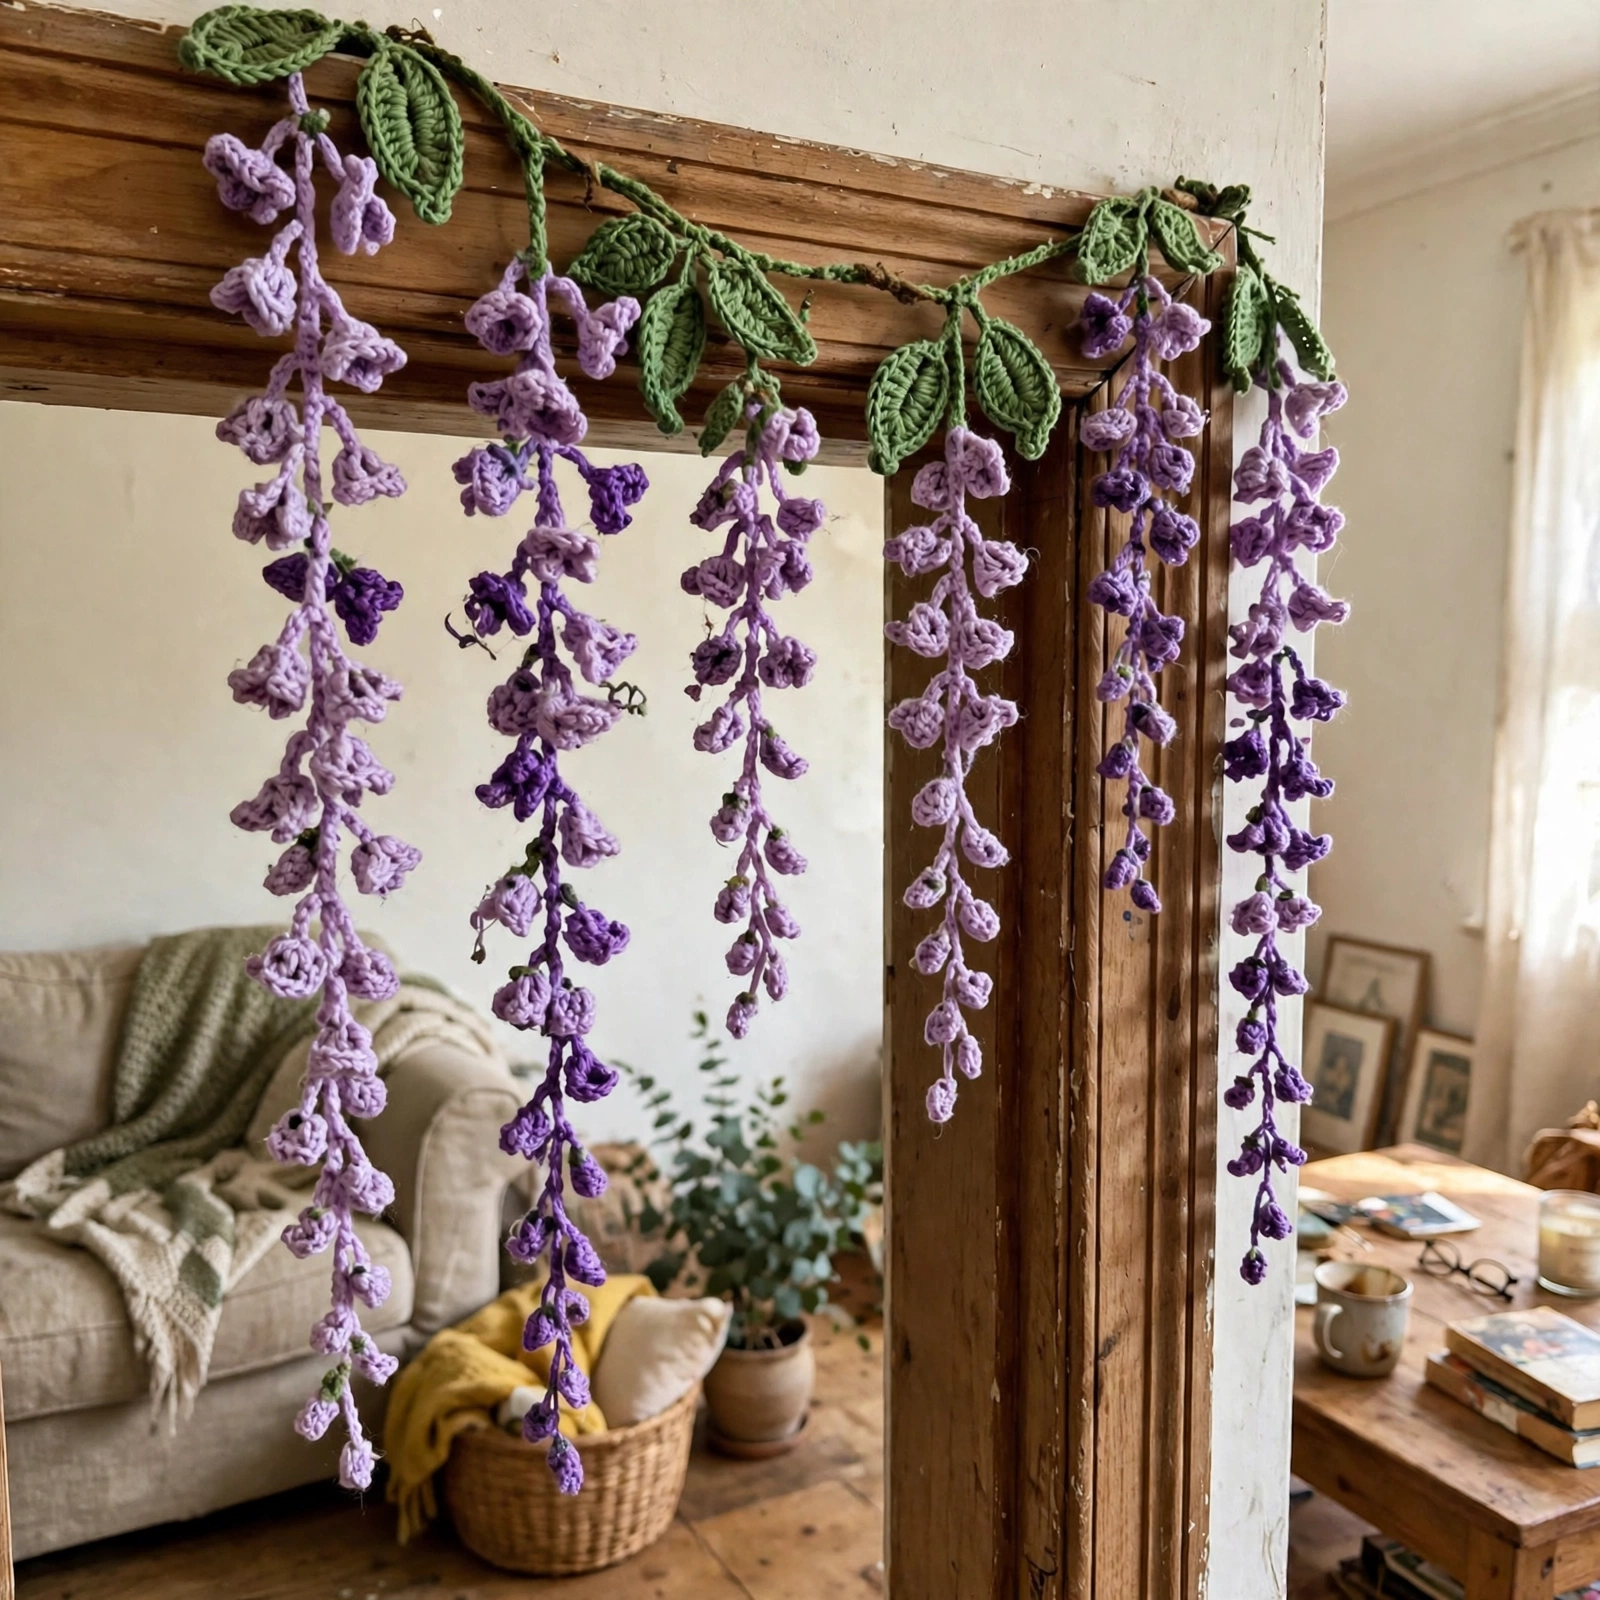
Make a handful of strands, add a leafy vine, and drape the whole thing over a door frame, a mantel, a mirror or a window — just like the garland in the photos. If you can make a chain and a slip stitch, you can make this.
Quick Facts
- Skill level: Beginner / Easy — chains, slip stitches and single crochet only
- One strand: about 25–30 cm (10–12 in) long
- Hook: 4.0 mm
- Yarn: worsted weight (#4) acrylic
- Garland in the photos: 18 strands on one leafy vine across a door frame — plan on 15–25 strands for a full door frame
- Time: about 20–30 minutes per strand once you find the rhythm
Materials
- Flower yarn: worsted weight (#4) acrylic in purples and lilac — deep purple, lilac and a soft pink look lovely mixed. Ombre purple yarn gives the most realistic effect, shifting naturally from deep purple to pale lilac the way real wisteria does. One 380 yd skein makes many strands.
- Leaf yarn: worsted weight (#4) acrylic in green
- Hook: 4.0 mm
- Scissors (no needle needed for the strands — truly no-sew)
- Small removable hooks, clear command strips or pins for hanging
Abbreviations (US Terms)
- ch – chain · sl st – slip stitch · sc – single crochet
- hdc – half double crochet · dc – double crochet · rep – repeat
Pattern Notes
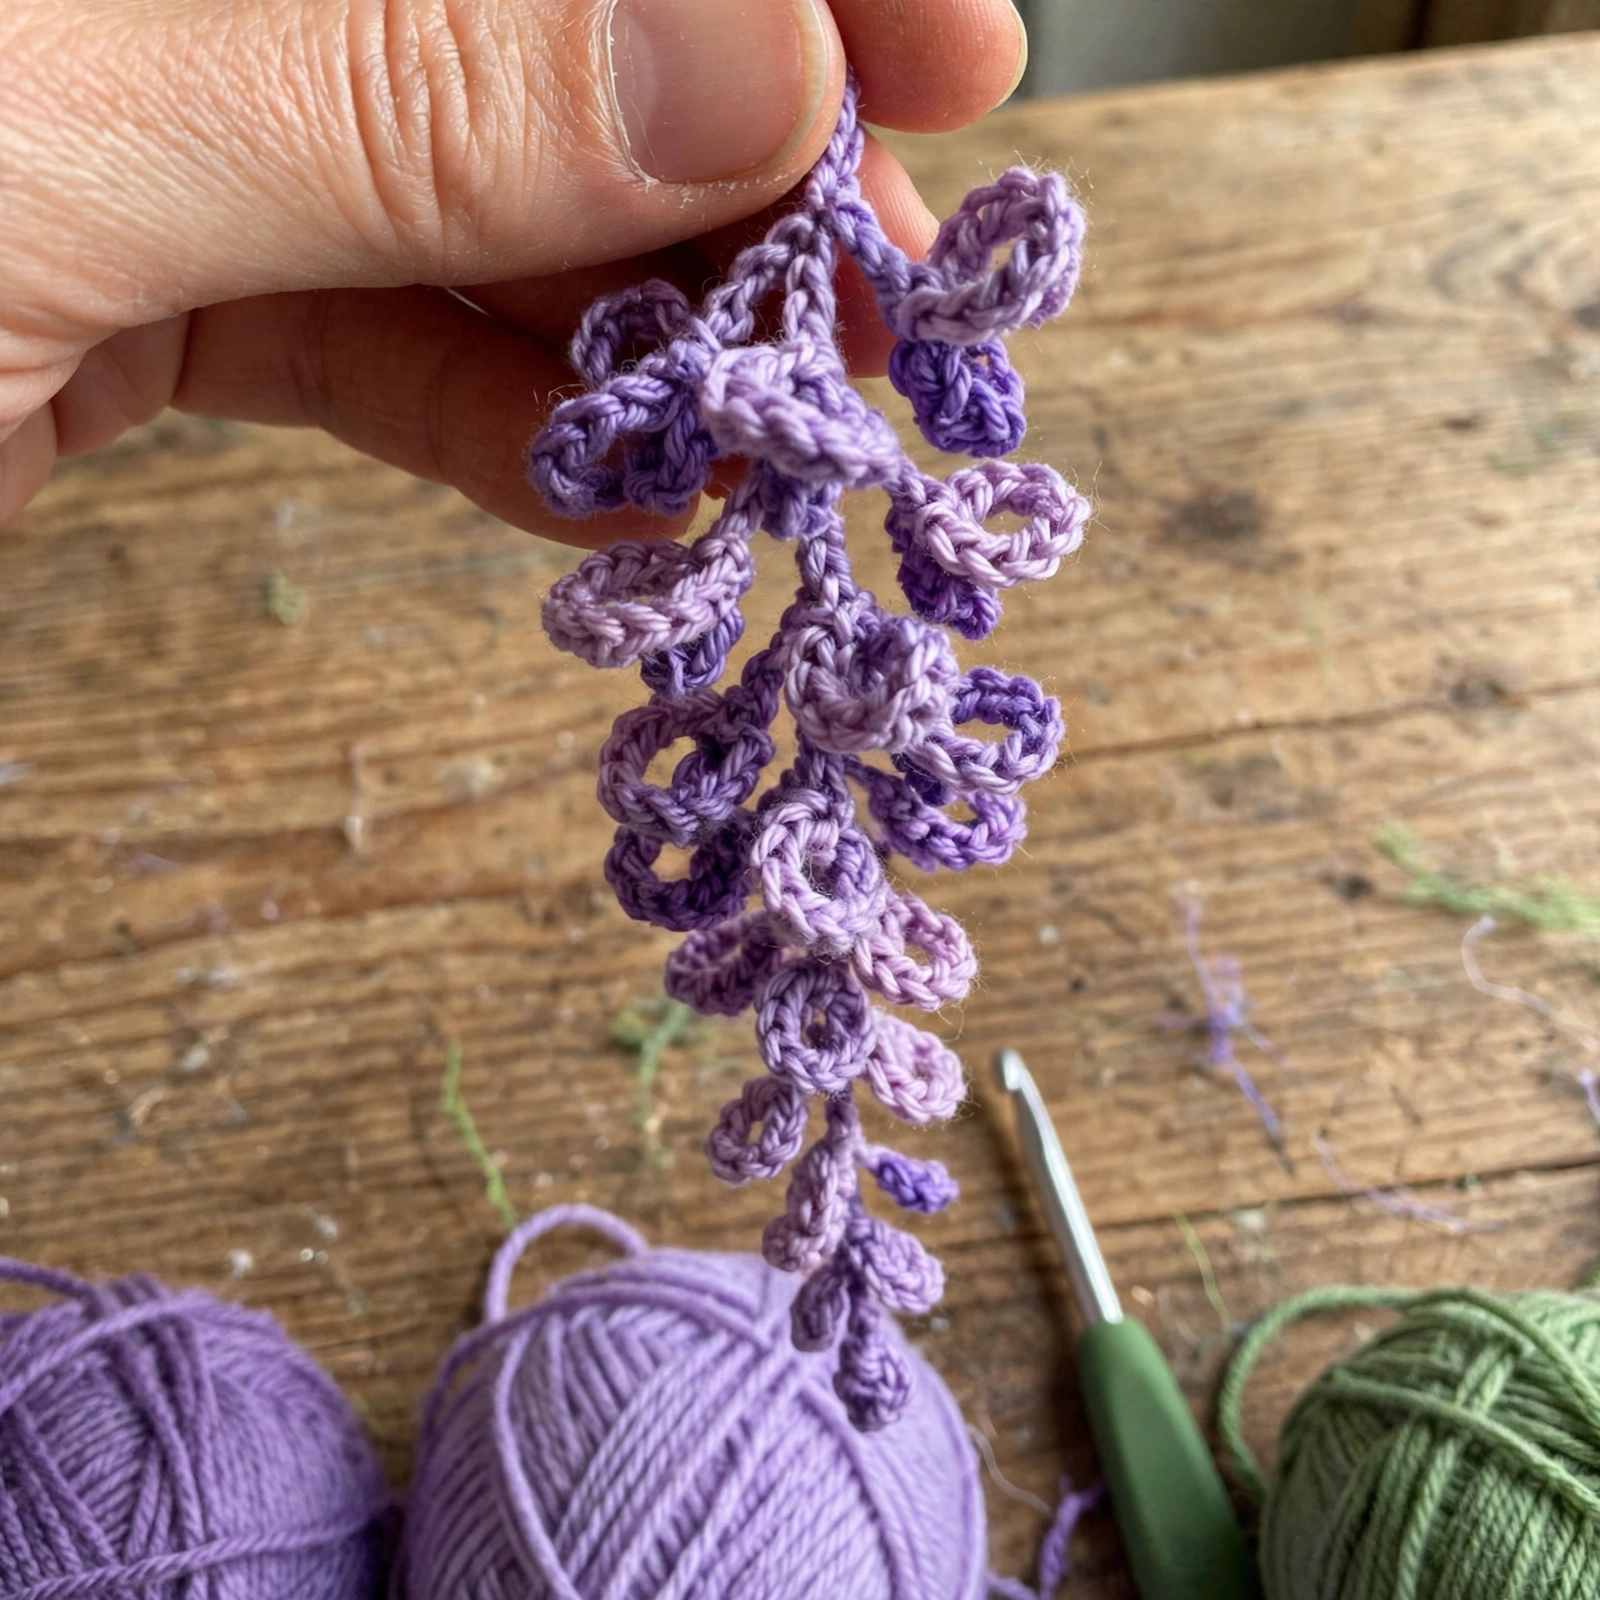
- The curl is the point. Your strand will start spiralling as you work — do not flatten it or fight it. The spiral is what creates the layered, cascading flower look.
- Counts are a guide, not a law. This is a freestyle-friendly design: if you reach the end of your chain a few loops early or late, nothing breaks. Vary the foundation chain (60, 70, 80) from strand to strand so your garland has natural long and short clusters.
- Orientation: you work from the strand’s pointed tip toward its full top. The long tail you leave at the end is your hanging tail — the full end goes at the top when you hang it.
The Wisteria Strand
Make as many as your garland needs — 15–25 for a door frame, mixing lengths and shades.
Foundation: With your flower colour, ch 70. (Anywhere from 60 to 80 works; a longer chain makes a longer strand.)
Zone 1 — the tip: Sl st into the 4th ch from the hook. *Ch 3, sl st into the next ch; rep from * 3 more times. (4 small loops)
Zone 2 — opening up: *Ch 4, sl st into the next ch; rep from * 5 times in total.
Zone 3 — growing: *Ch 5, sl st into the next ch; rep from * 6 times in total.
Zone 4 — filling out: From here, work two loops into each chain — this doubling is what makes the cluster dense and full. *Ch 6, sl st into the next ch, ch 6, sl st into the same ch; rep from * 6 times in total.
Zone 5 — the full top: *Ch 7, sc into the next ch, ch 7, sc into the same ch; rep from * until you reach the end of the foundation chain. (For extra-long strands, grow the loops to ch 8 in this zone.) If a chain feels roomy, add a third loop into it now and then — the real flowers are not uniform either. Fasten off, leaving a long tail for hanging.
Give the strand a gentle twist with your fingers to encourage the spiral, and it is done. No ends to sew, no pieces to join.
The Leaf
Ch 8. Working down one side of the chain: sl st in the 2nd ch from the hook, sc in the next ch, hdc in the next ch, 2 dc in the next ch, hdc in the next ch, sc in the next ch, sl st in the last ch, ch 1. Now work back along the other side of the same chain in mirror image: sl st in the first ch, sc in the next, hdc in the next, 2 dc in the next, hdc in the next, sc in the next, sl st in the last. Fasten off, or continue straight into the vine below.
The Leafy Vine
With green, chain the length of your garland — measure your door frame or mantel and add a little extra for a gentle drape. Work back along the chain: sl st into each of the next 6 ch, *work one Leaf (above), anchoring it with a sl st into the next ch of the vine, then sl st into each of the next 6 ch; rep from * to the end. Space leaves closer (every 4 ch) for a lush vine or further apart (every 8–10 ch) for a lighter one.
Assembling the Garland
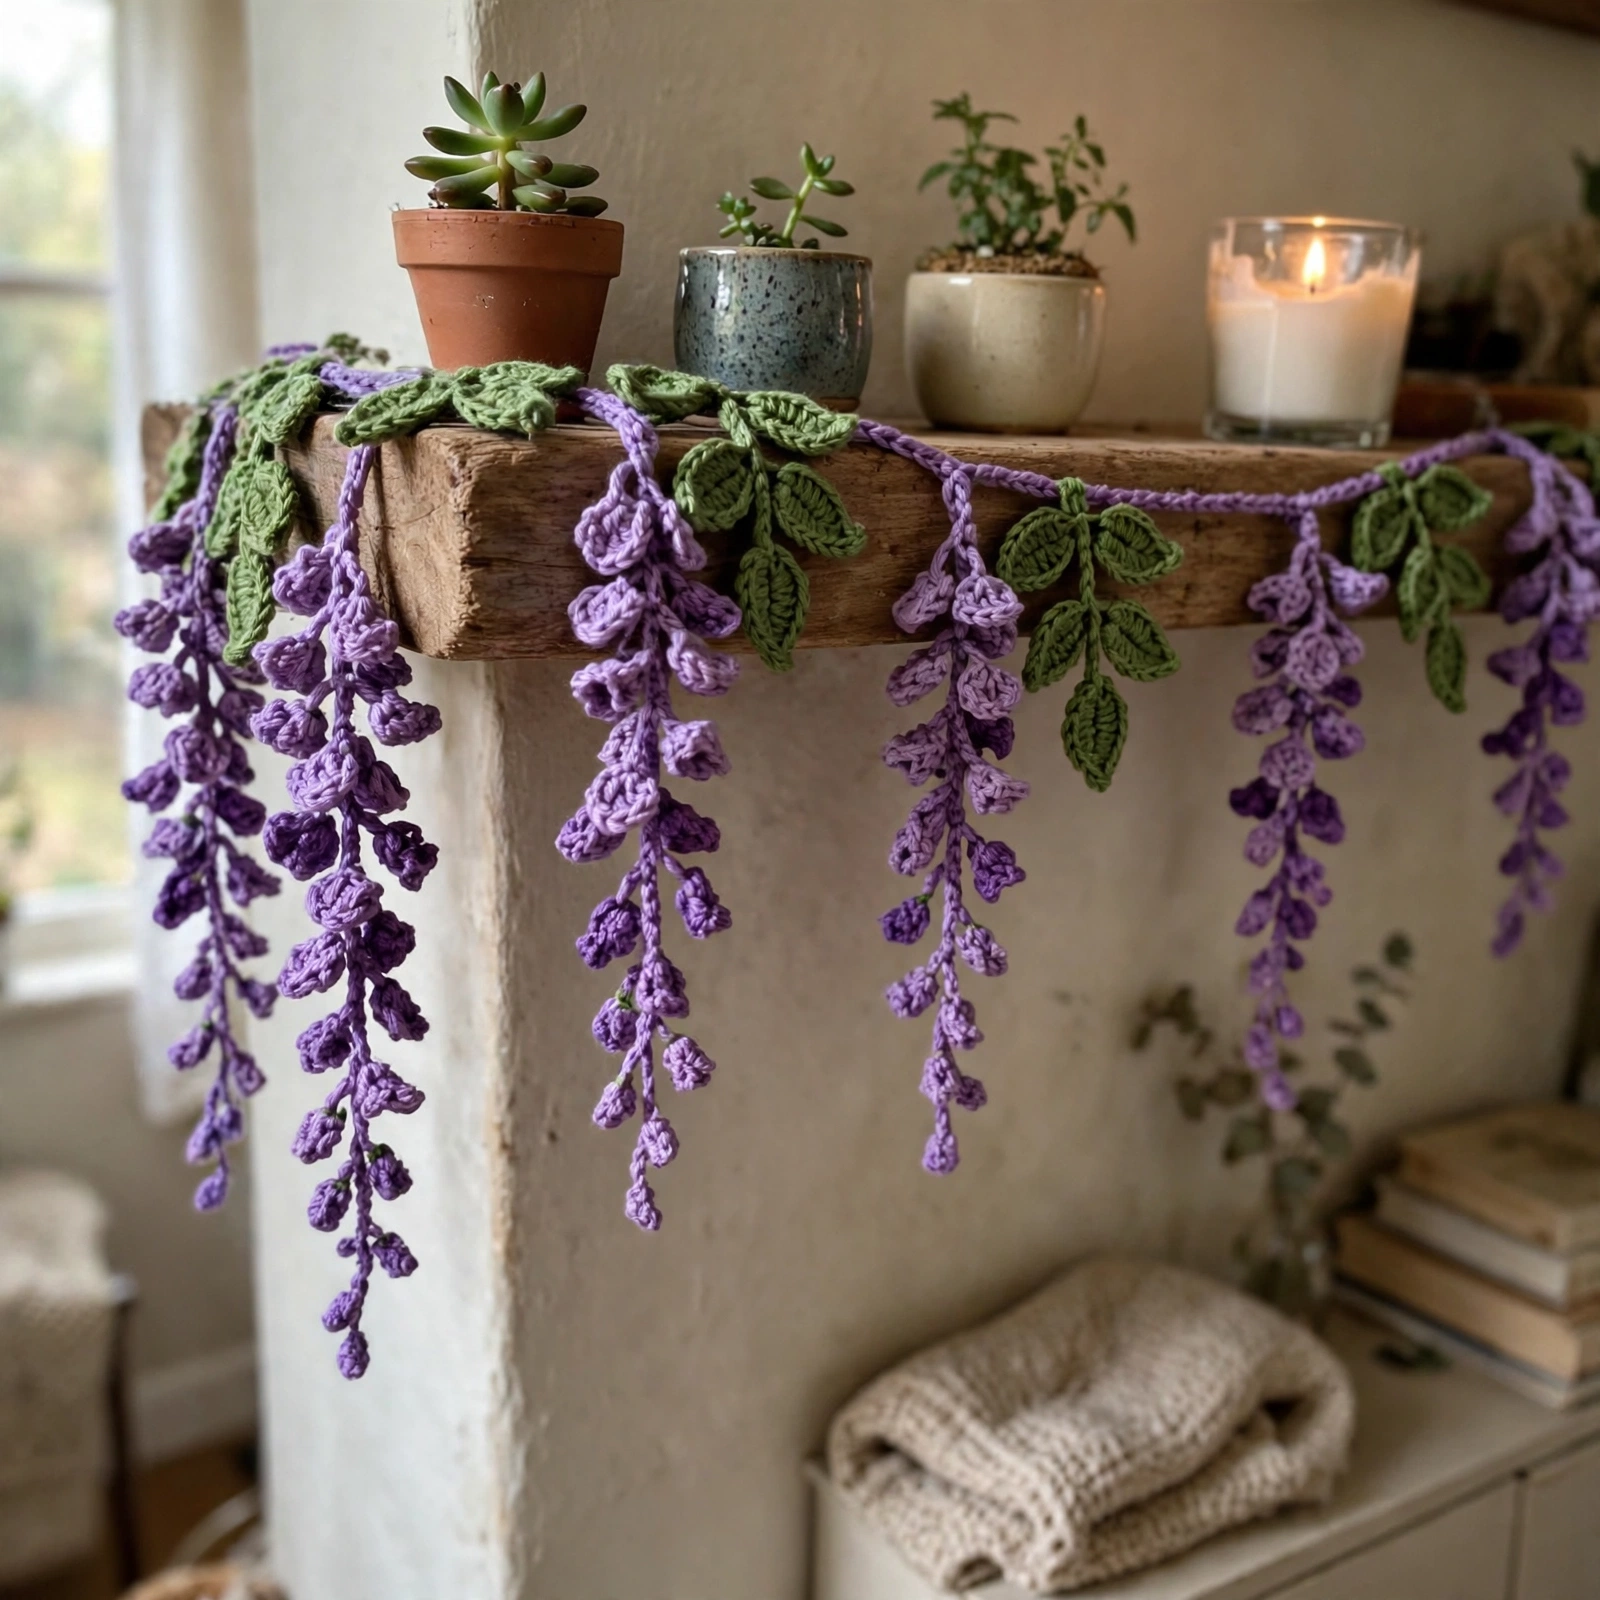
- Hang the leafy vine first, using small hooks, command strips or pins.
- Tie each flower strand to the vine by its long tail, spacing them unevenly — real wisteria never hangs in a perfect rhythm. Or simply loop a few petals of each strand over the vine, which gives the most natural, “growing” look.
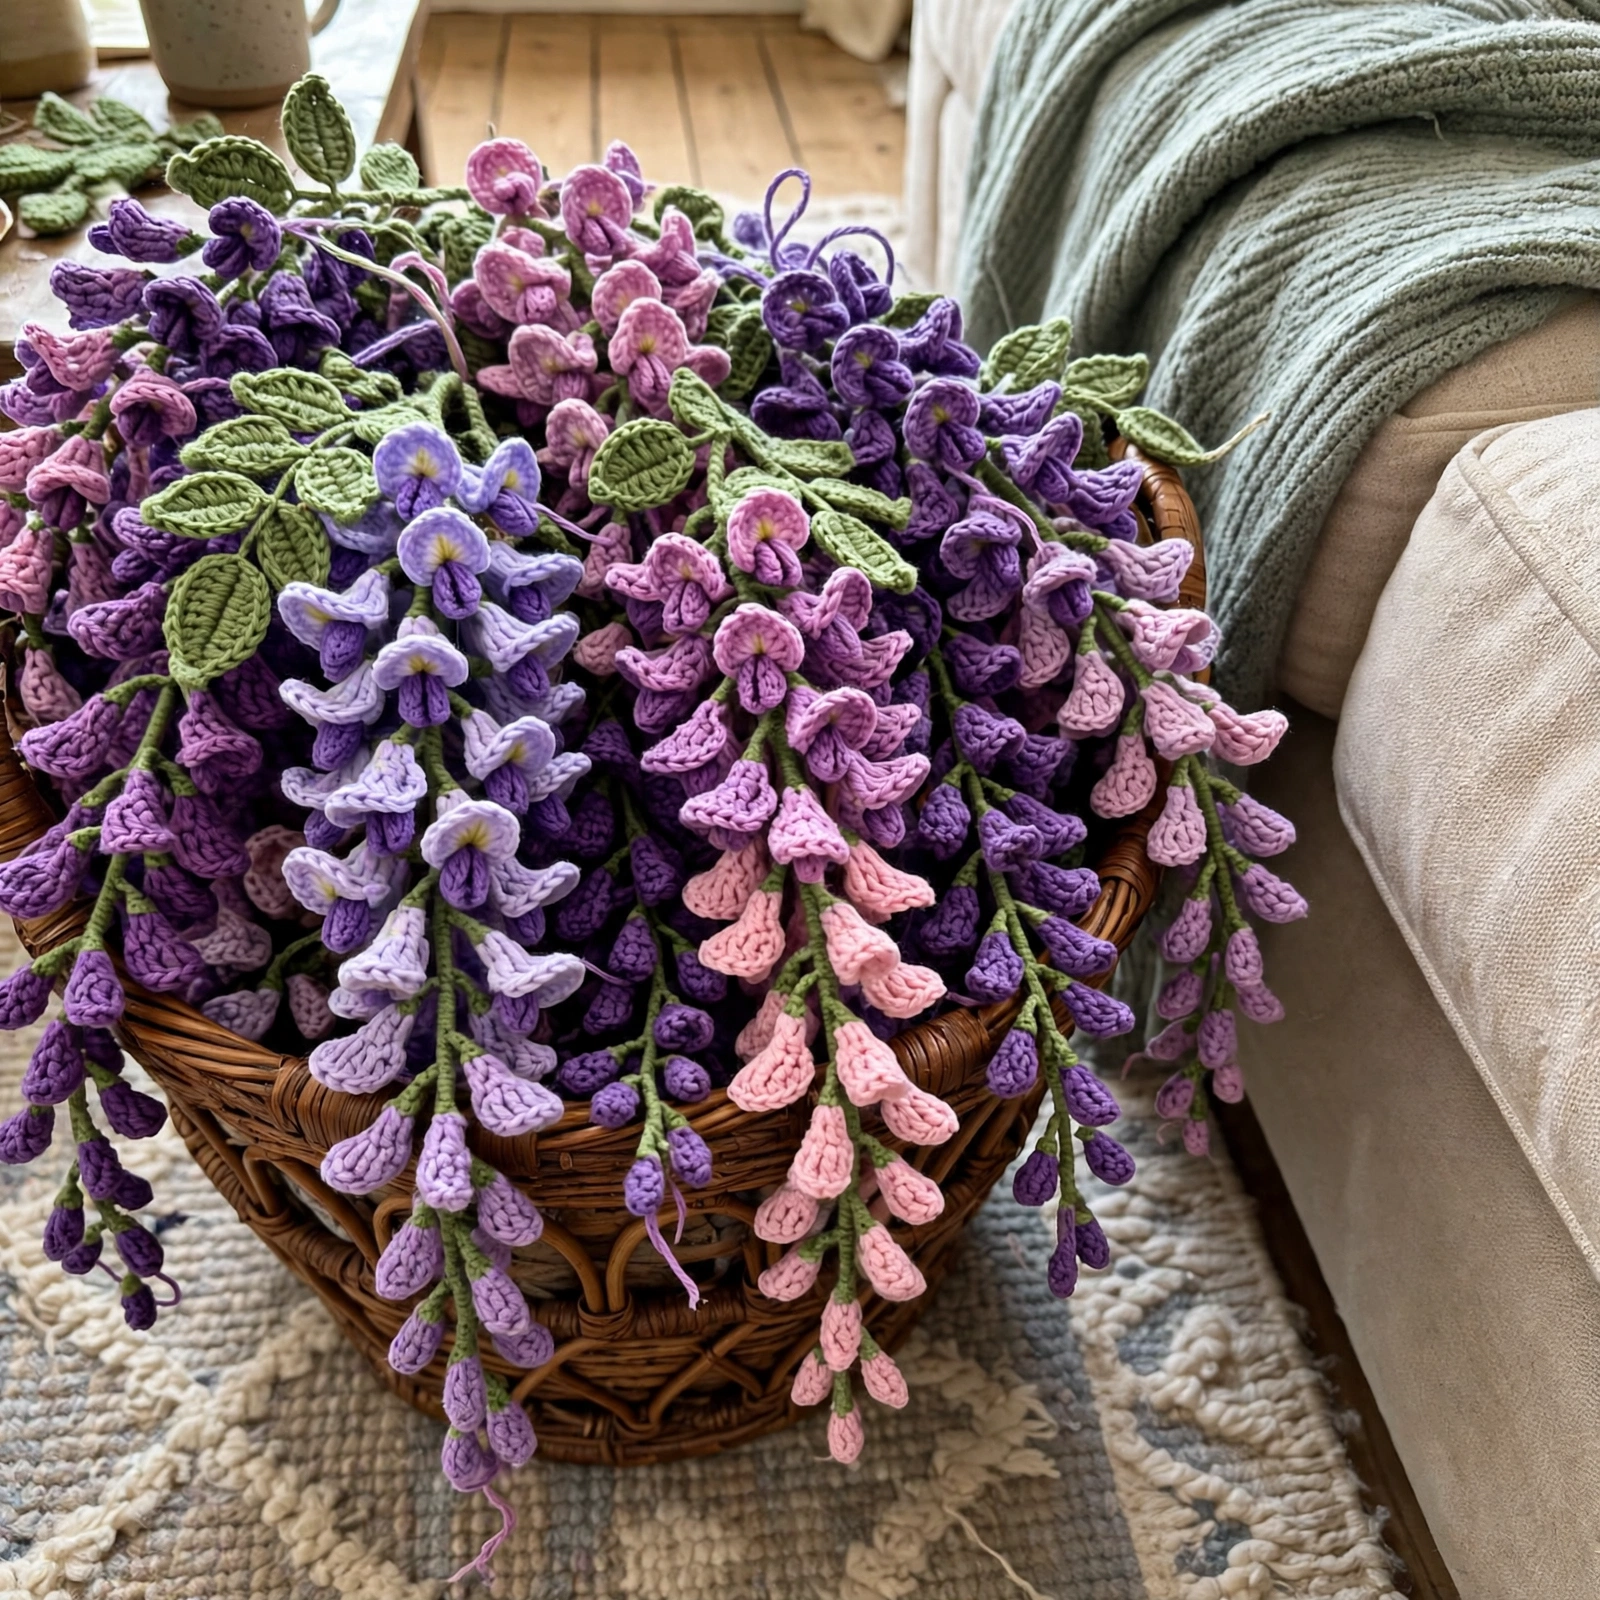
- Step back and fill any bare patches with an extra strand. A basket of spare strands is never wasted — they also make lovely curtain tiebacks and gift toppers.
Tips for the Most Realistic Wisteria
- Mix three shades minimum per garland — deep purple, mid lilac, and a pale lilac or pink.
- Ombre yarn does the blending for you: start each strand at a different point in the colour run.
- Vary everything slightly: chain length, zone repeats, strand spacing. Nature is irregular; your garland should be too.
- Twist, don’t block: a quick finger-twist along each strand tightens the spiral beautifully. No blocking needed.
Frequently Asked Questions
Is this really beginner friendly? Yes — the whole strand is chains, slip stitches and single crochet. The only “technique” is letting it curl.
Why is my strand curling so much? It is supposed to! The increasing loop sizes pull the chain into a spiral, and that spiral is the flower cluster. If yours curls more than you like, use one loop per chain in Zone 4 instead of two.
How many strands do I need? For the door frame in the photos, 18. A mantel looks full with 10–14; a single strand on a hook makes a sweet window ornament on its own.
Can I use a different yarn? Any worsted (#4) acrylic works. DK yarn with a 3.5 mm hook makes smaller, more delicate strands — just chain a little longer (75–90) to keep the length.
Prefer to watch it being made? Julie at Once Upon a Cheerio has a full video tutorial of this no-sew wisteria technique on her crochet wisteria garland post.
Happy crocheting — and don’t forget to pin this pattern for later!


 By